I’ve been lovin’ on my We R Memory Keepers Banner Punch Board a lot lately – making bunting for a bridal shower and gifts for people and talking party decorations with people at work – and I realized, I haven’t actually really shown you guys the board yet! I showed you why the Envelope Punch Board was handy and how cute the Alphabet Punch Board is, and yet, why didn’t I show my favourite? I honestly don’t know. So here we are, and this board will change your life if you love to make bunting.
Let me walk you down memory lane. Before this board came into my life, whenever I wanted to make bunting, I had to confusingly try to draw a legit triangle (why is it so harrdddd) on cardboard, cut it out, trace that on paper, and then use scissors to cut. It was not a fun process, really, and my triangles always looked so wonky. Embarrassing! When We R Memory Keepers launched this a year or so ago, I was thrilled. And I can say it has made making bunting 1000x times easier and faster. Bunting for everyone, I say!
Using this board, you can make three different kinds of bunting – flag, crest and pennant. I pretty much only ever do flags, but I will show you how to do crest and pennant, too!
So here we have the handy board. Look at all those measurements! It might look confusing but it really really isn’t. First we’ll look at flags.

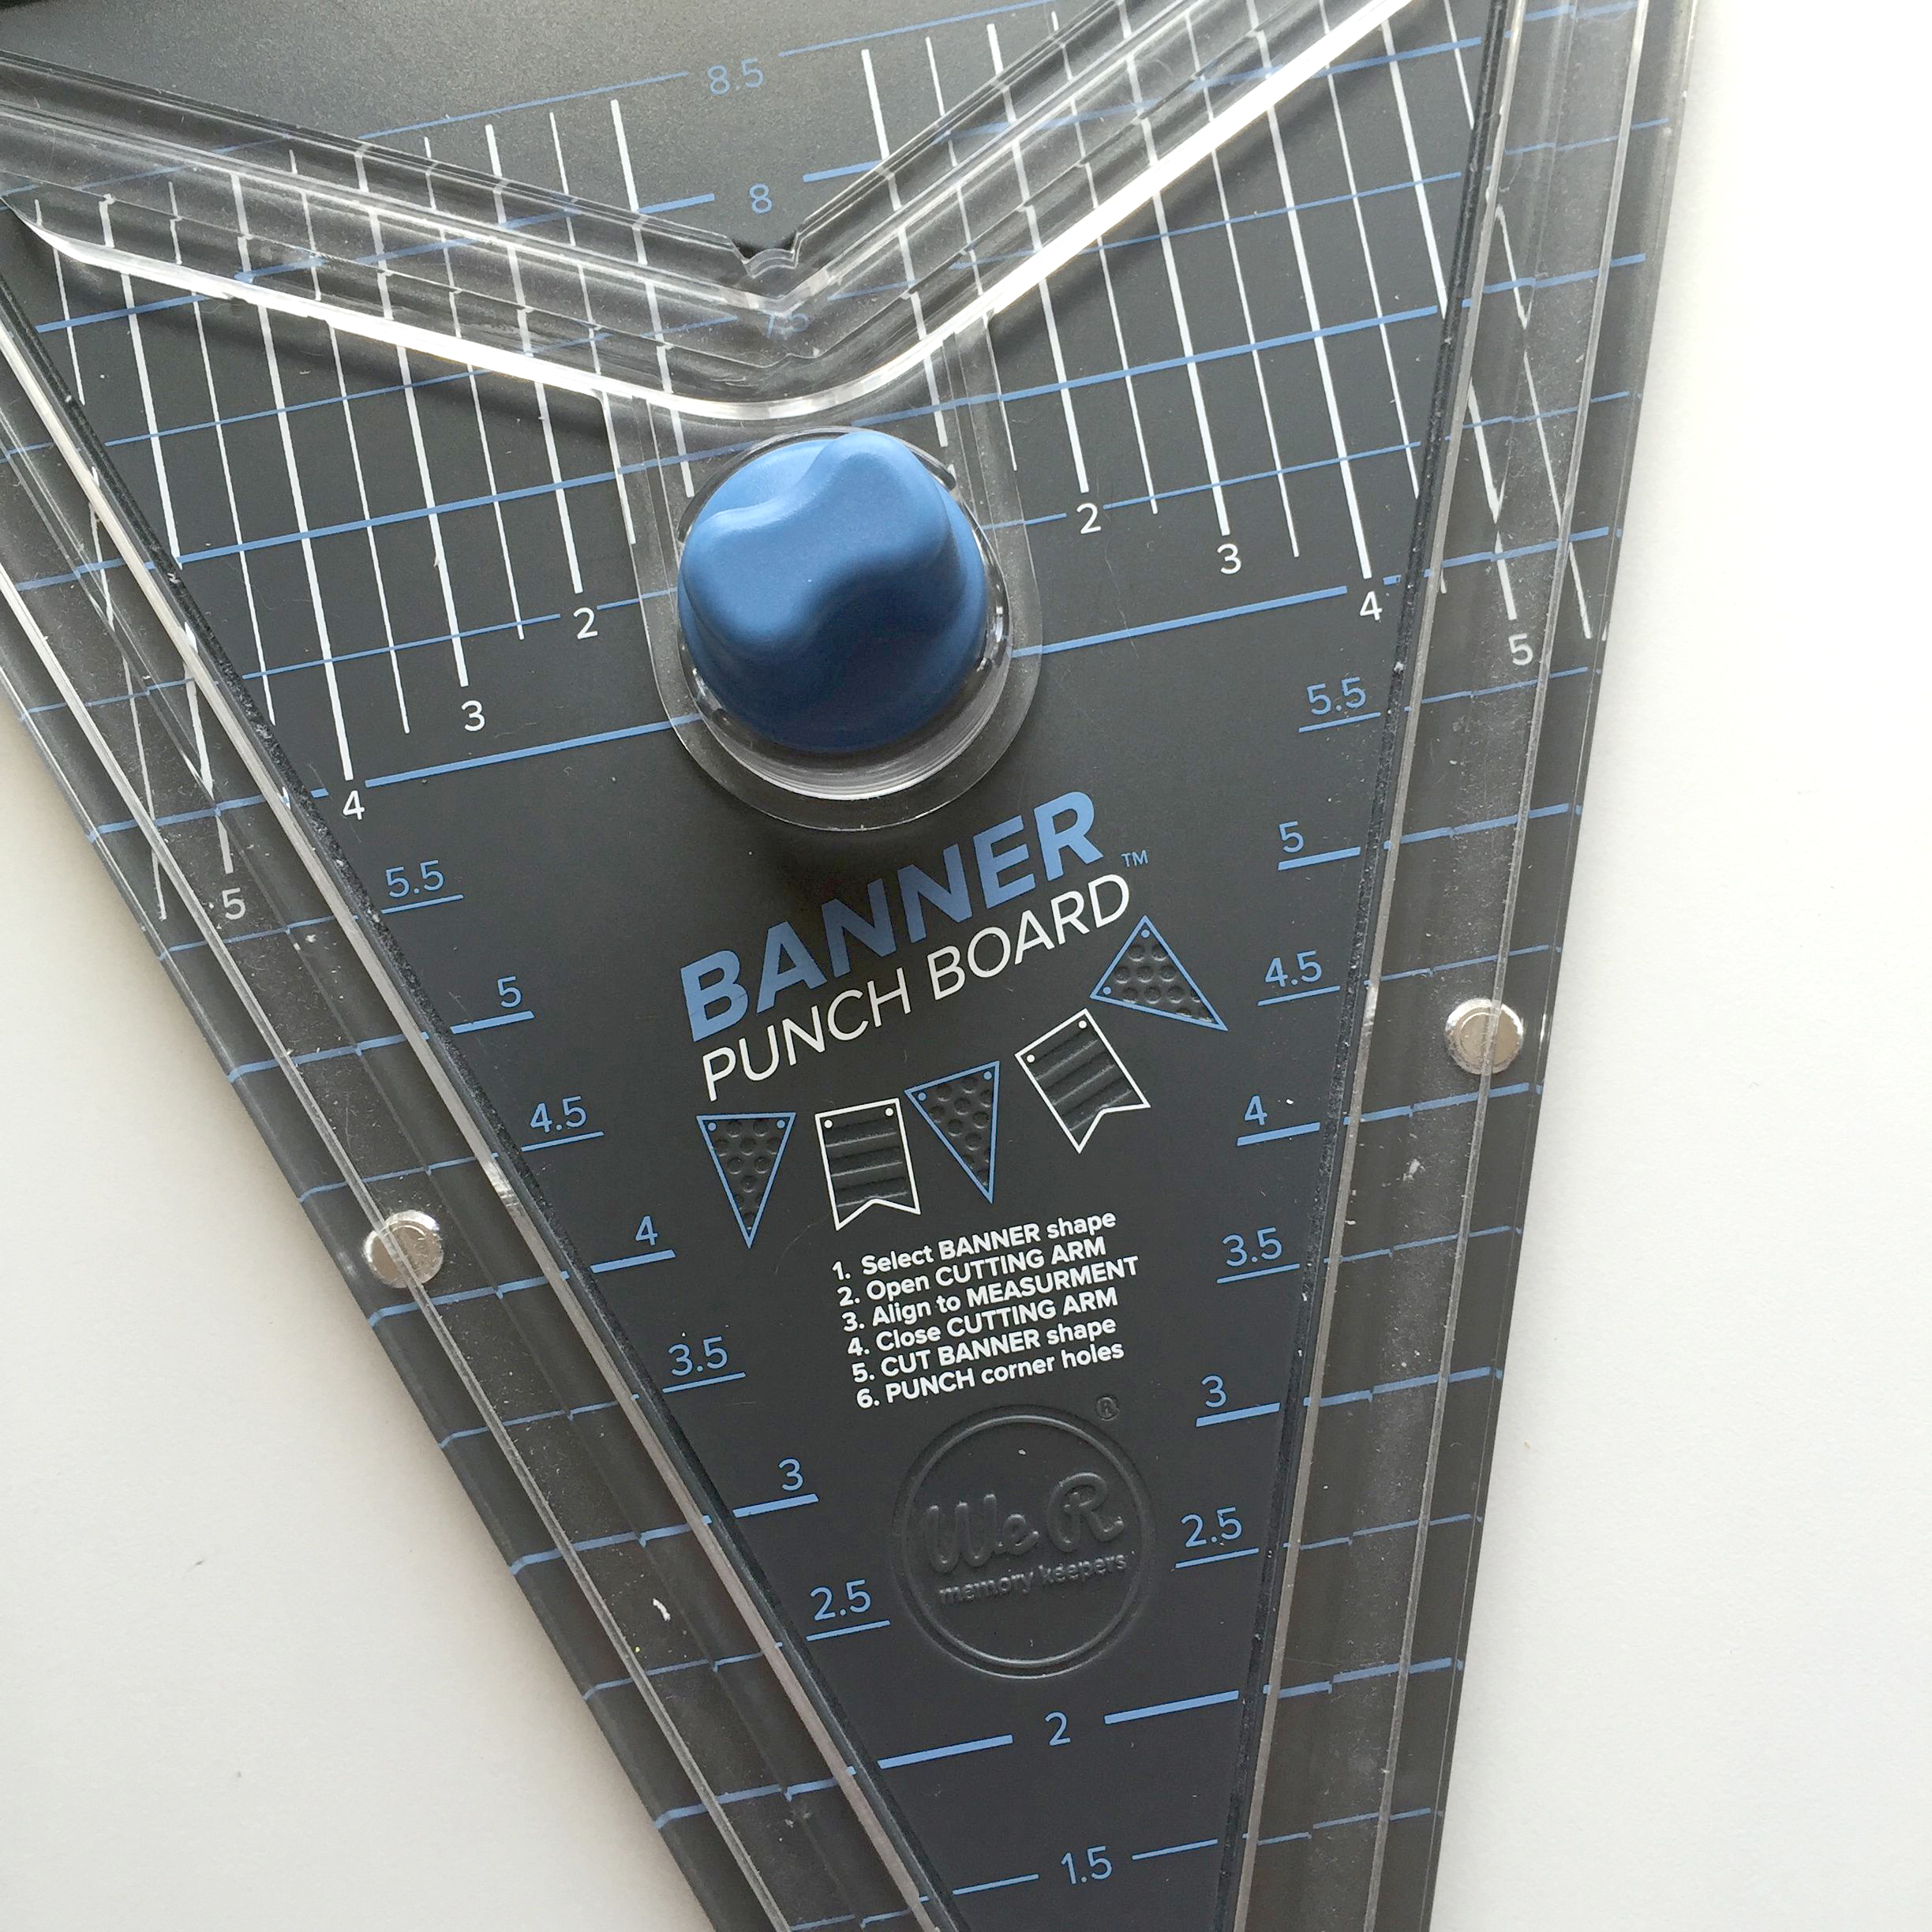
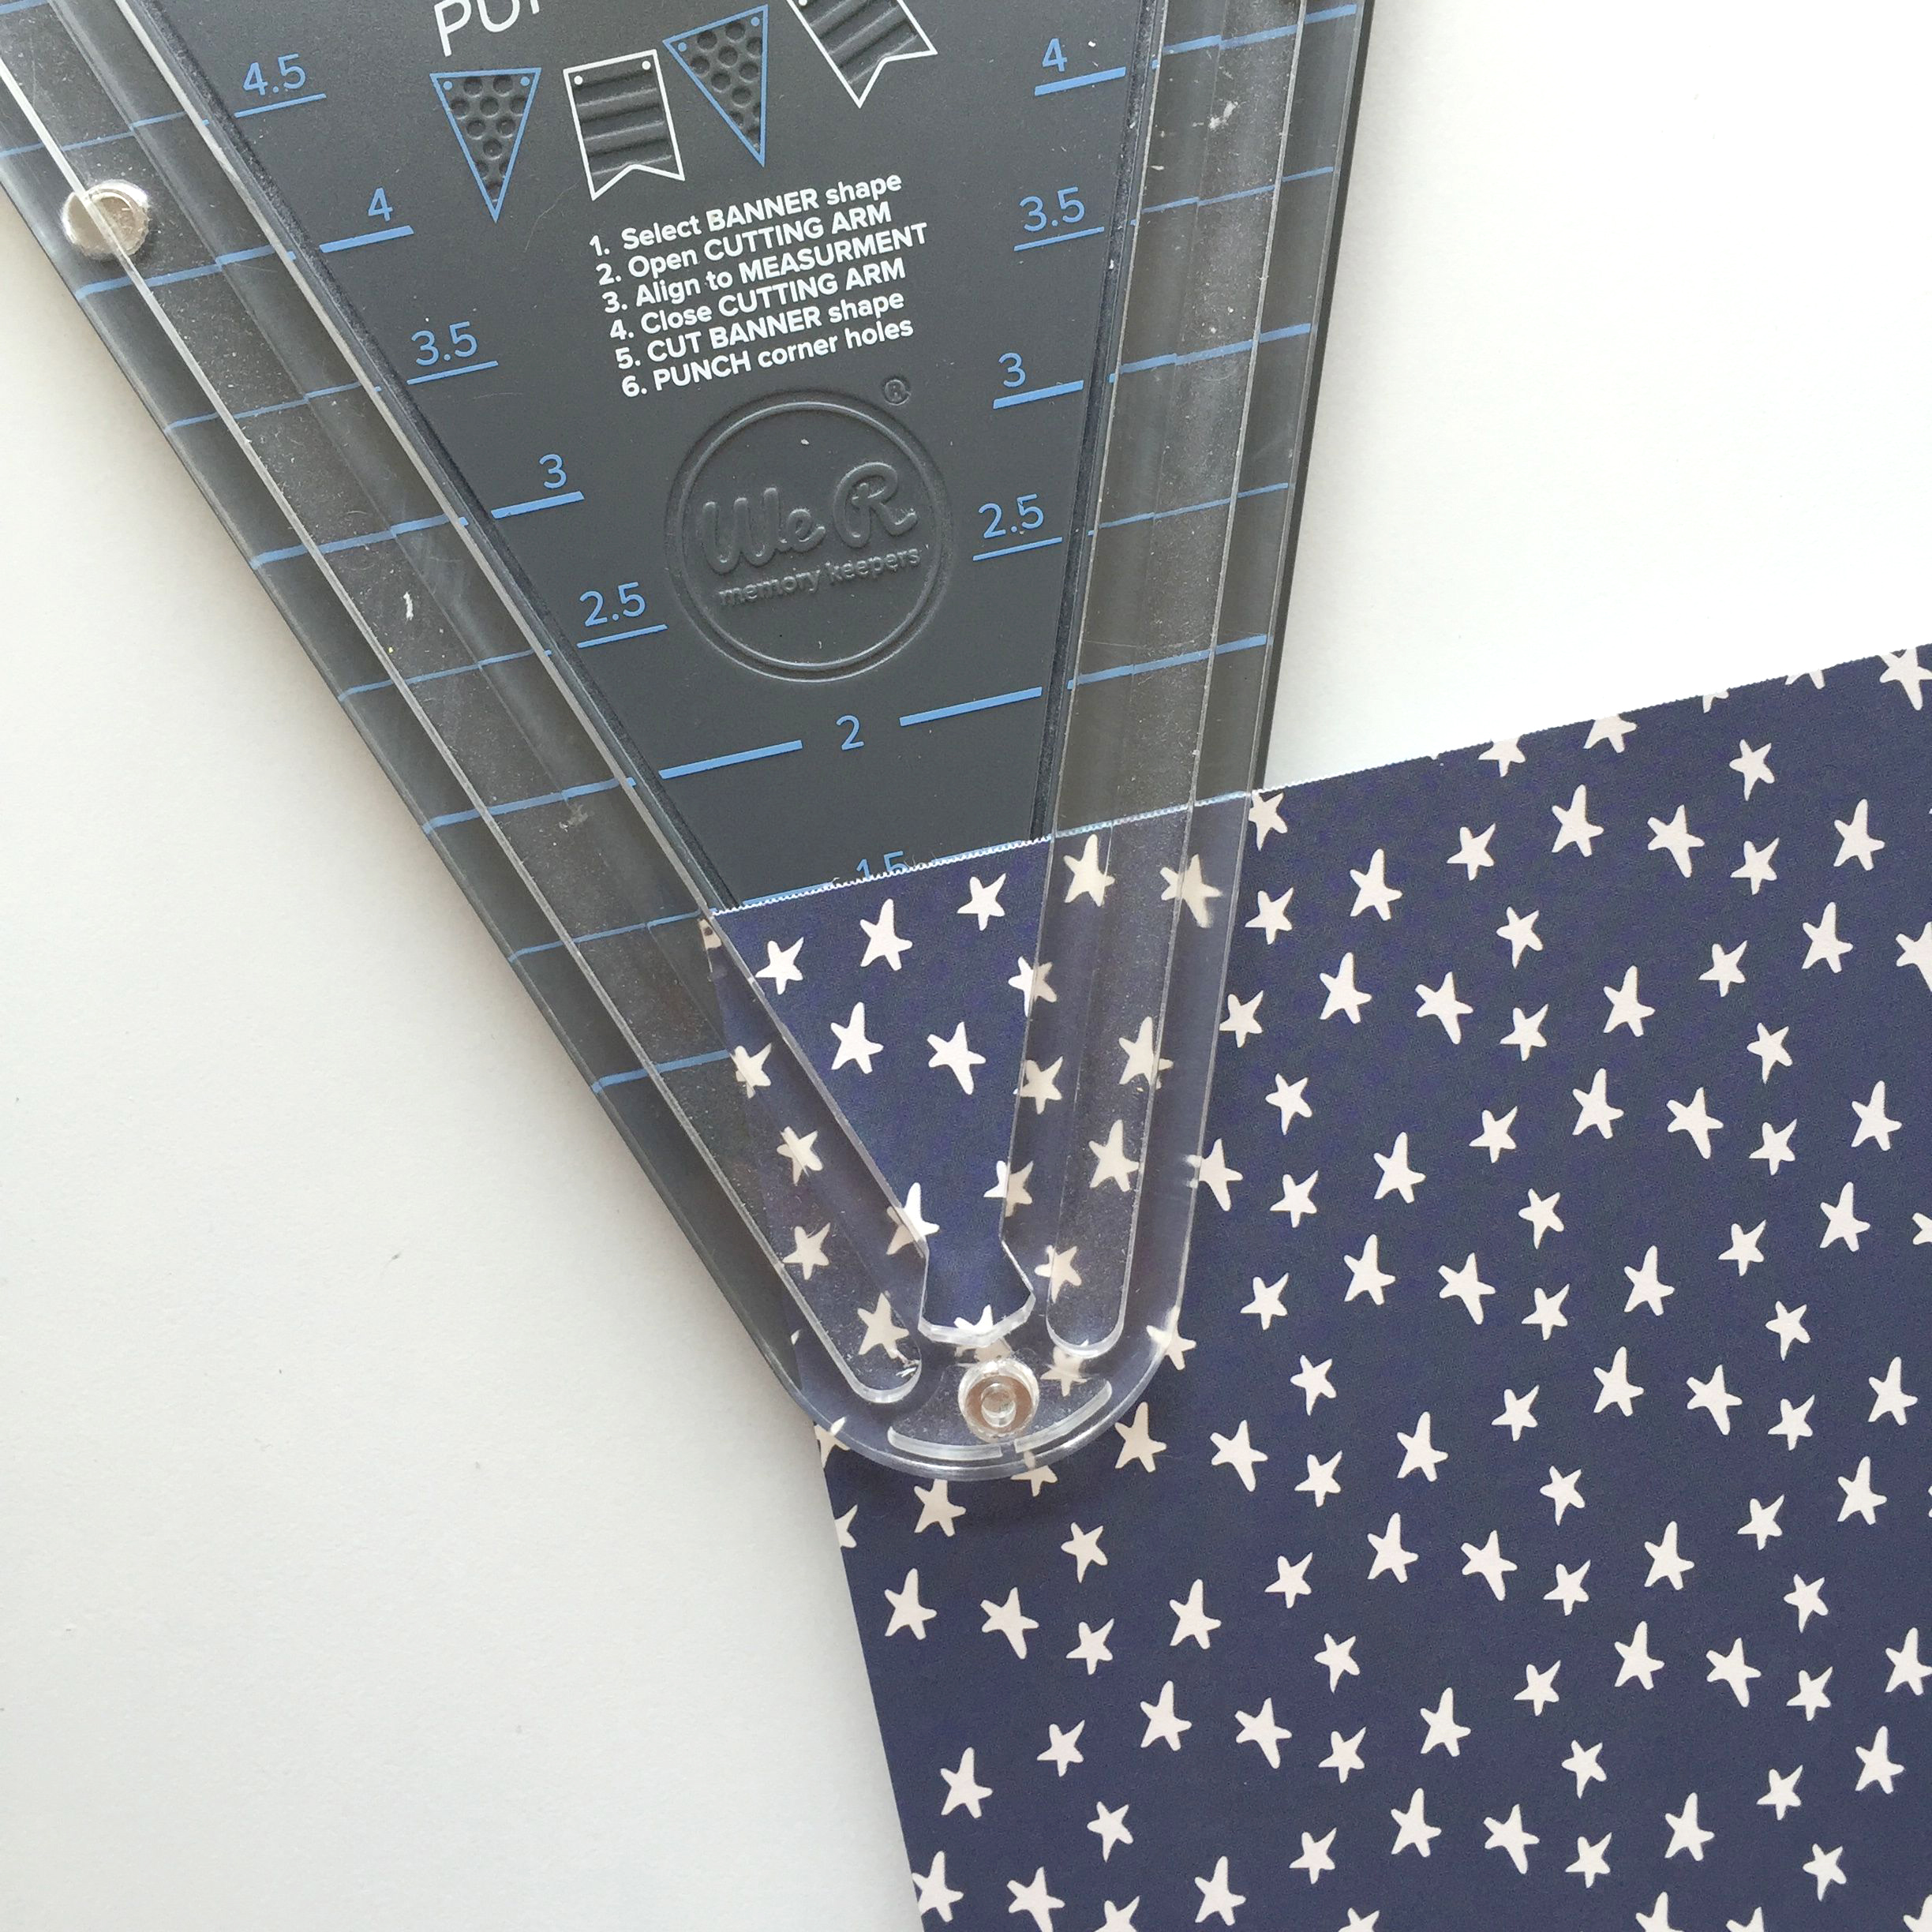
I really like making mini-bunting – it just looks so cute as decor! When you pick your size of flag you want, you line up the edge of your paper like so. Try and line it up as close as possible to the corner on the left side – because once you keep going along your paper, if you’re lucky, you can then just cut a line across and get extra flags out of your zig zag pattern you made.
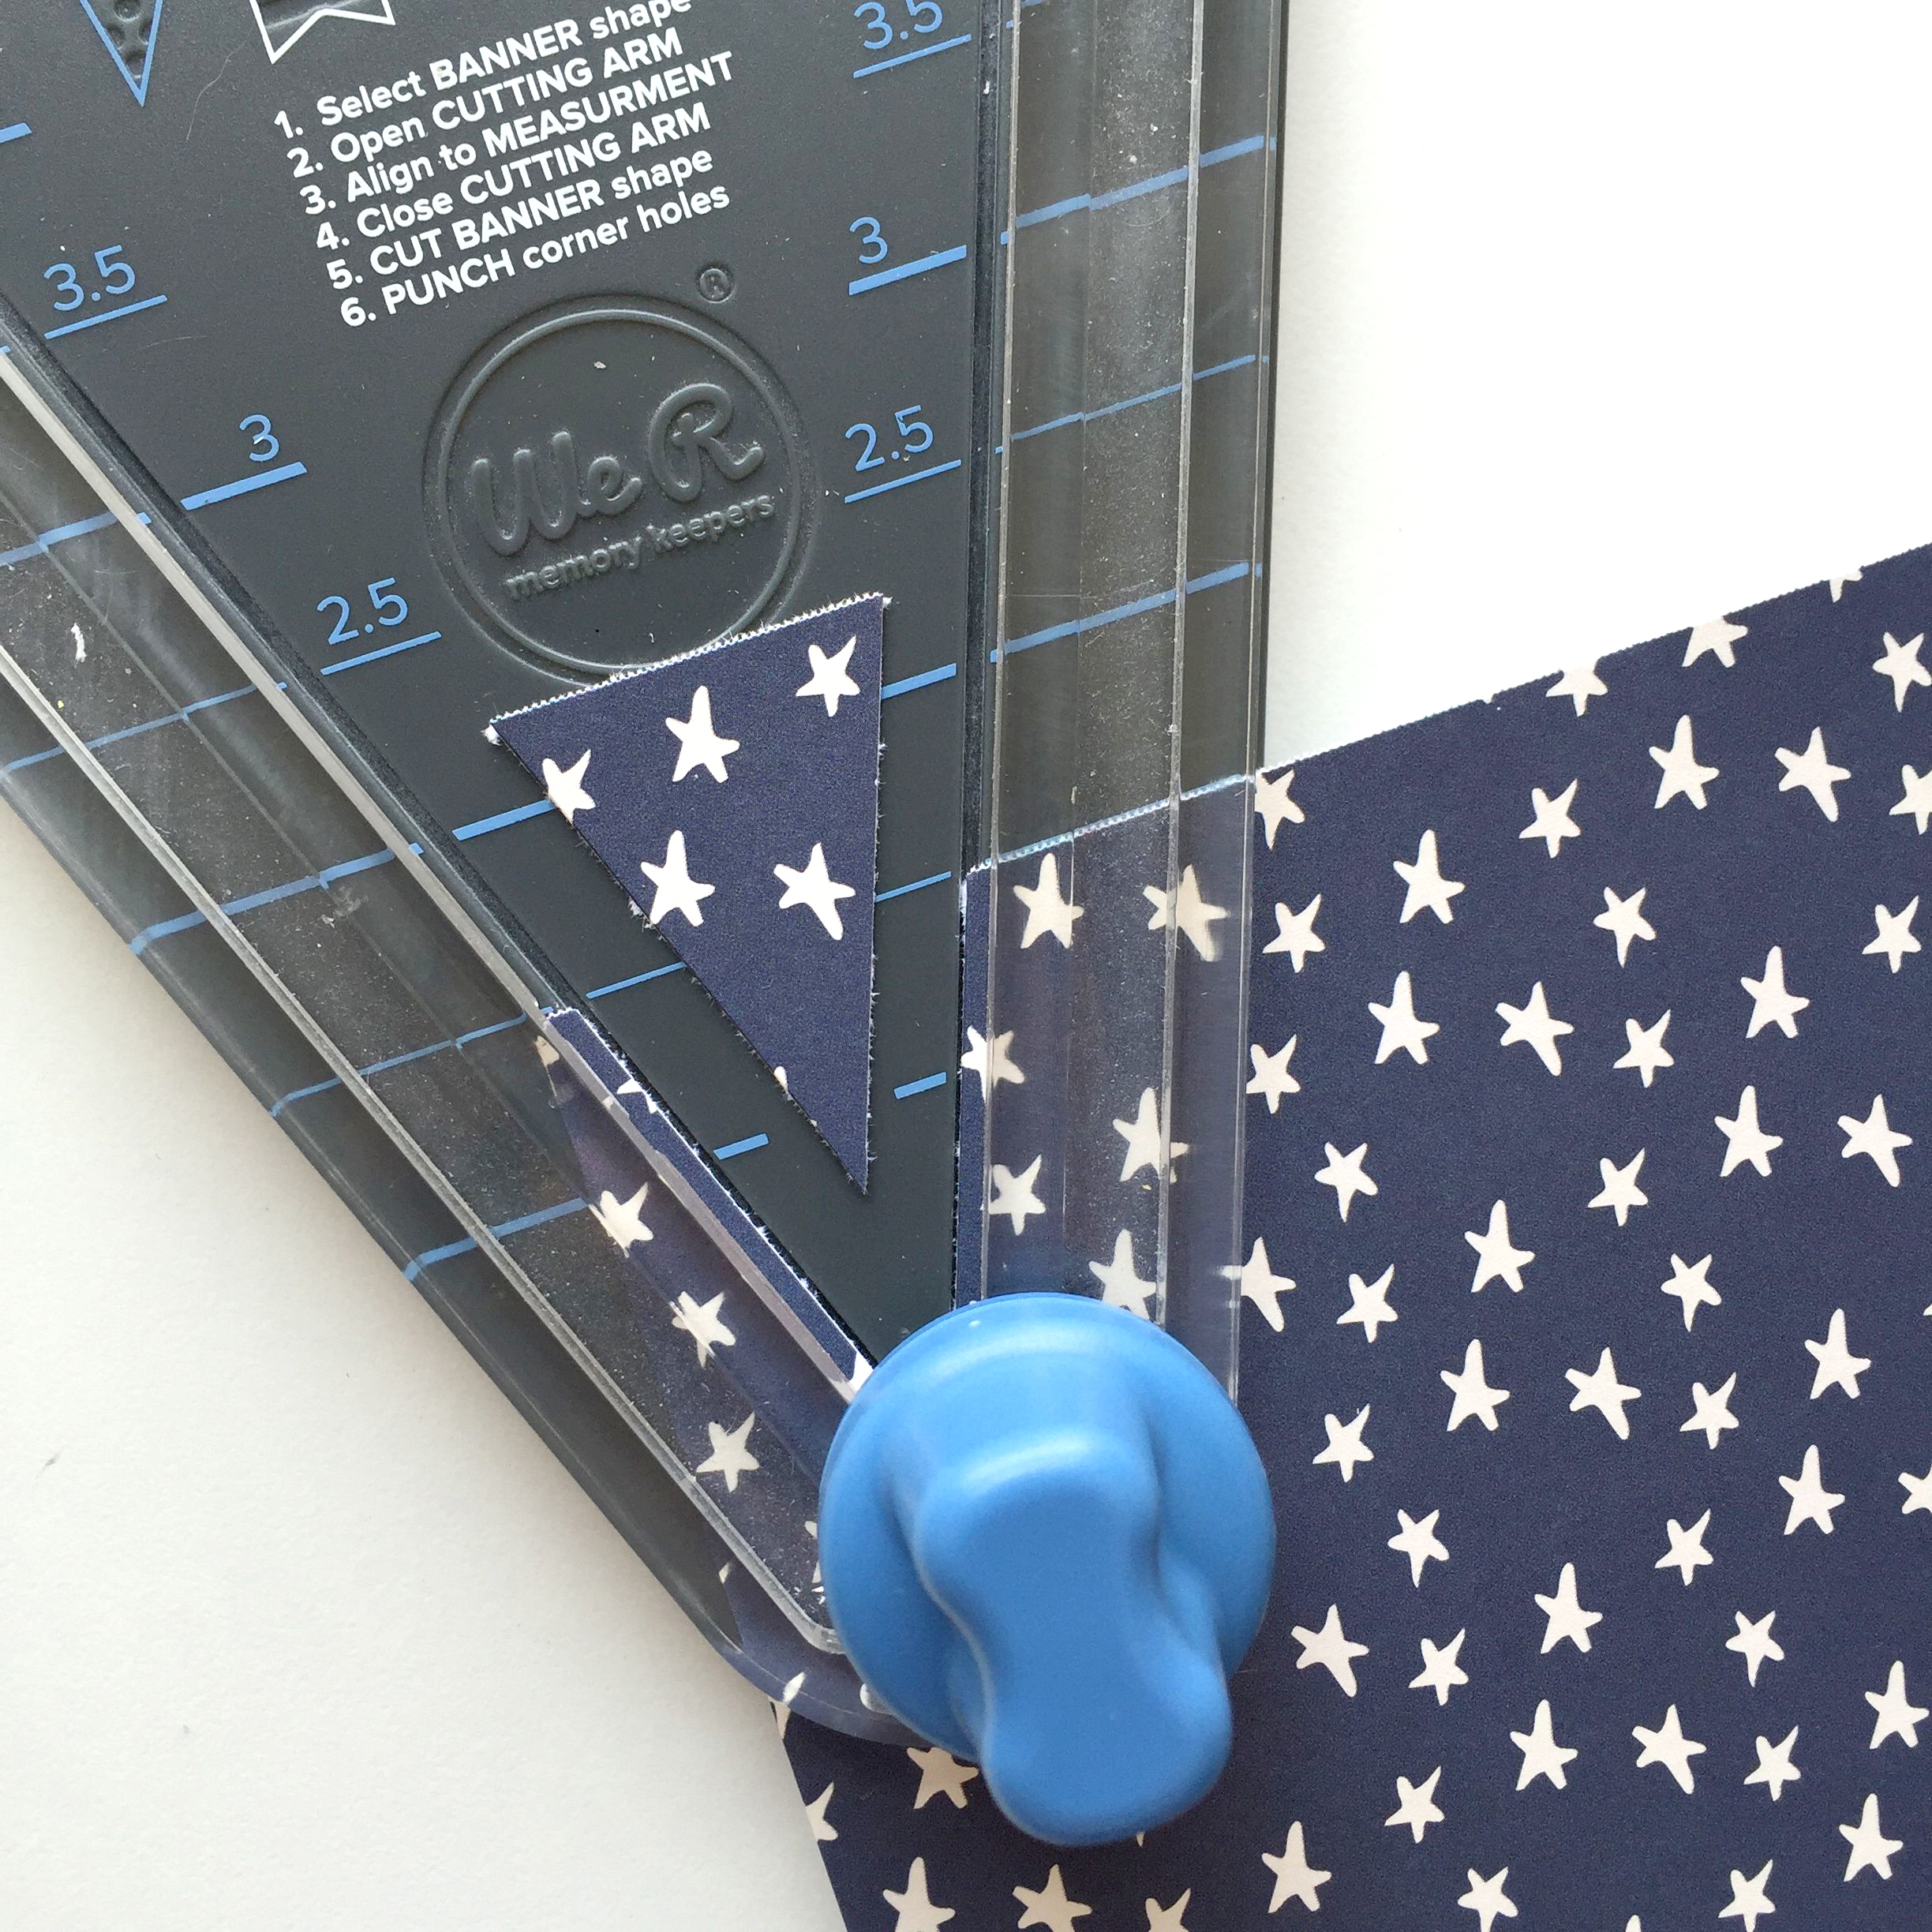
You take the little exacto knife and run it along the two sides, instantly cutting the triangle out. One side seems to have a bit of a catch to it so make sure to press firmly. Also as you can see from a lot of use, my blade isn’t the sharpest anymore. I believe they sell replacements but I have yet to find any.
Now at the top is where you can make the crest and pennant banners.
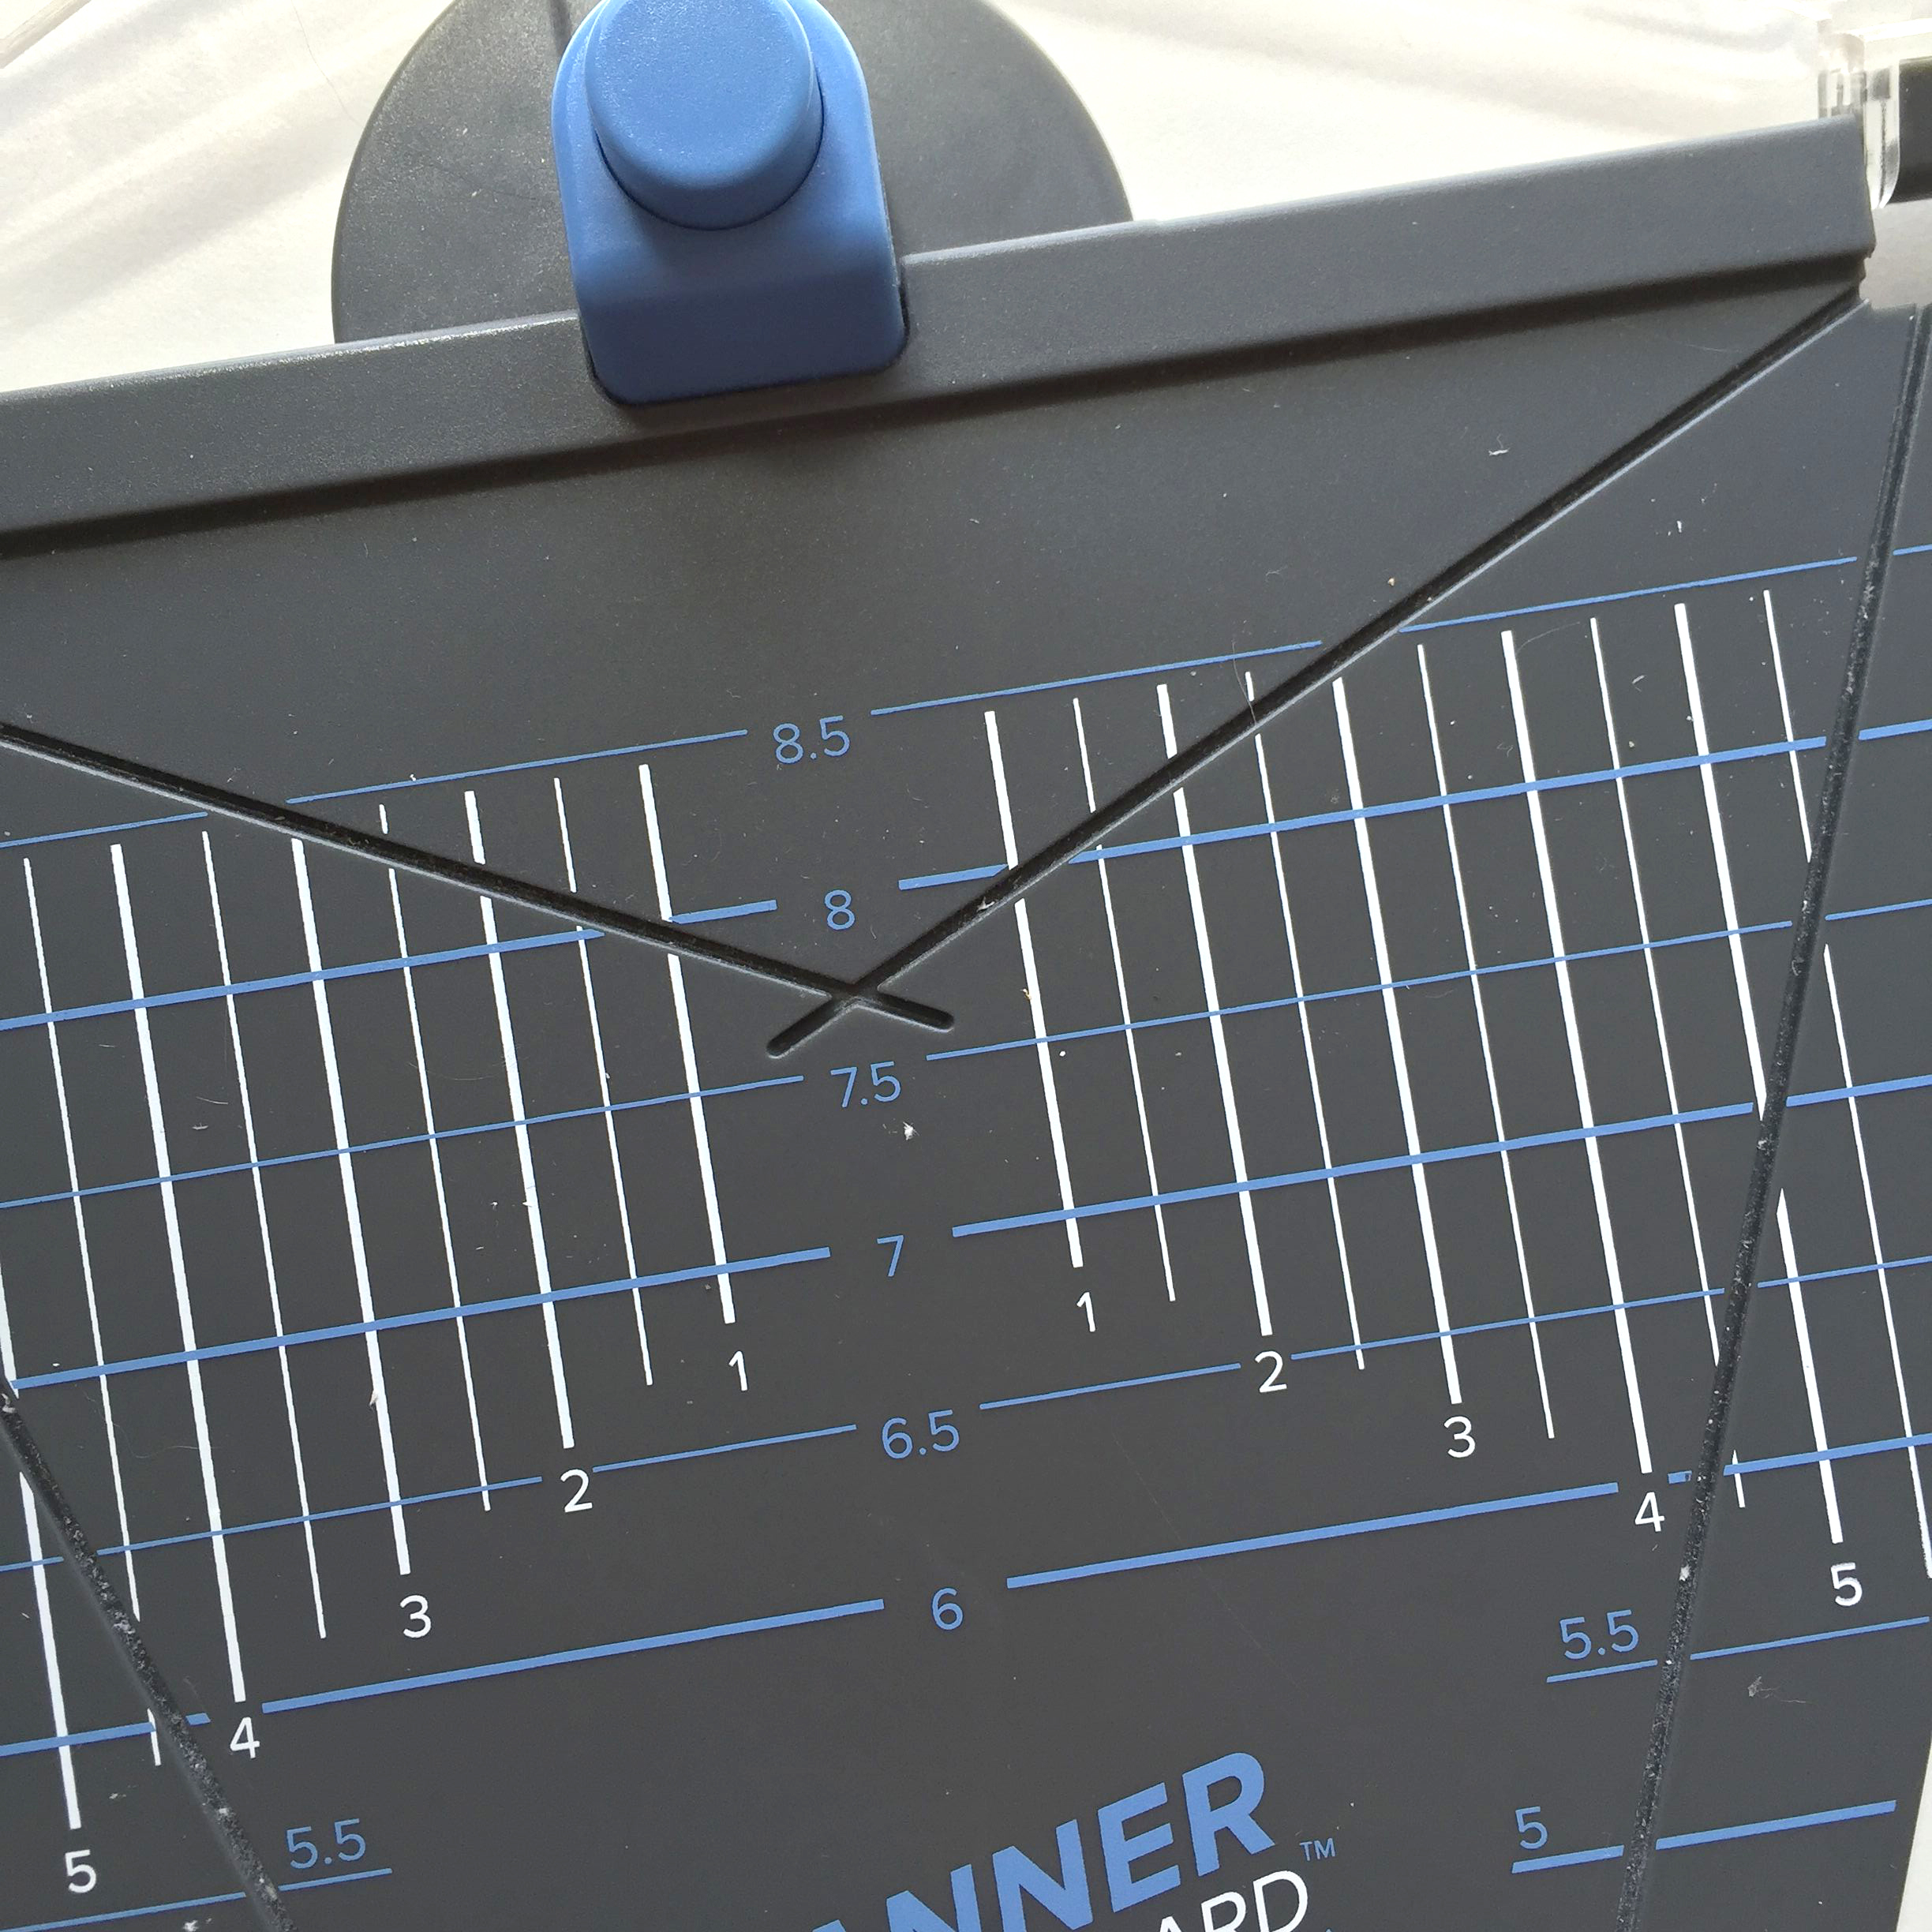
It’s a bit more difficult, because unlike the flag where you can pretty much cut triangles out of any size of paper, for these you need to cut your strips of paper first in order to be more exact. So you can choose your size – these first two lines are 1 inch.

You then lay the top frame back down – it has magnets which helps to keep your paper stable, but you still need to be firm – and can run the knife along the edges. If you do it on the top, you get crest, and on the bottom you get pennant.
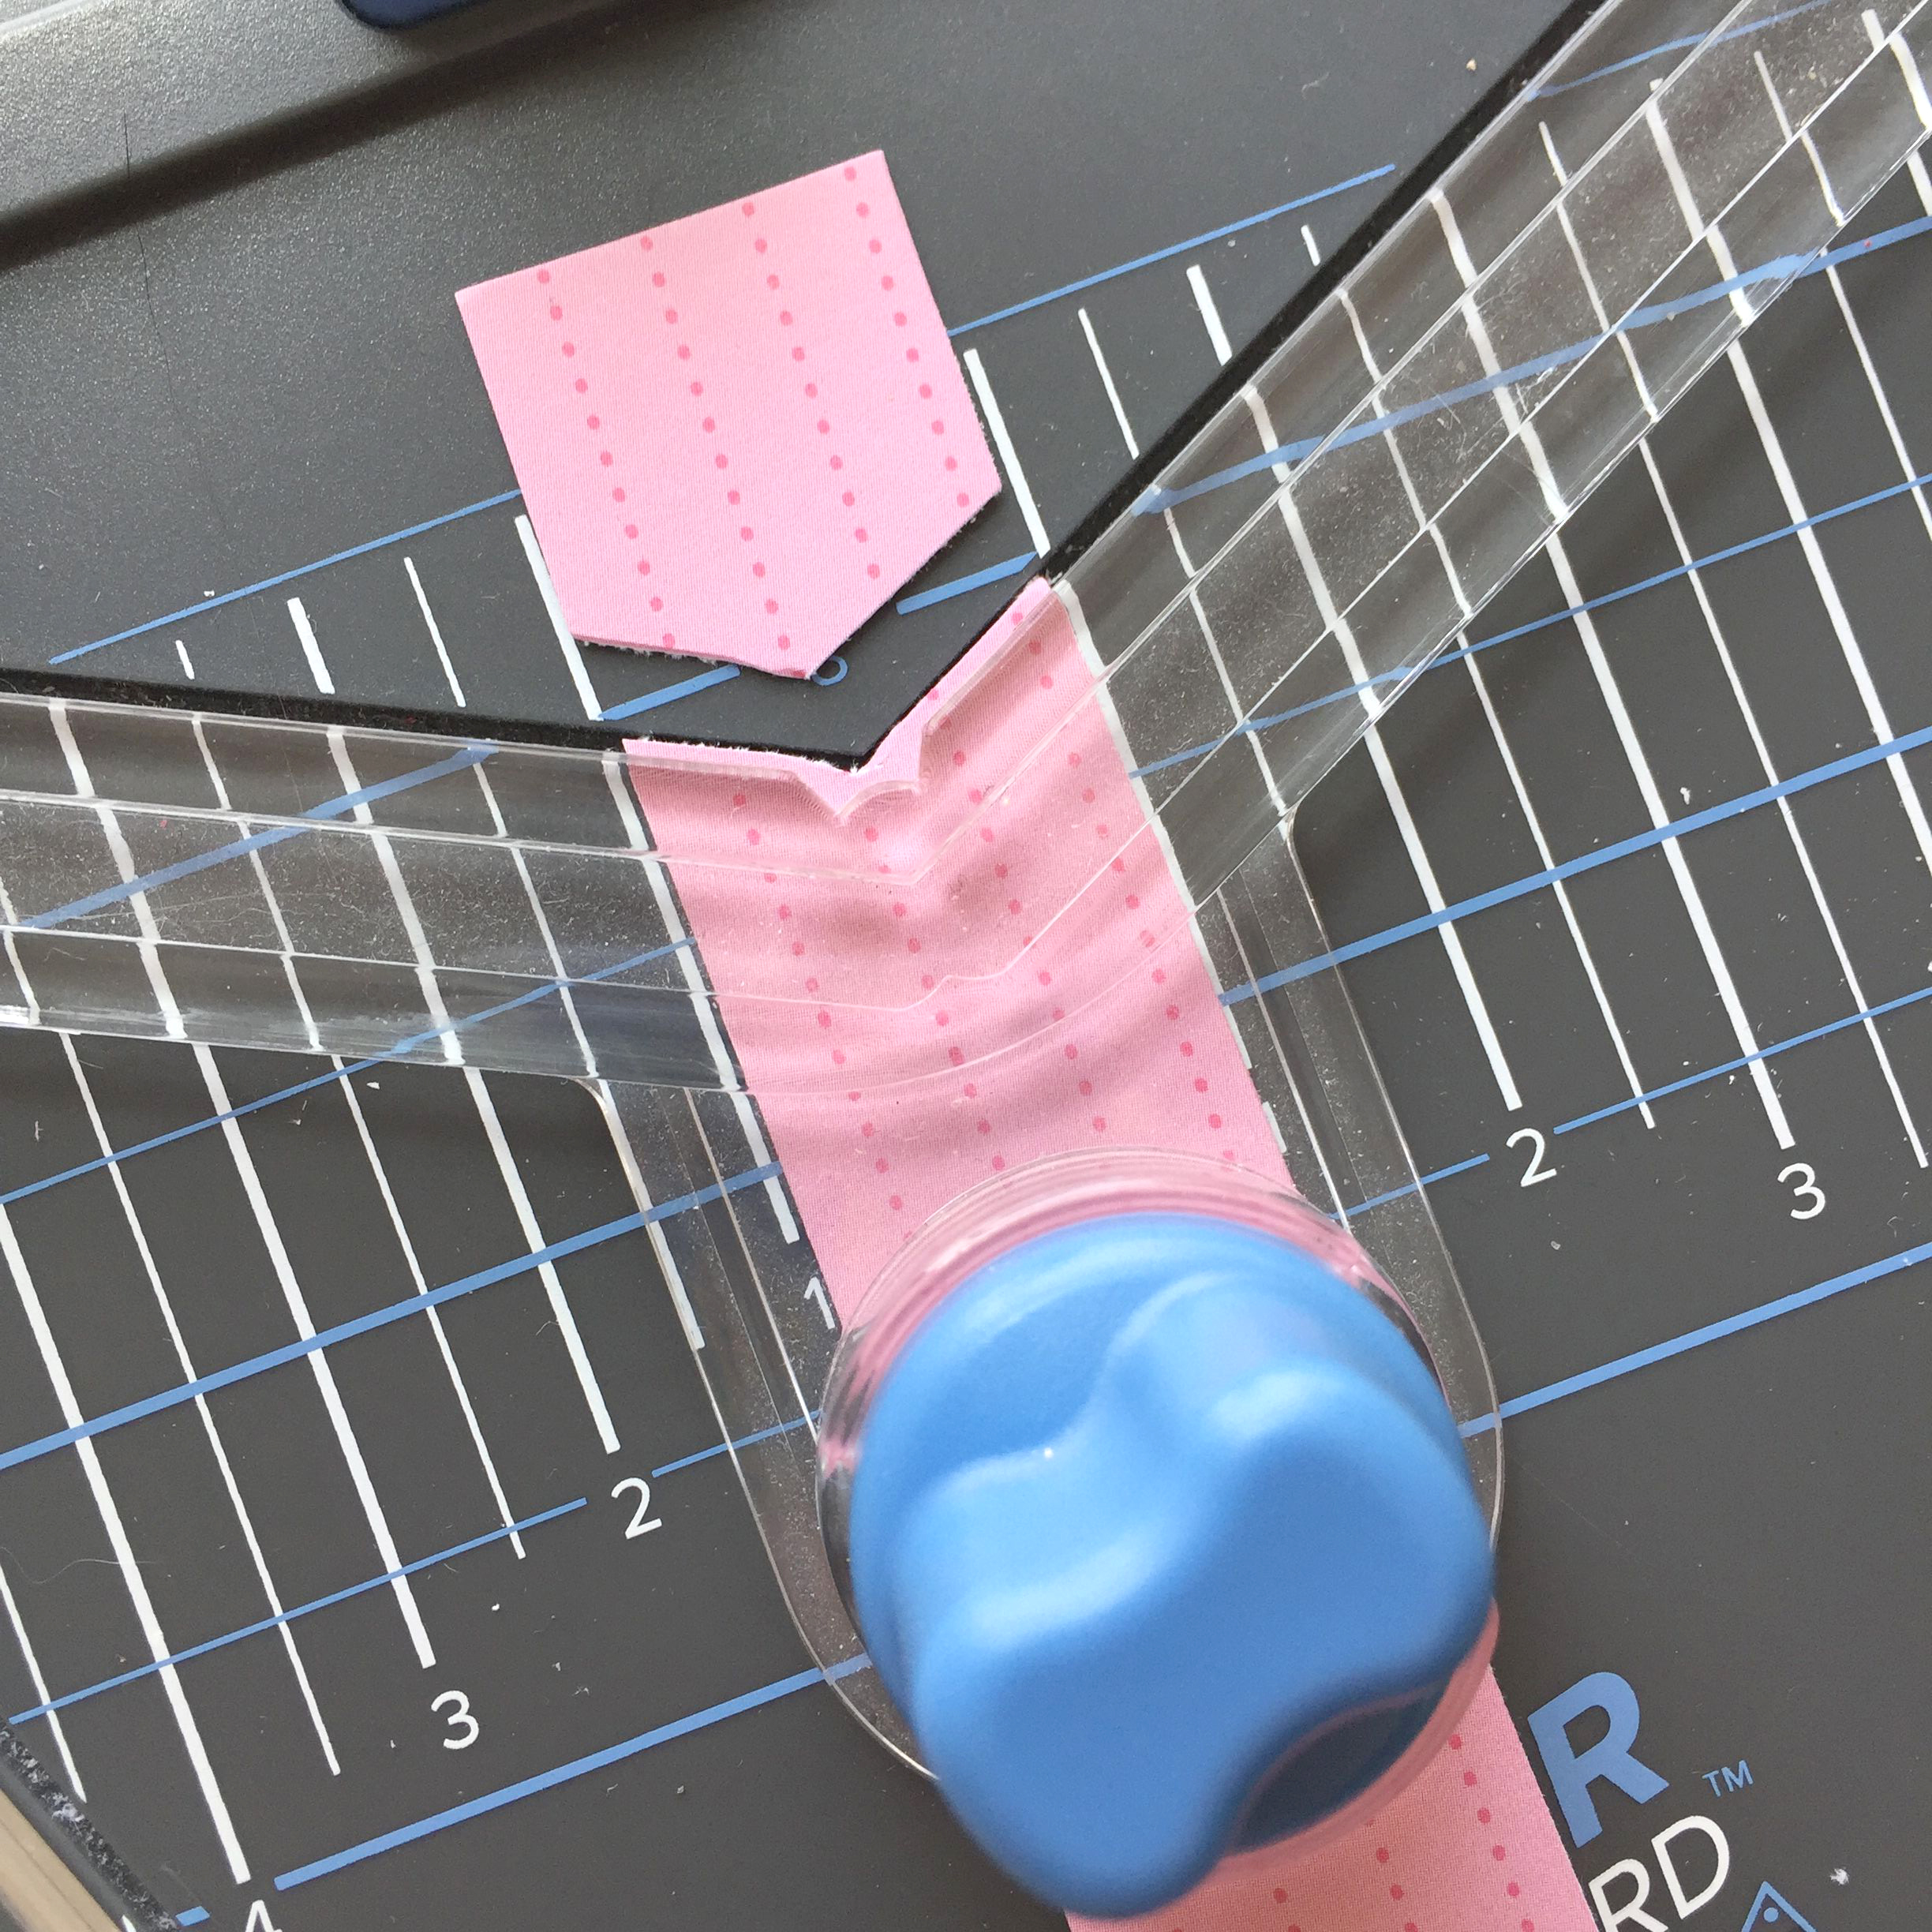
This is why you need to cut your strips before hand, it’s kinda wonky :p
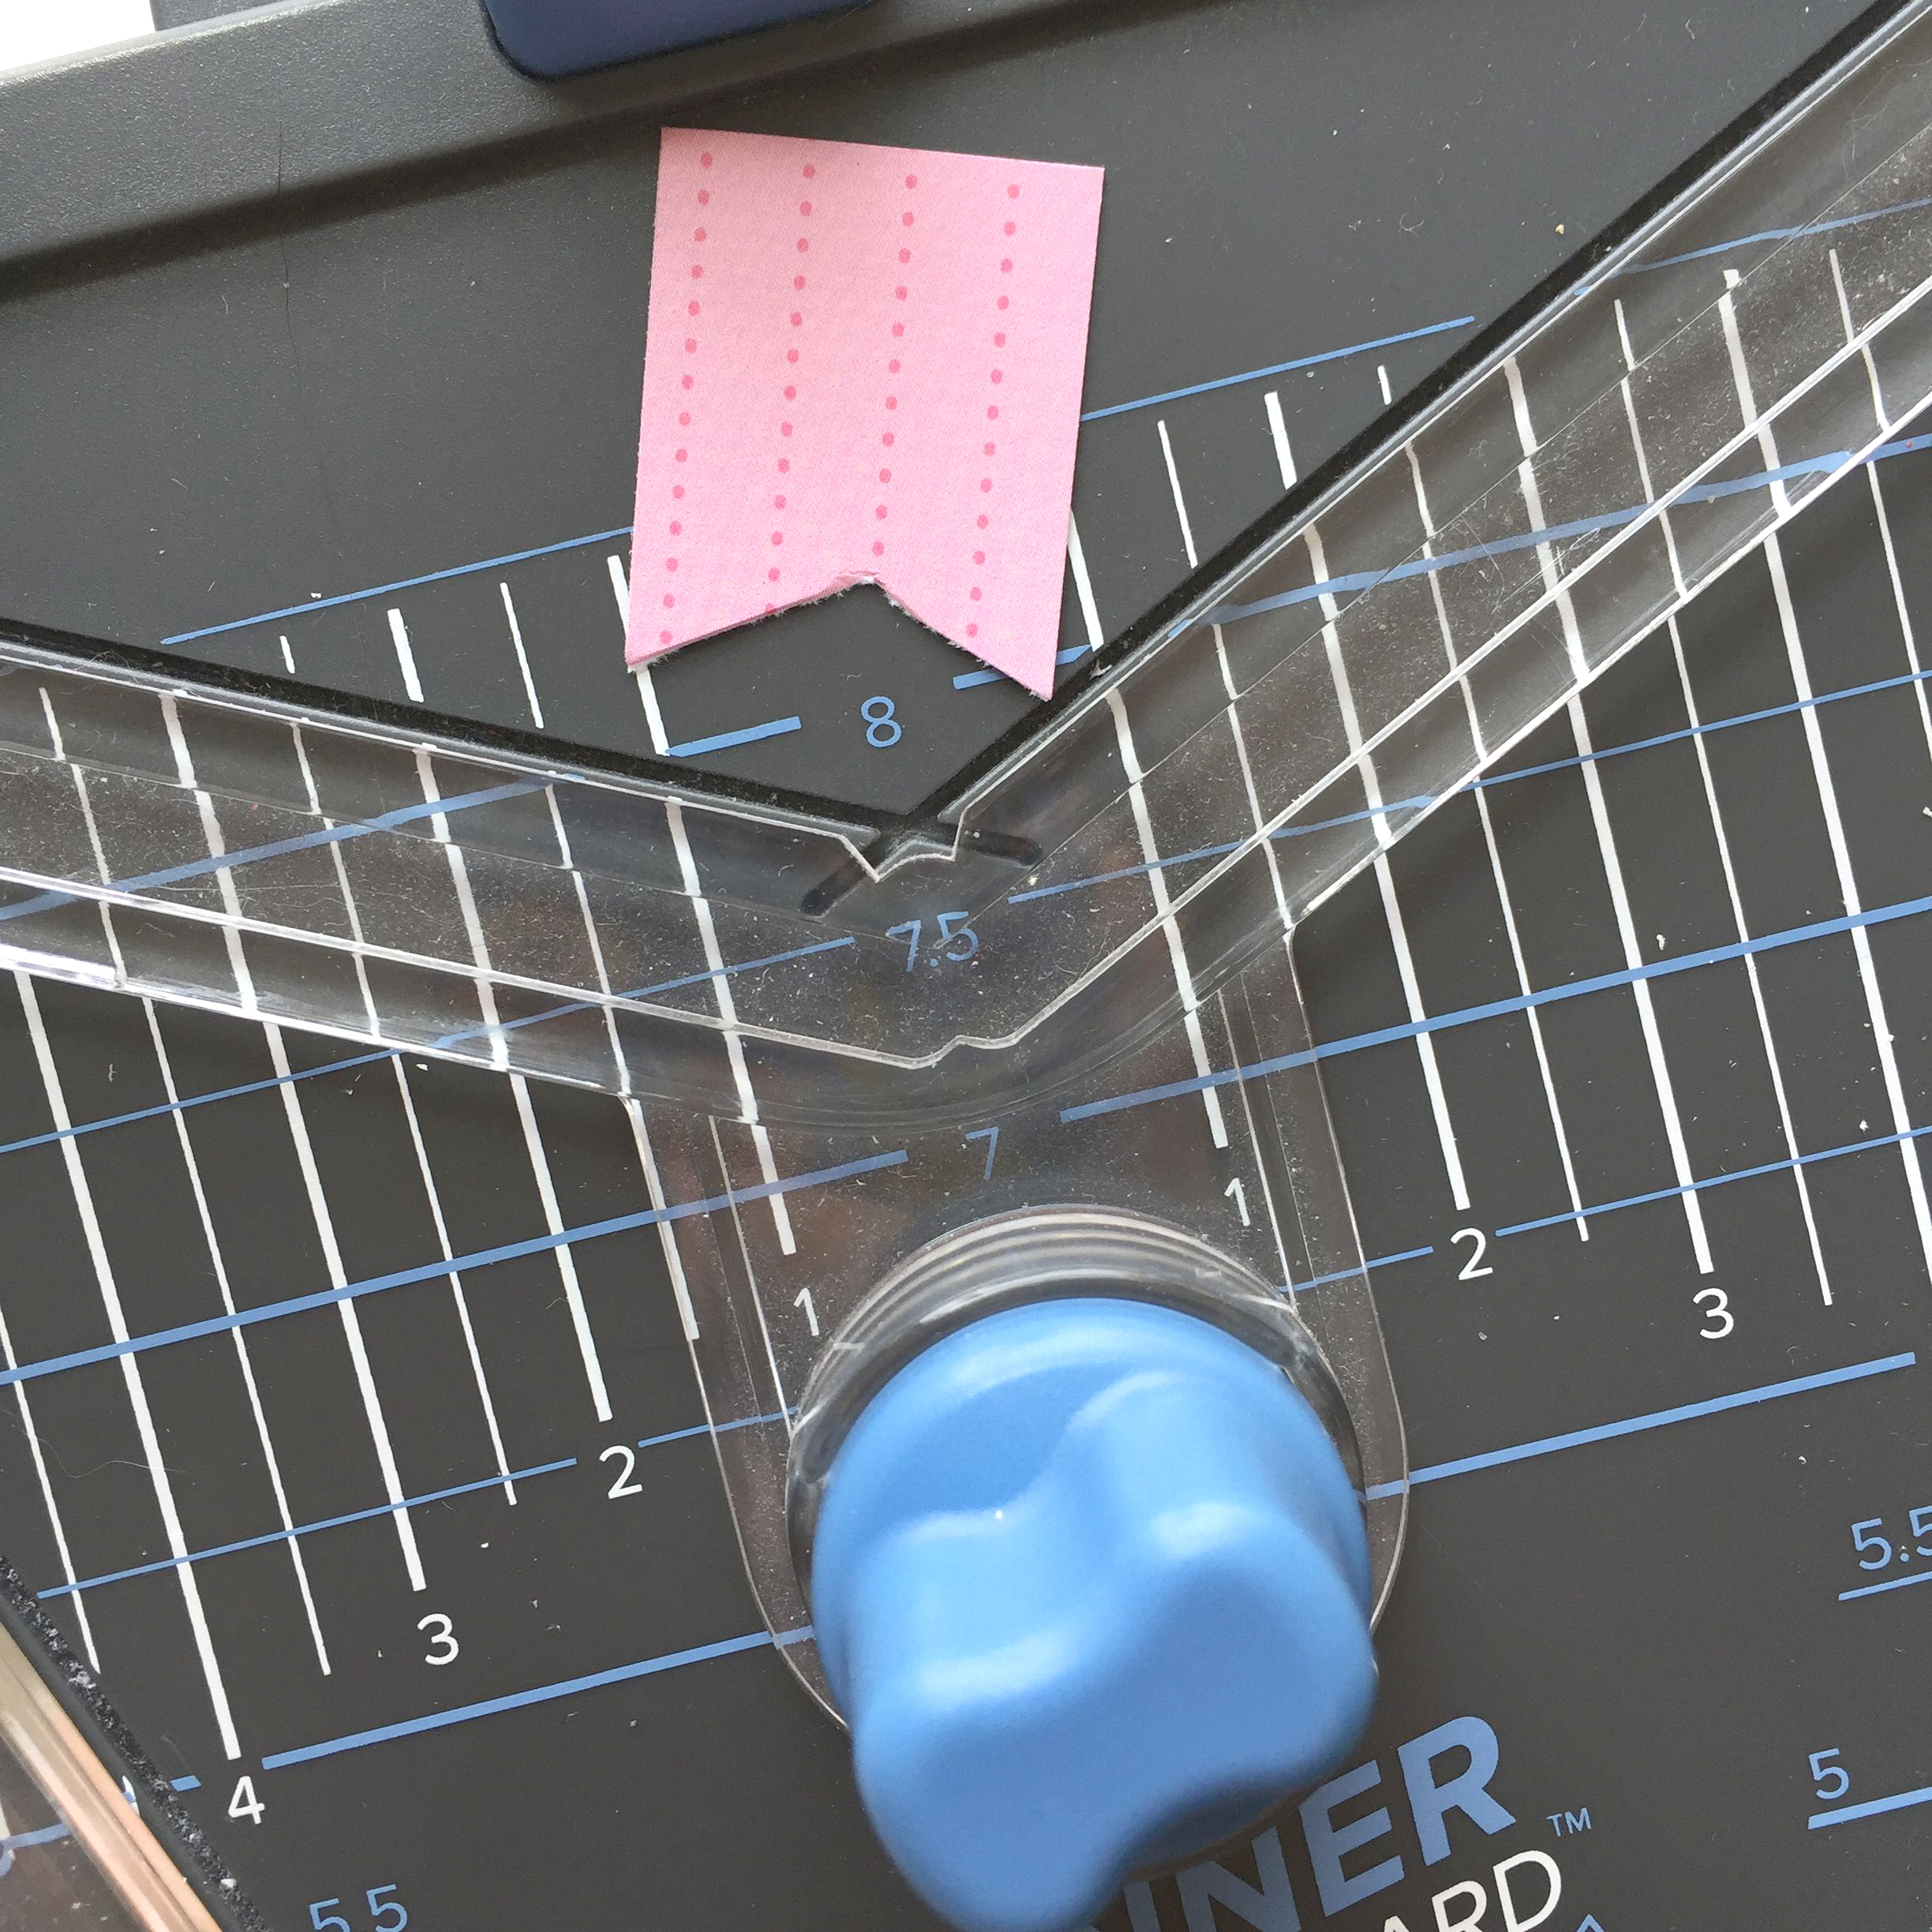
So here’s a bigger size of flag!

In order to string your punting, you need to punch holes, so hey look, there’s a hole punch at the top! You line up your triangle’s top edge, and punch, then flip it over and punch the other side.
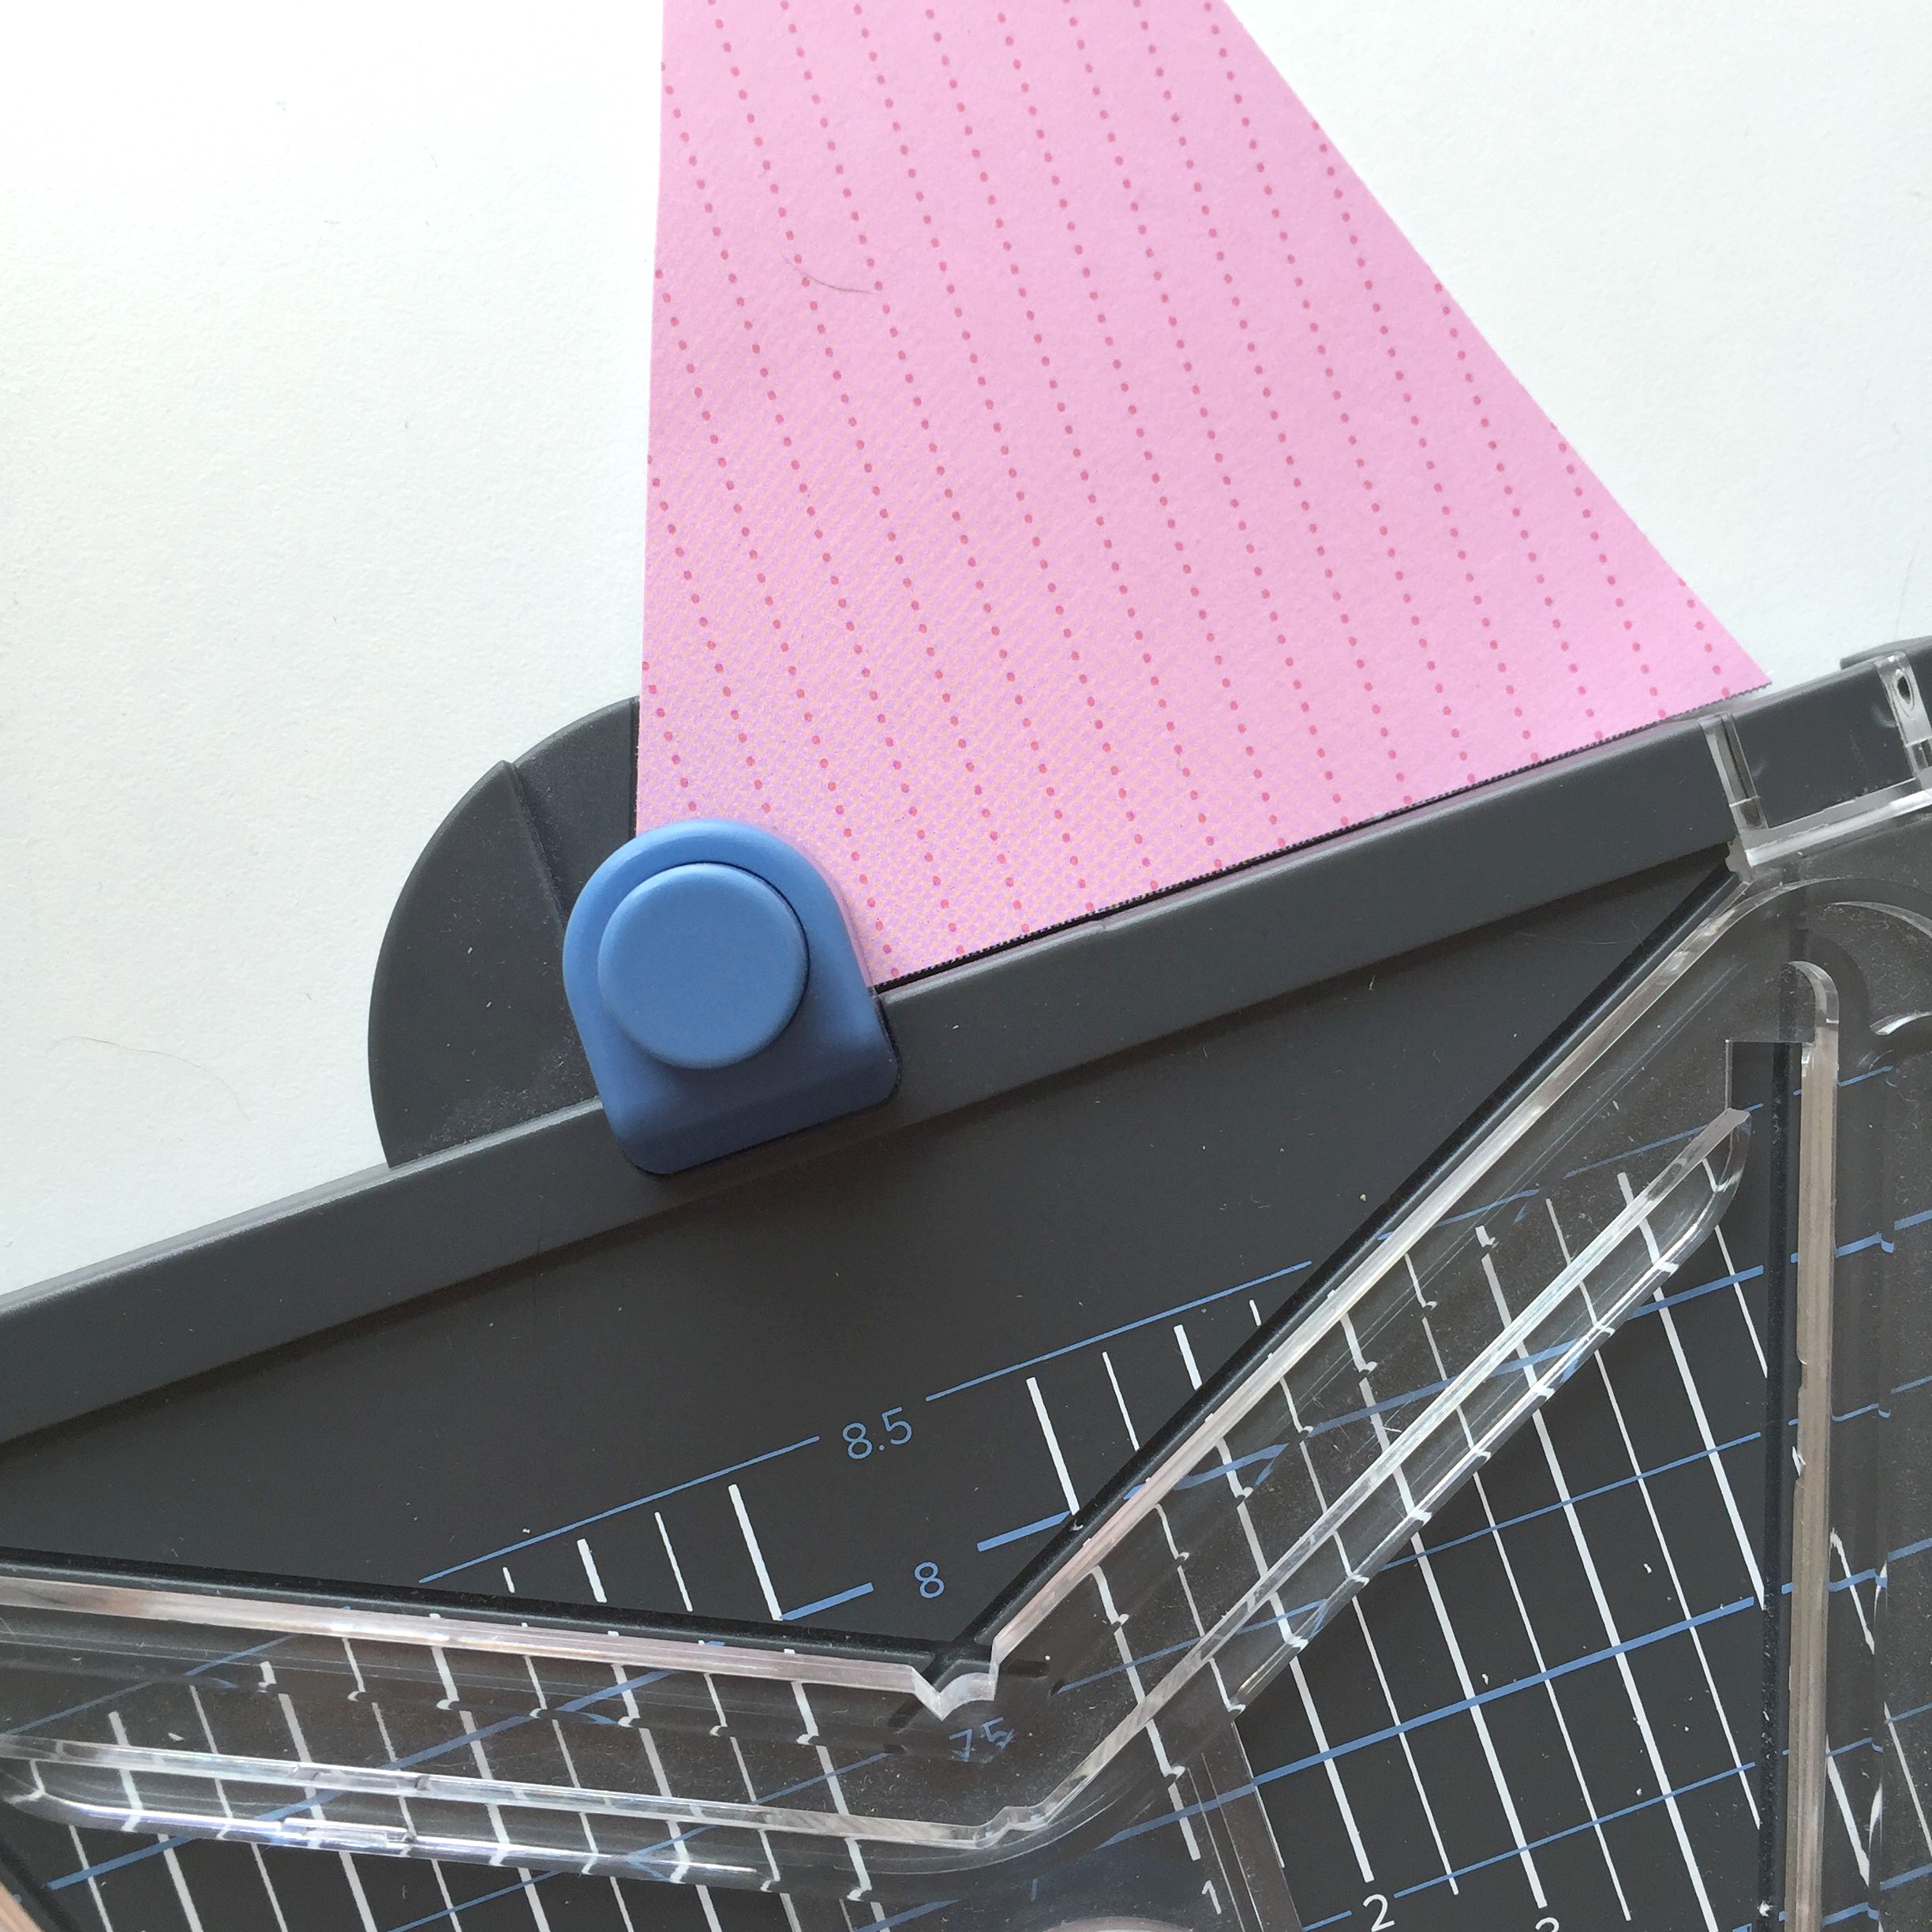
And then, ta da! It really goes so quickly once you know what size and shape you want. You can get a lot out of a sheet of paper if you want to, too!
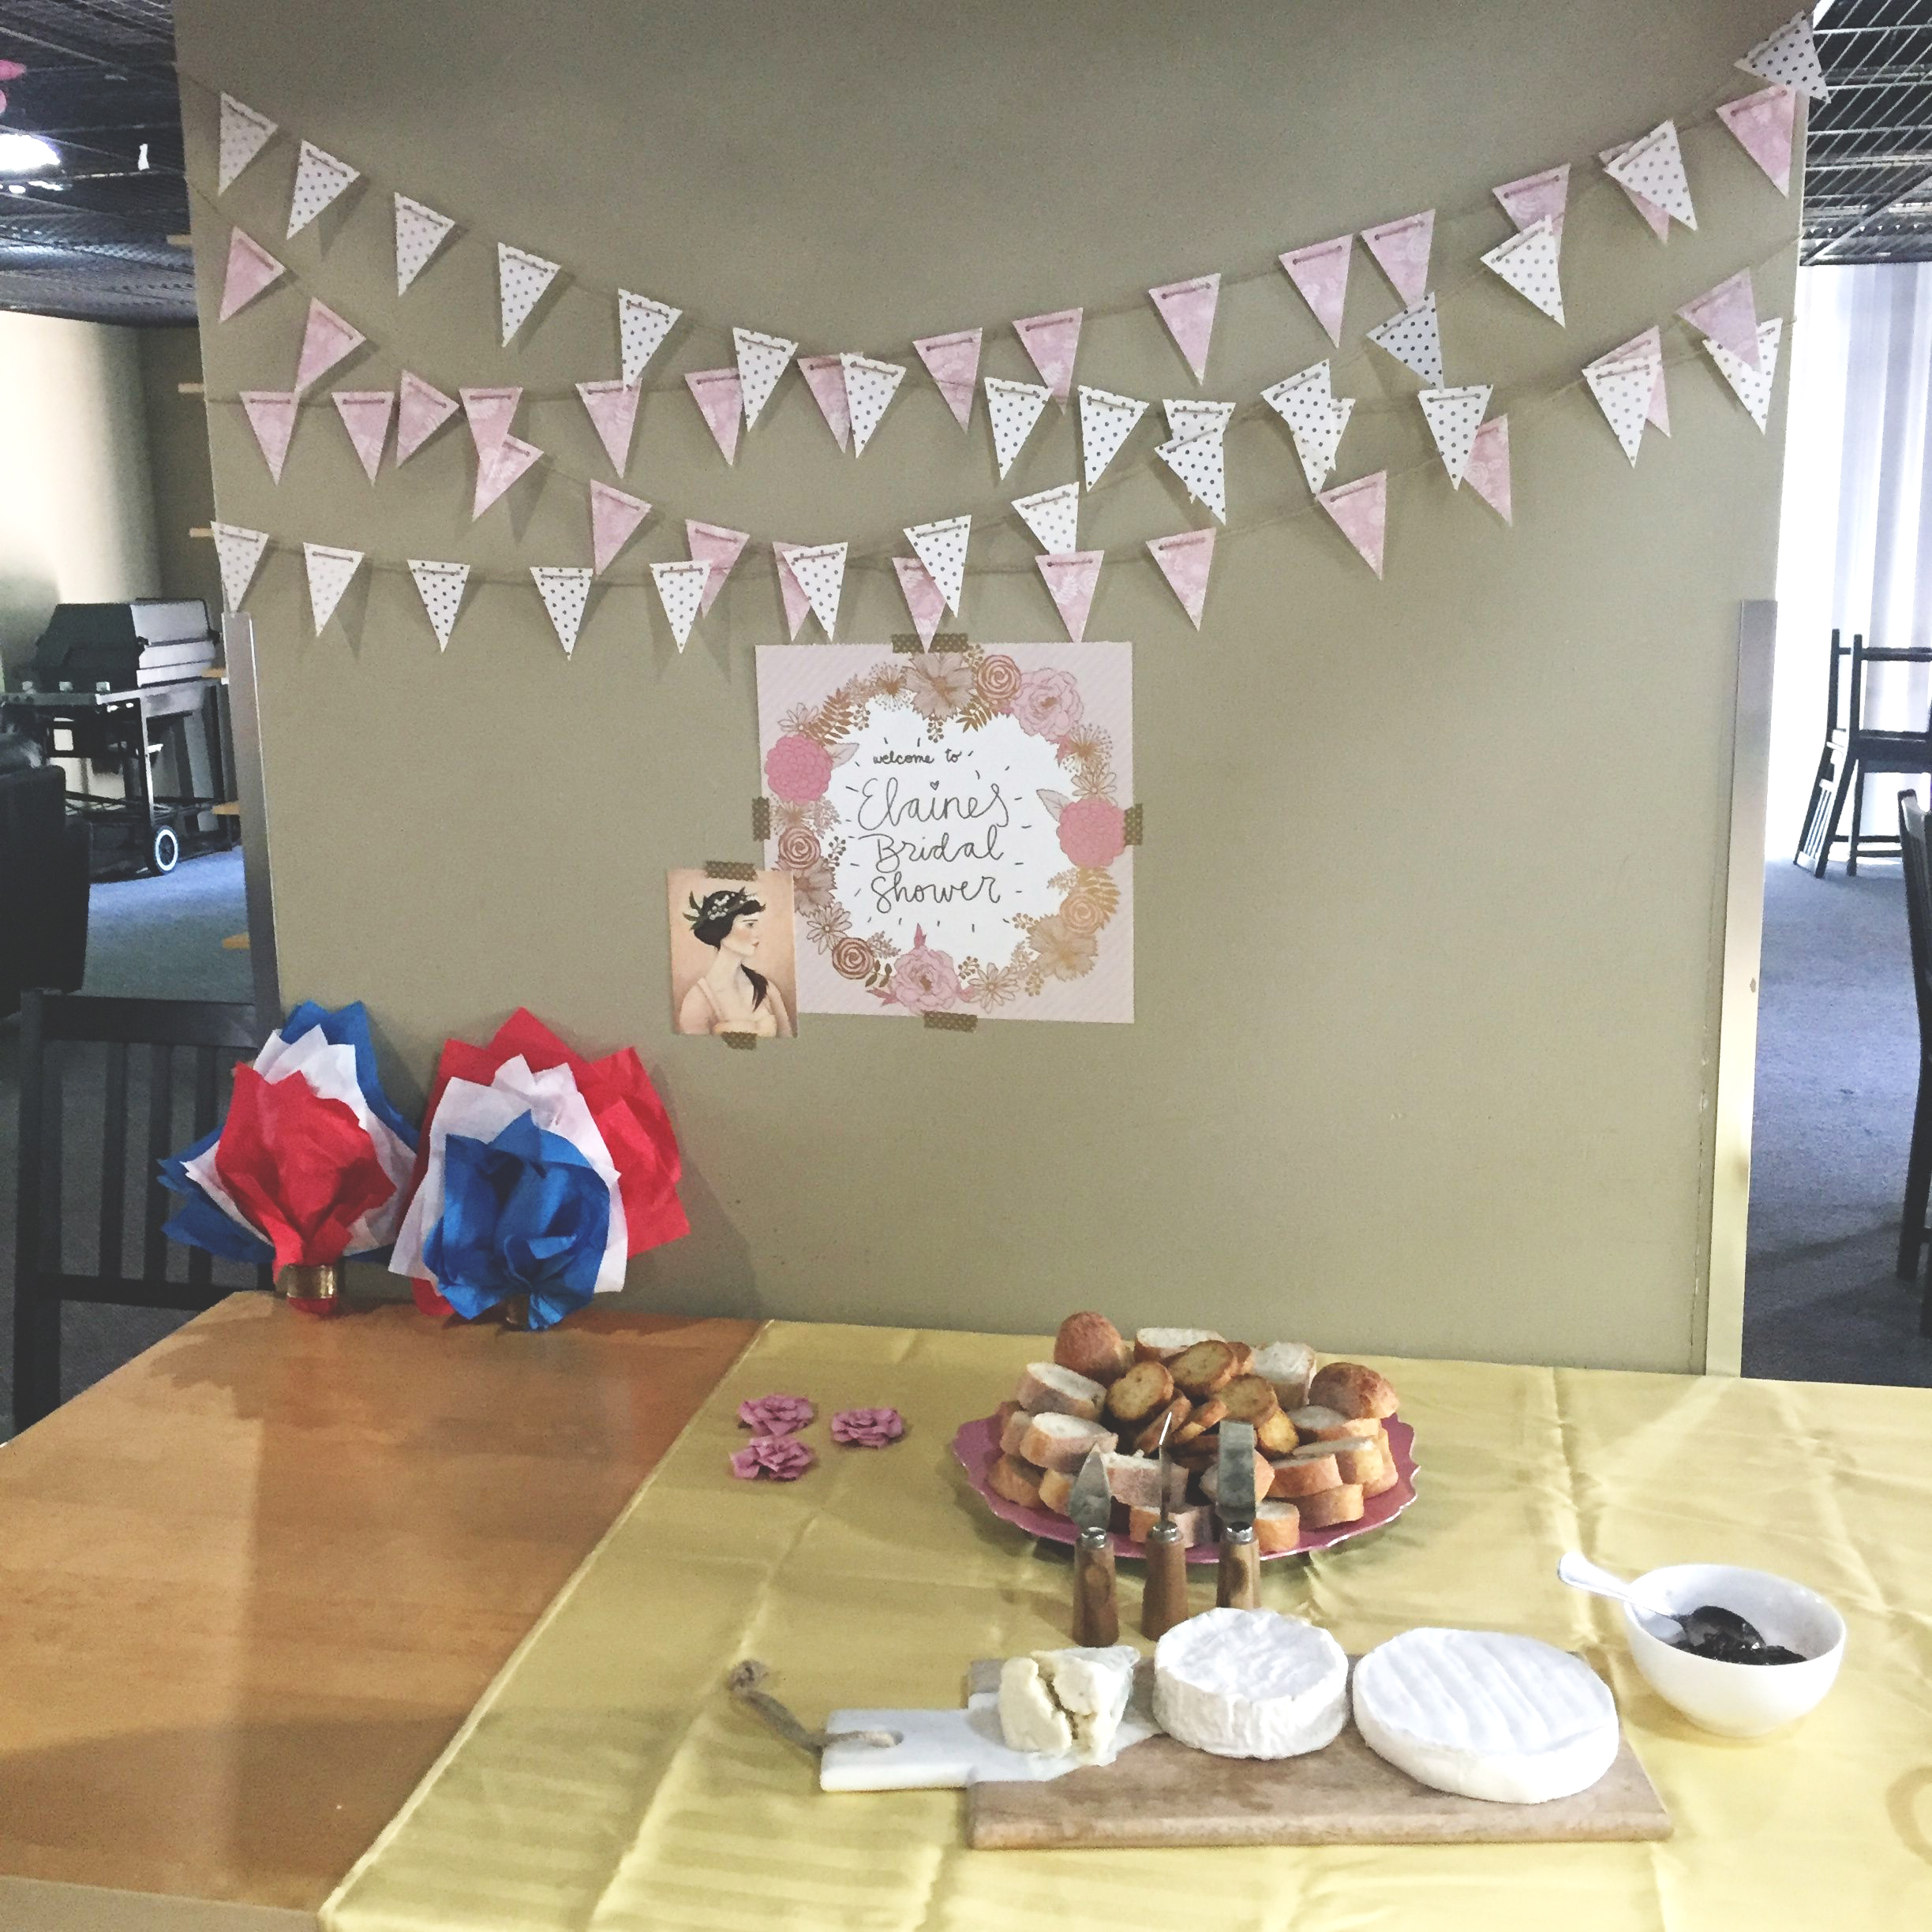
Here’s some bunting I made for my friend’s bridal shower last week 🙂
Watch this video for more on how easy it is to use this board!
https://www.youtube.com/watch?v=Q8ASp_D0fUw
The banner looks super cute! I may need to come over to borrow it if you’ll let me! I can bring Menchies…