
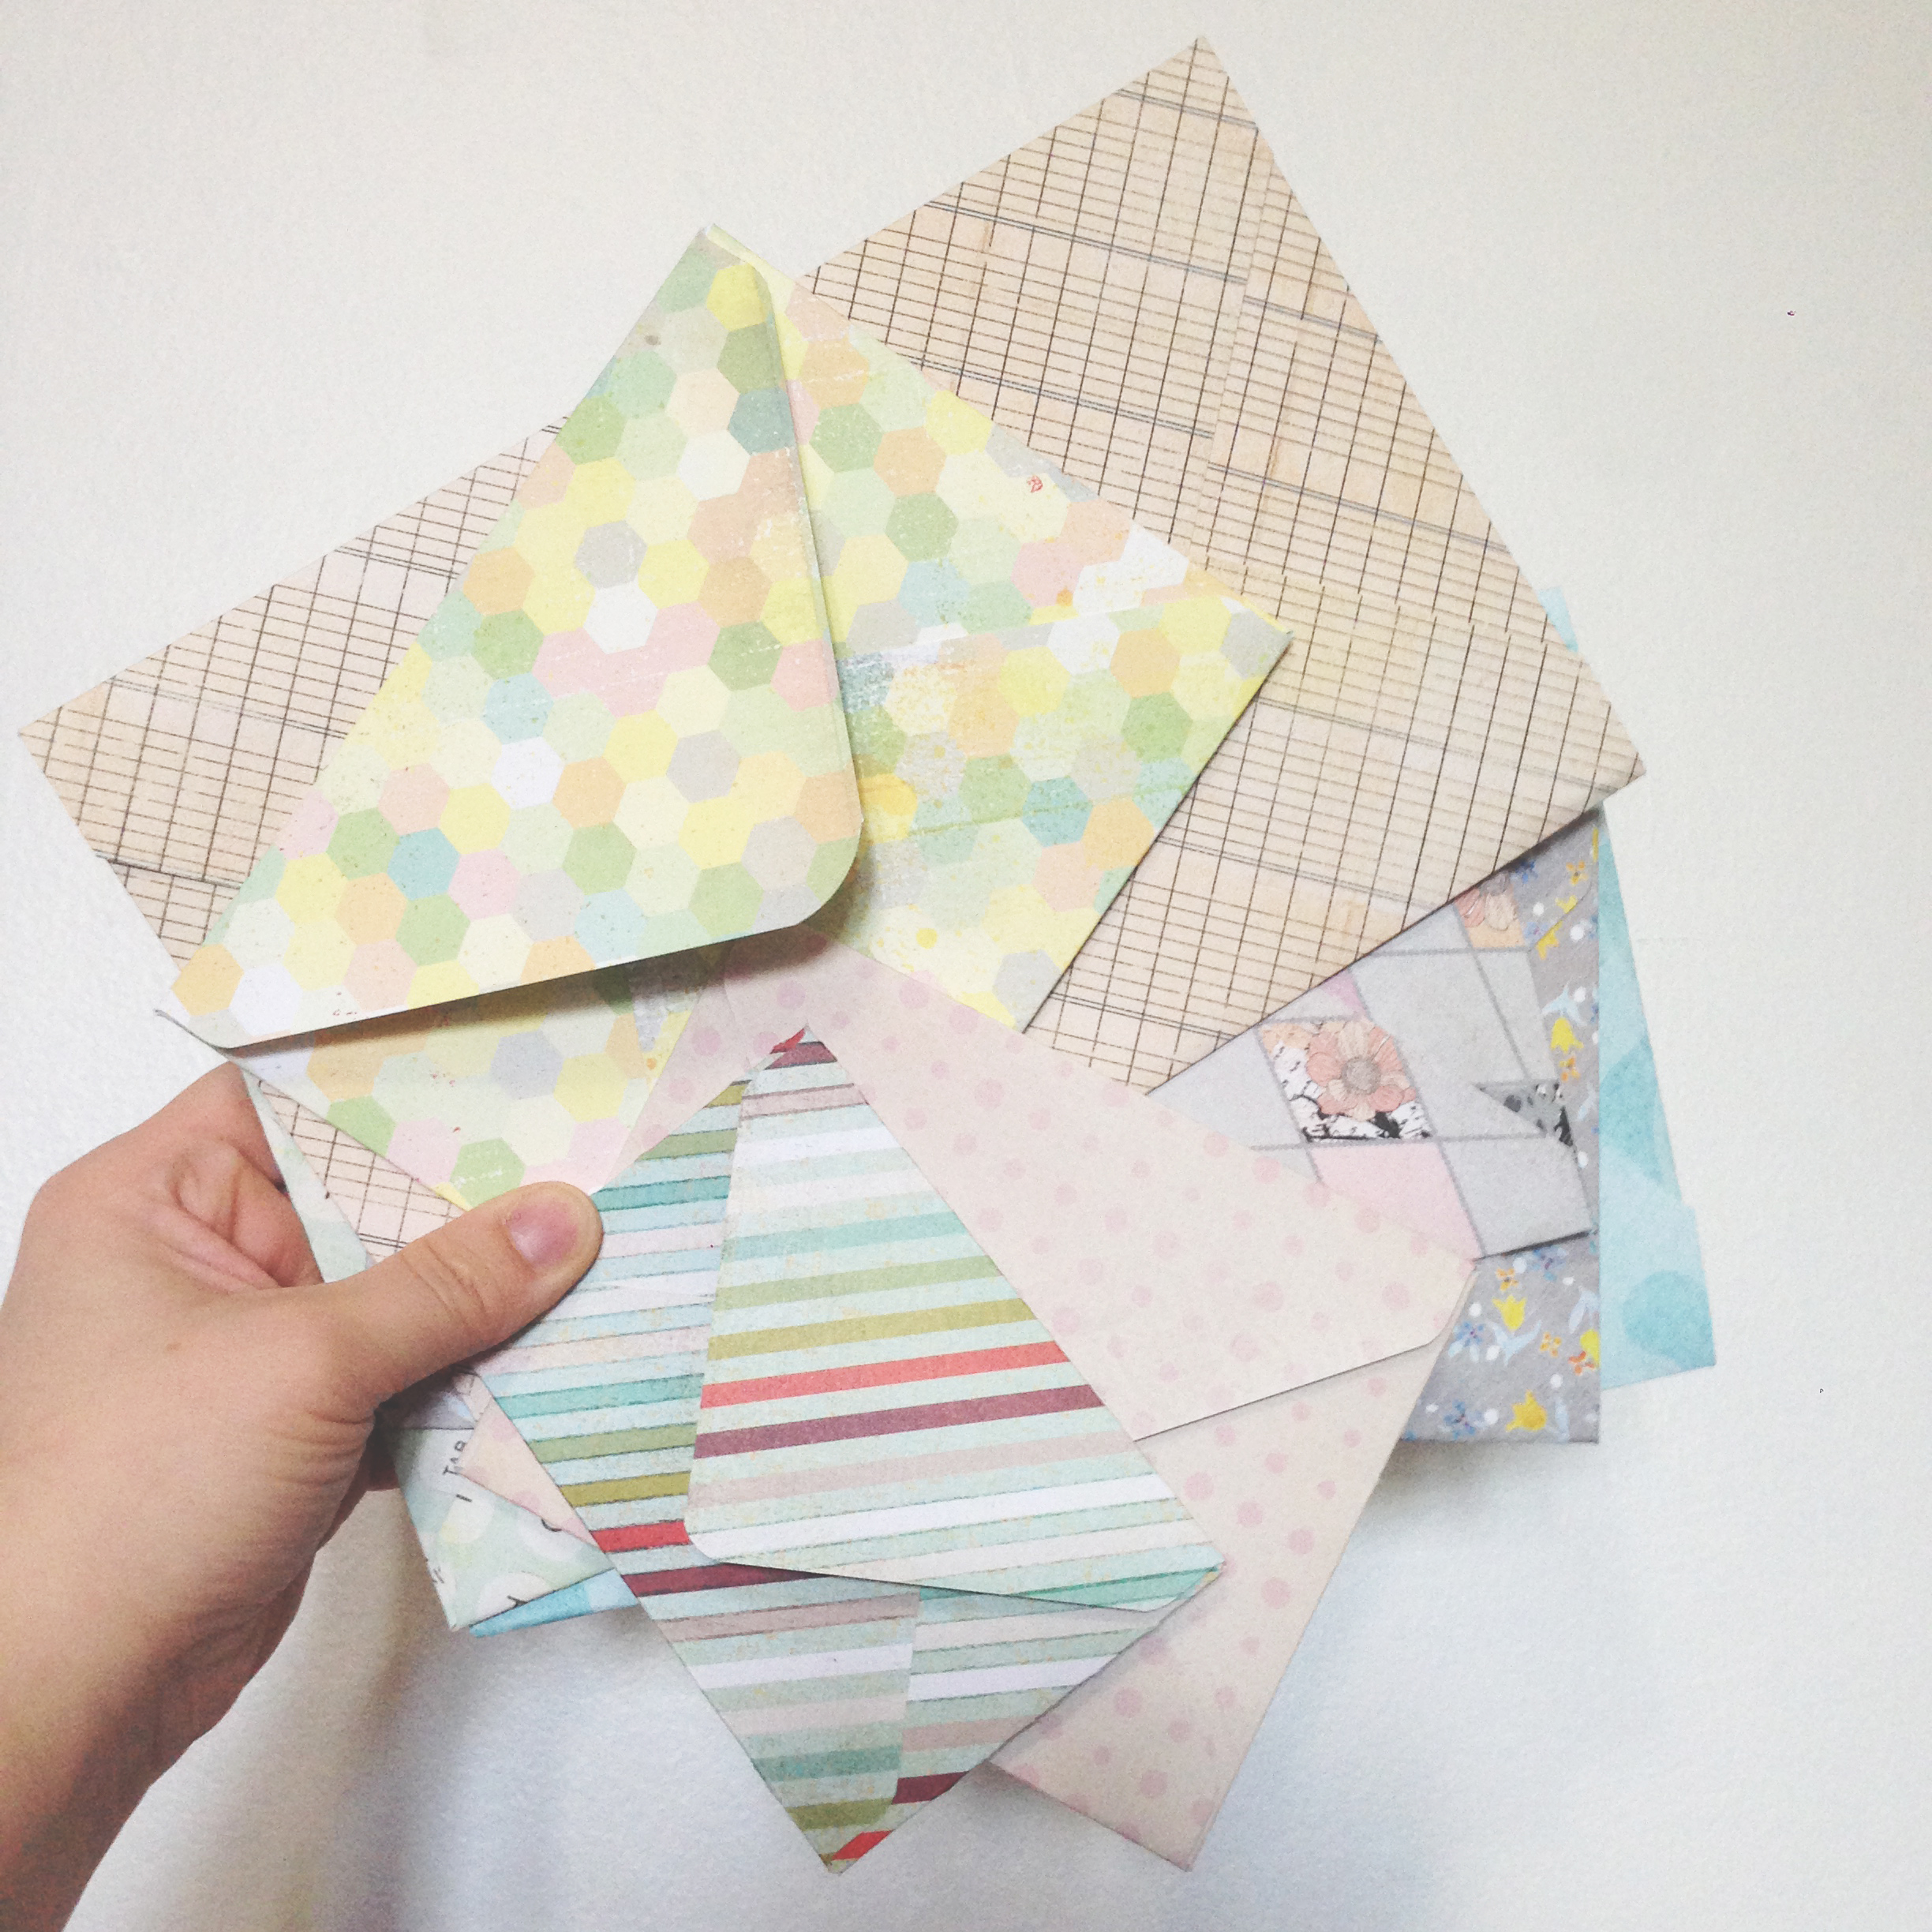
I love making envelopes for letters and zine packages. It’s one of those things that I can mindlessly do while watching Netflix, so even if I’ve had an unproductive day, I still feel like I’m making something and using my hands. (I have hardly been able to watch TV idly since, though.)
Here are the three ways I’ve made them (in crappy photos, sorry).
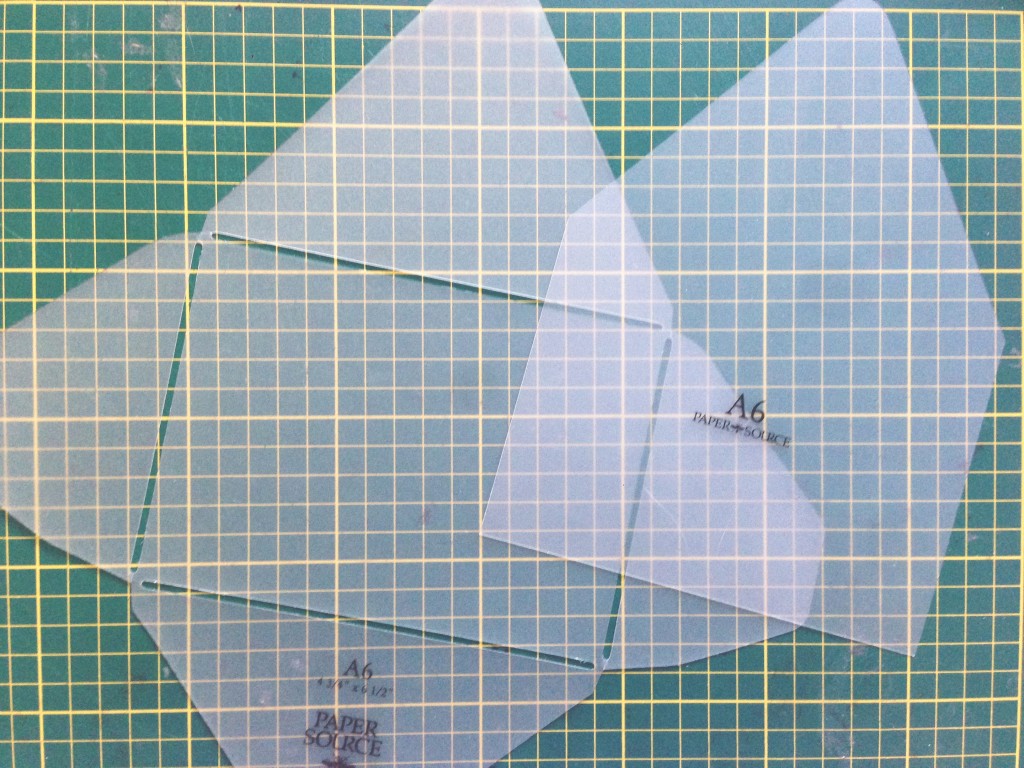
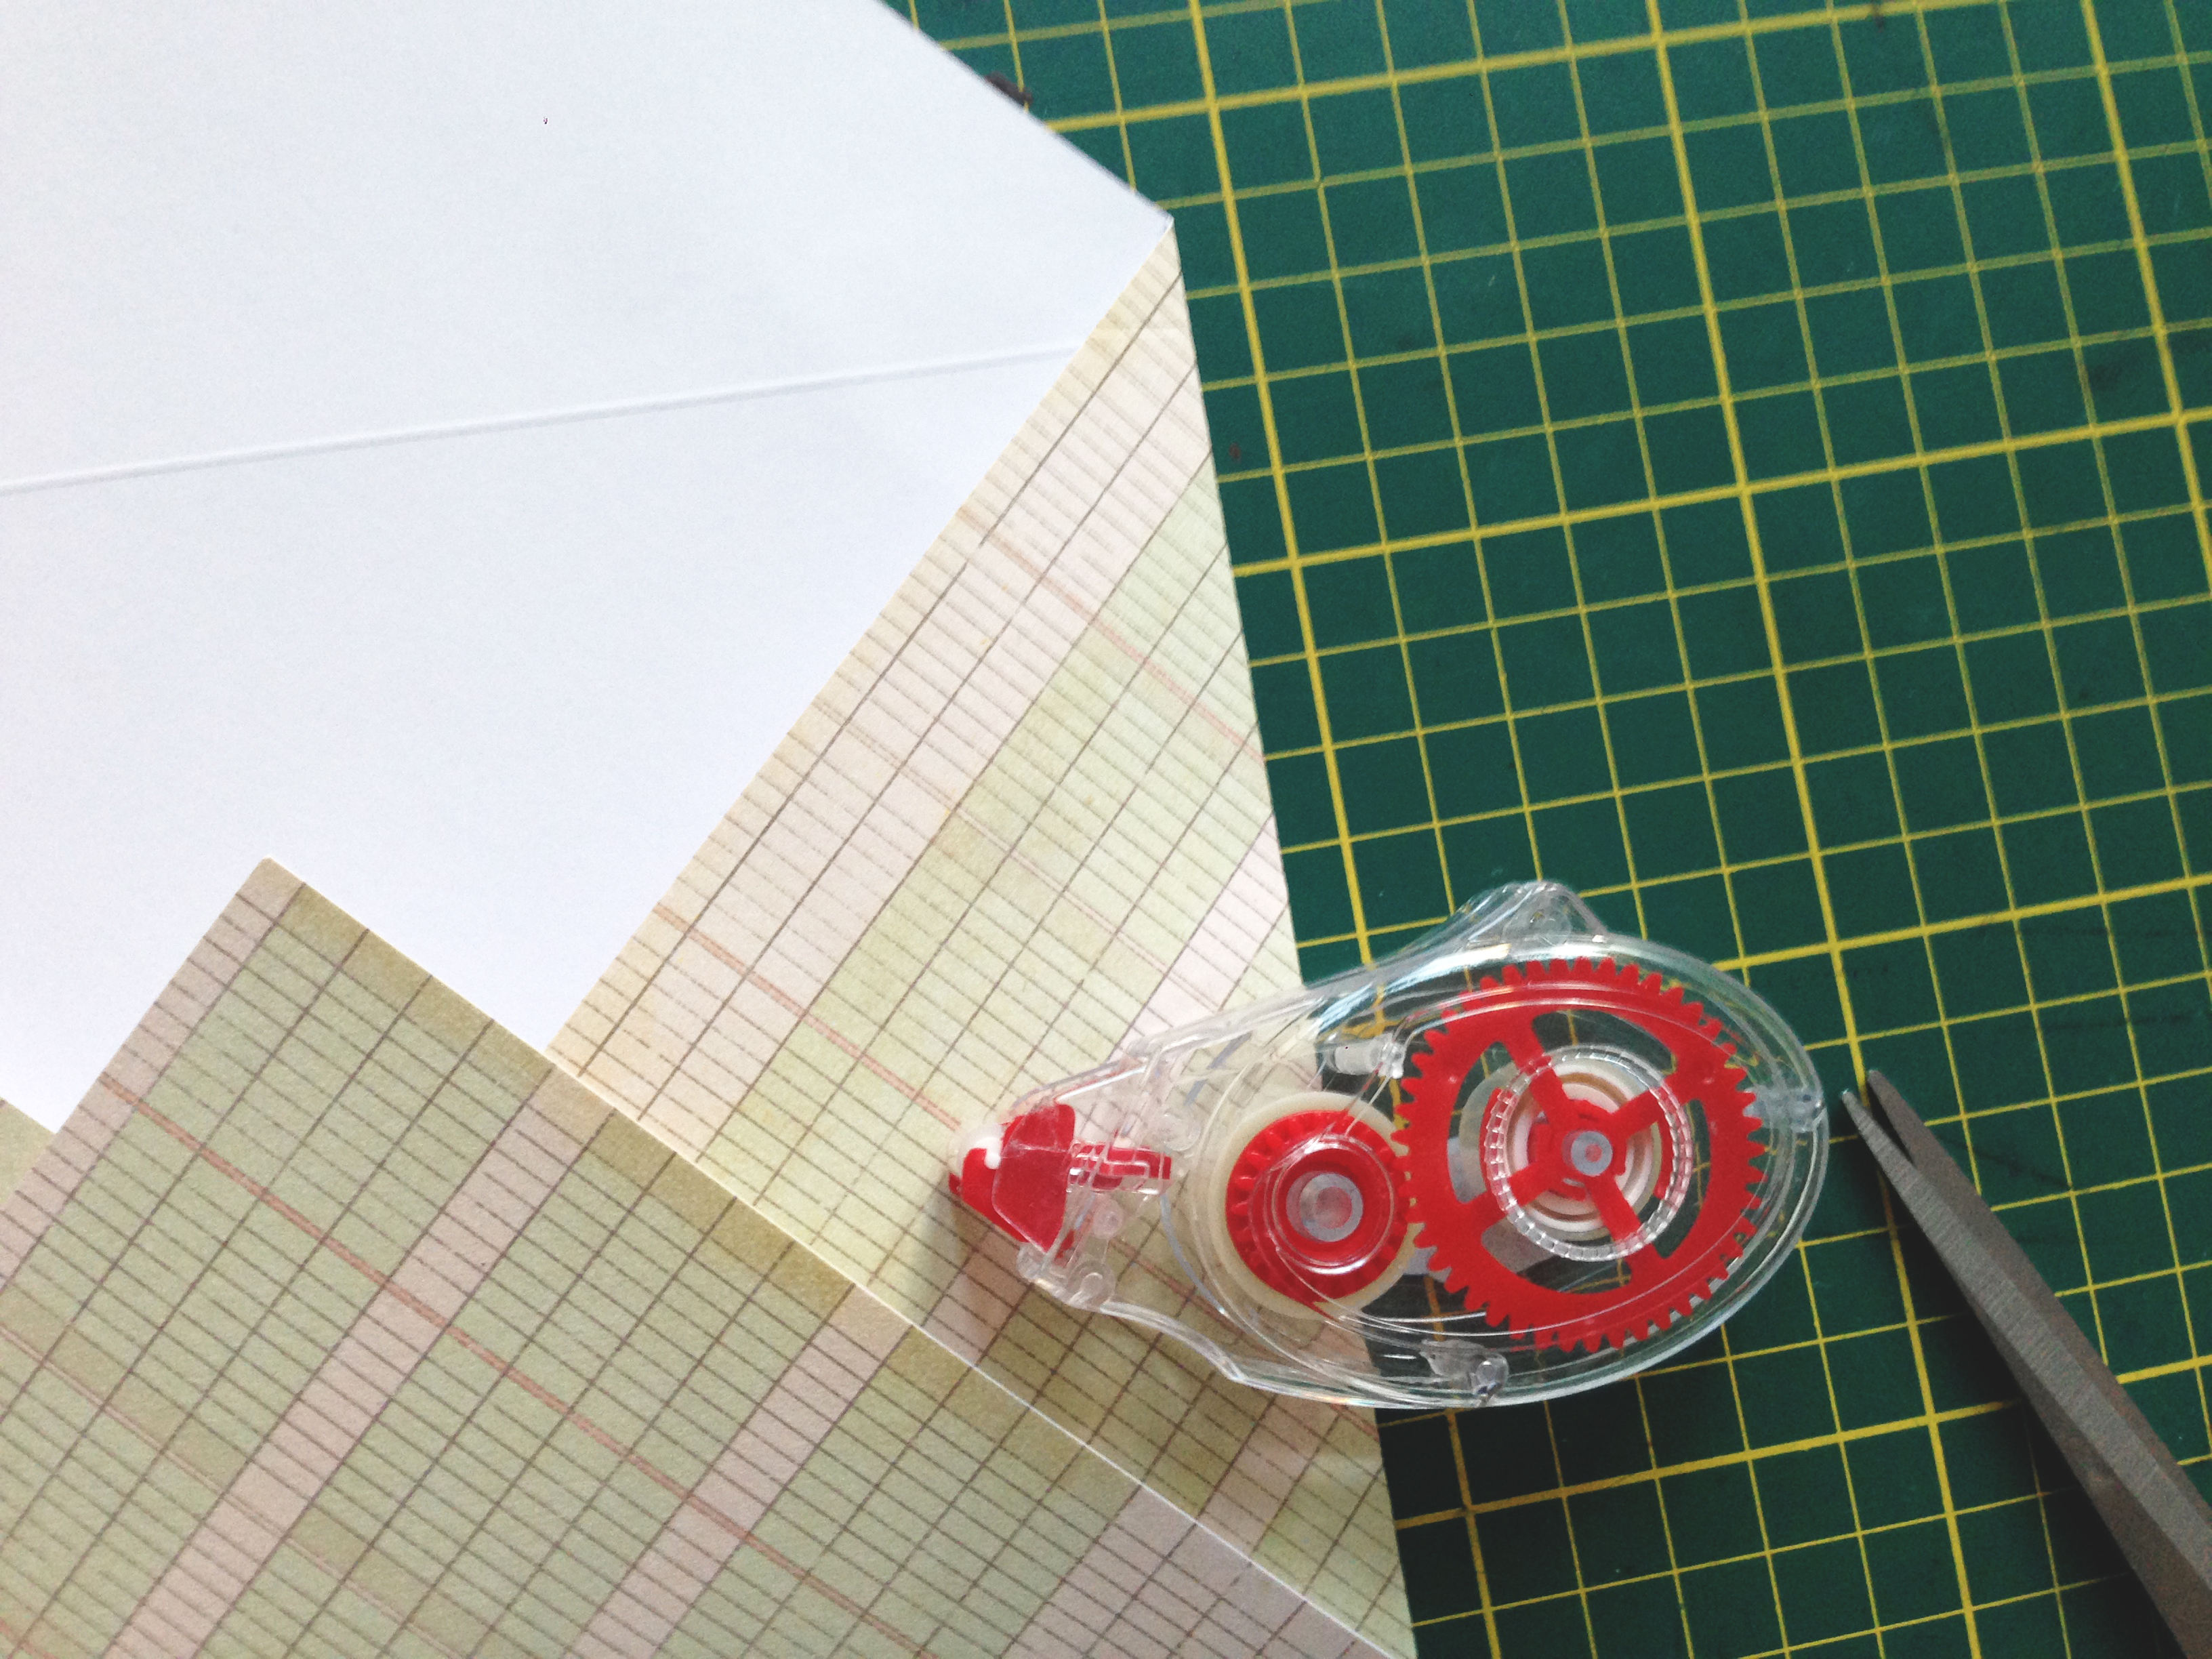
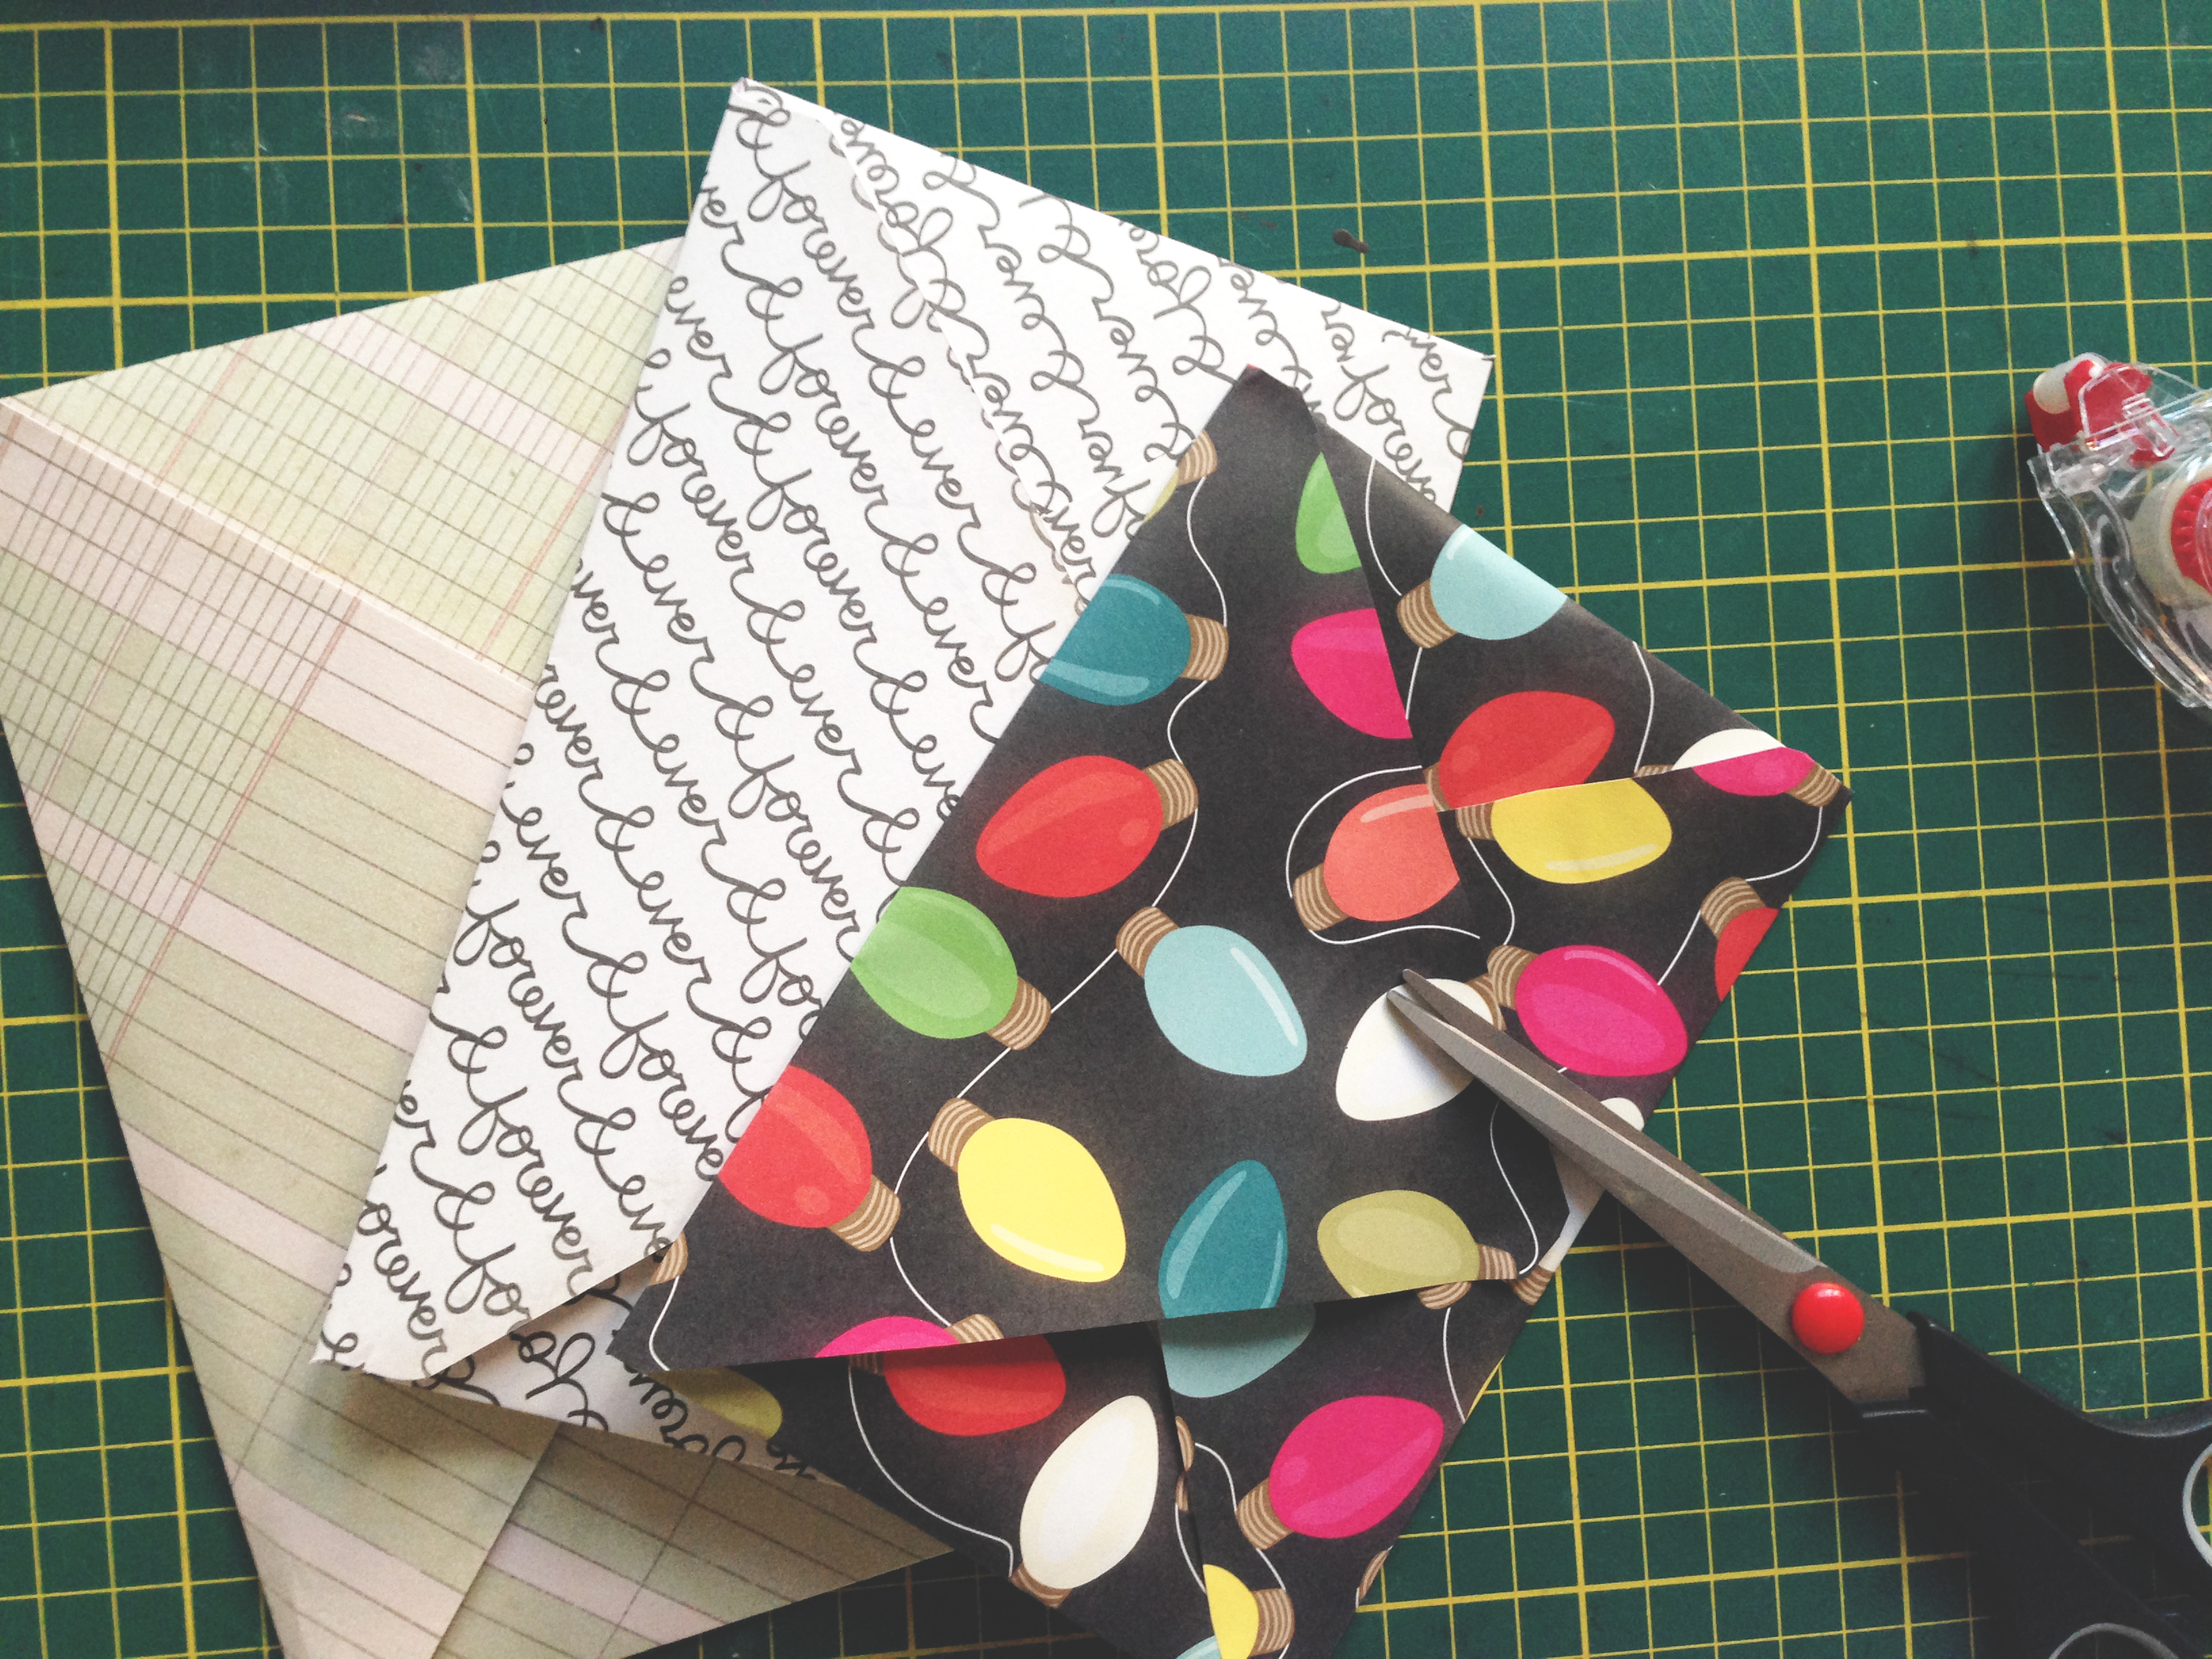
I started out making envelopes from pretty wrapping paper you’d find at a paper store (not the kind you’d wrap your Christmas presents in), but it’s pretty thin. Good for shipping costs, bad for durability. One thing’s for sure: you do not want to use liquid glue. It’ll warp the paper. I used templates from Paper Source to trace them, I’d usually get about 5 to a sheet. You can obviously find many templates online and print them out though, if that’s more your style.
Here’s how:
Pick the size of envelope you want to make.
Use a pencil to trace on what would be the inside of the envelope.
Cut out.
Use a bone folder to press the edges on the outside of the paper.

Paste!
You can also find templates for envelope liners if you want to pretty-up the inside.
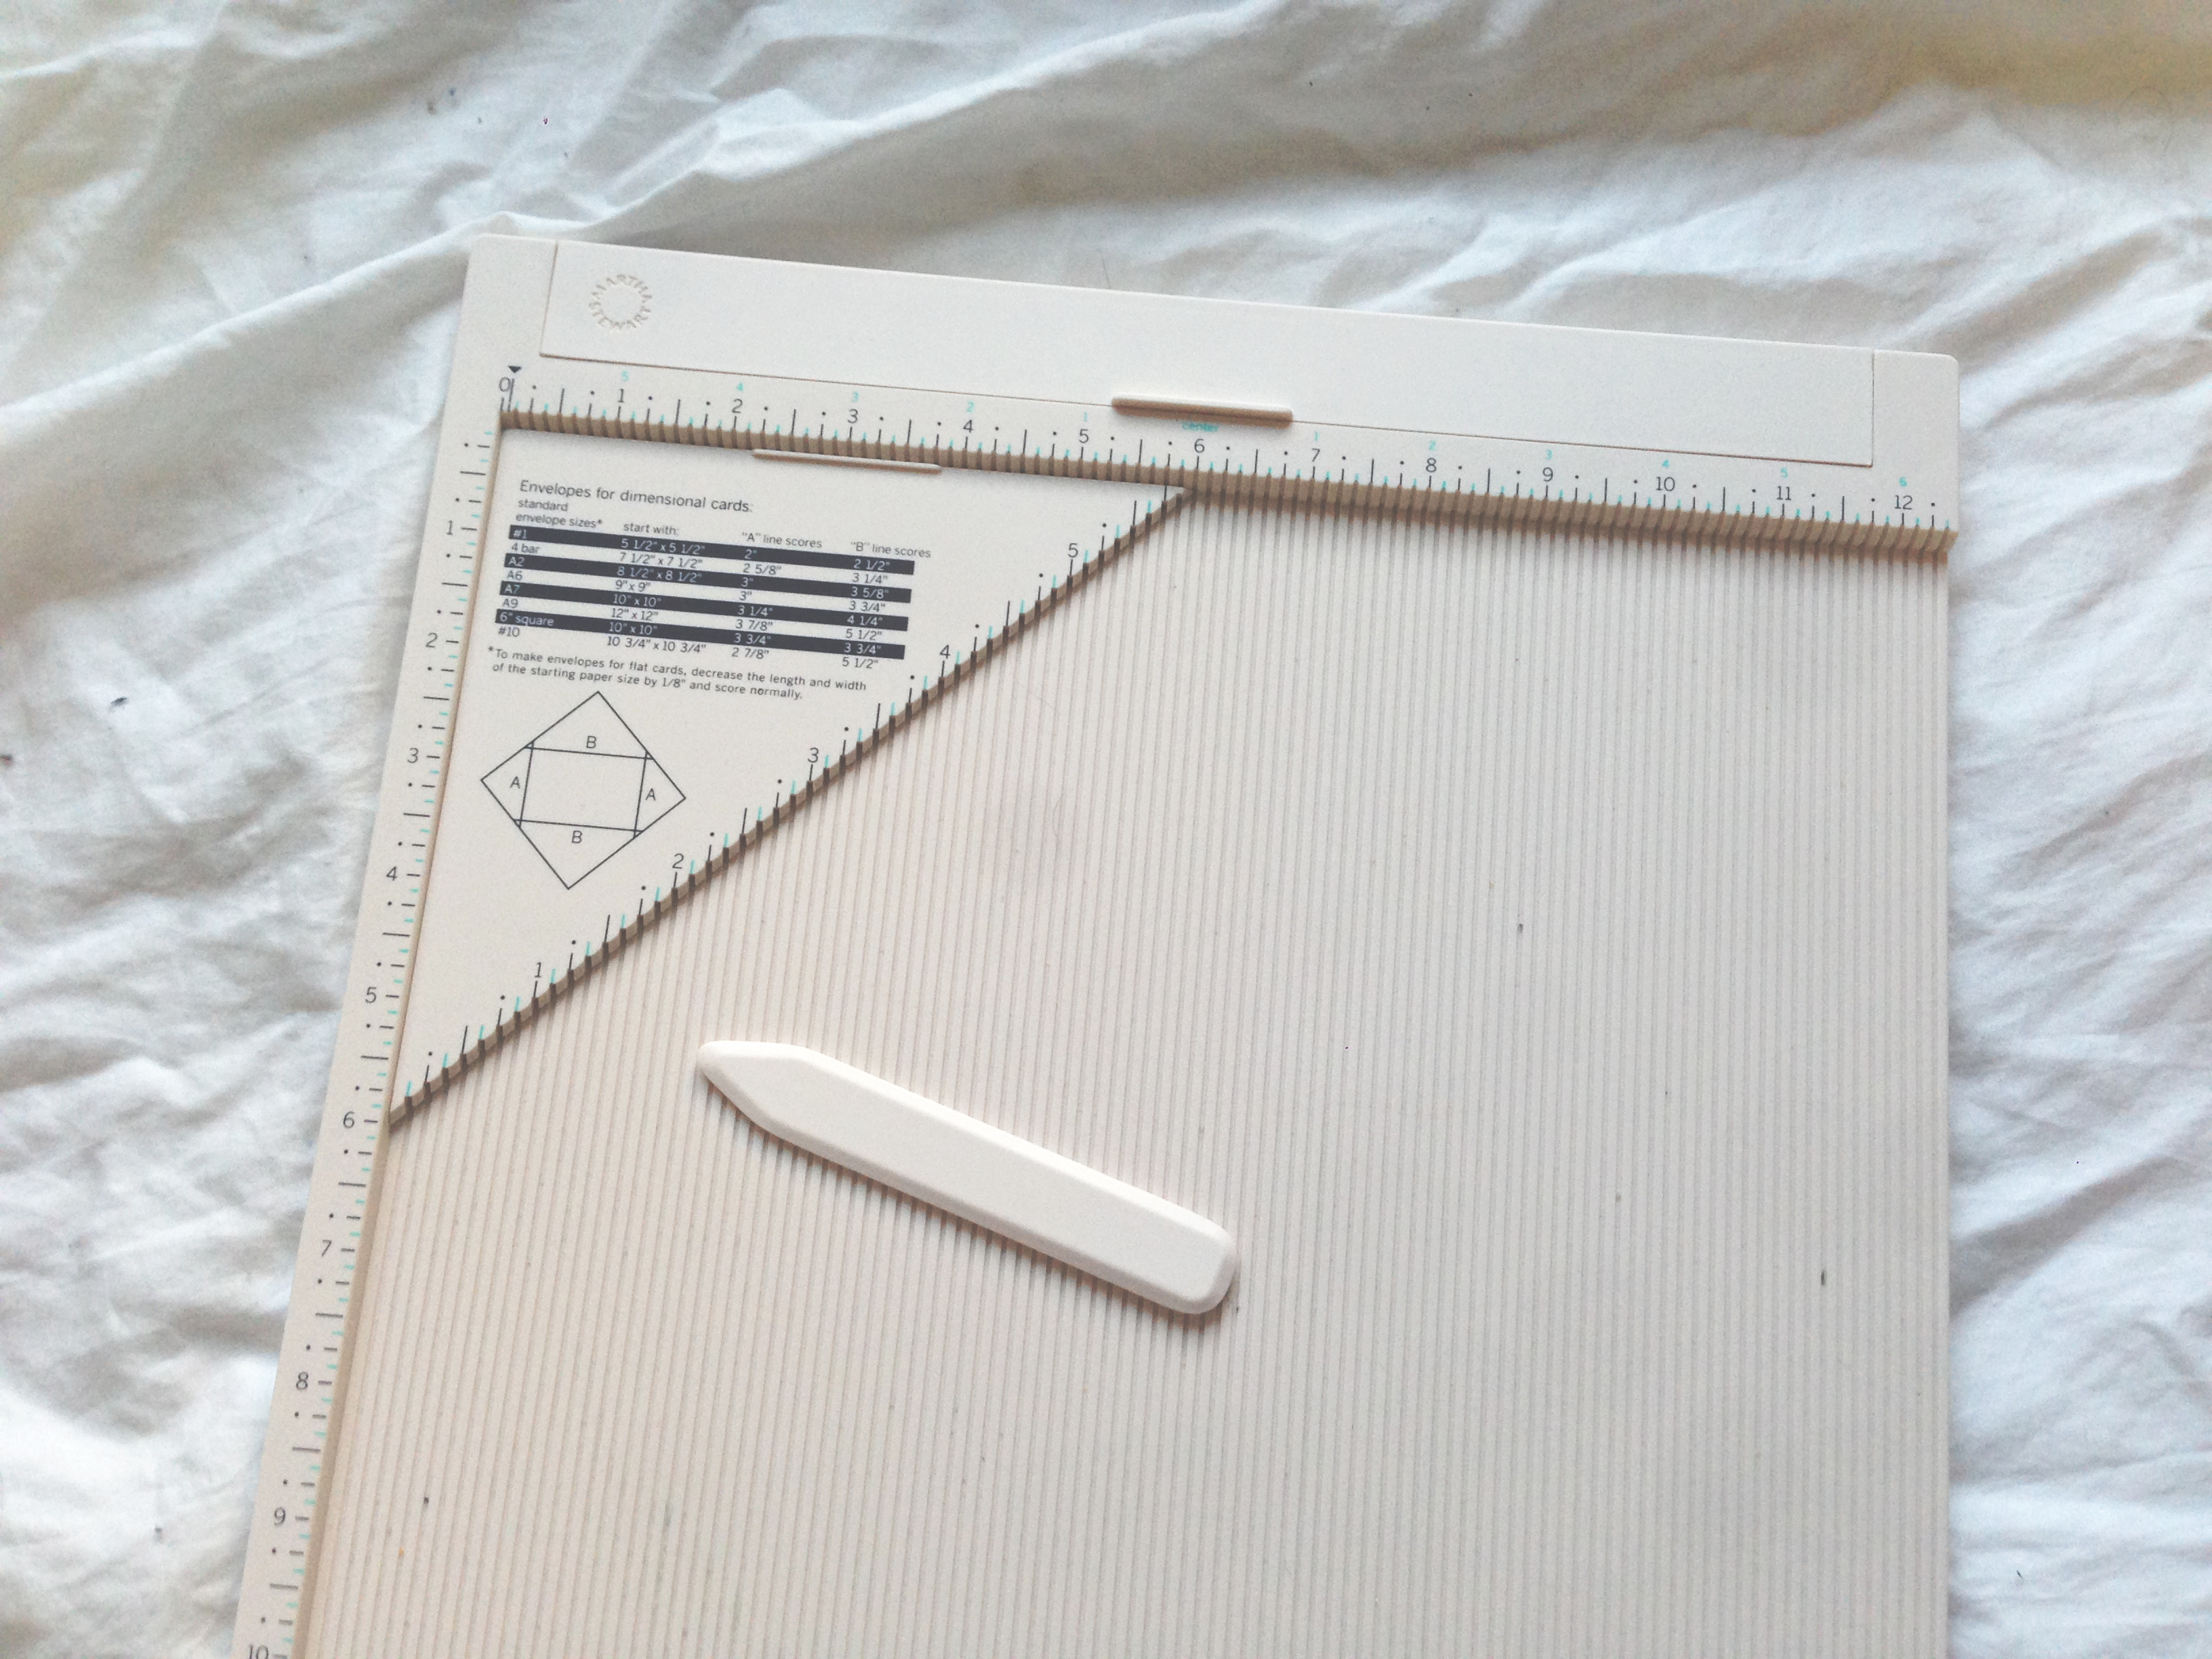
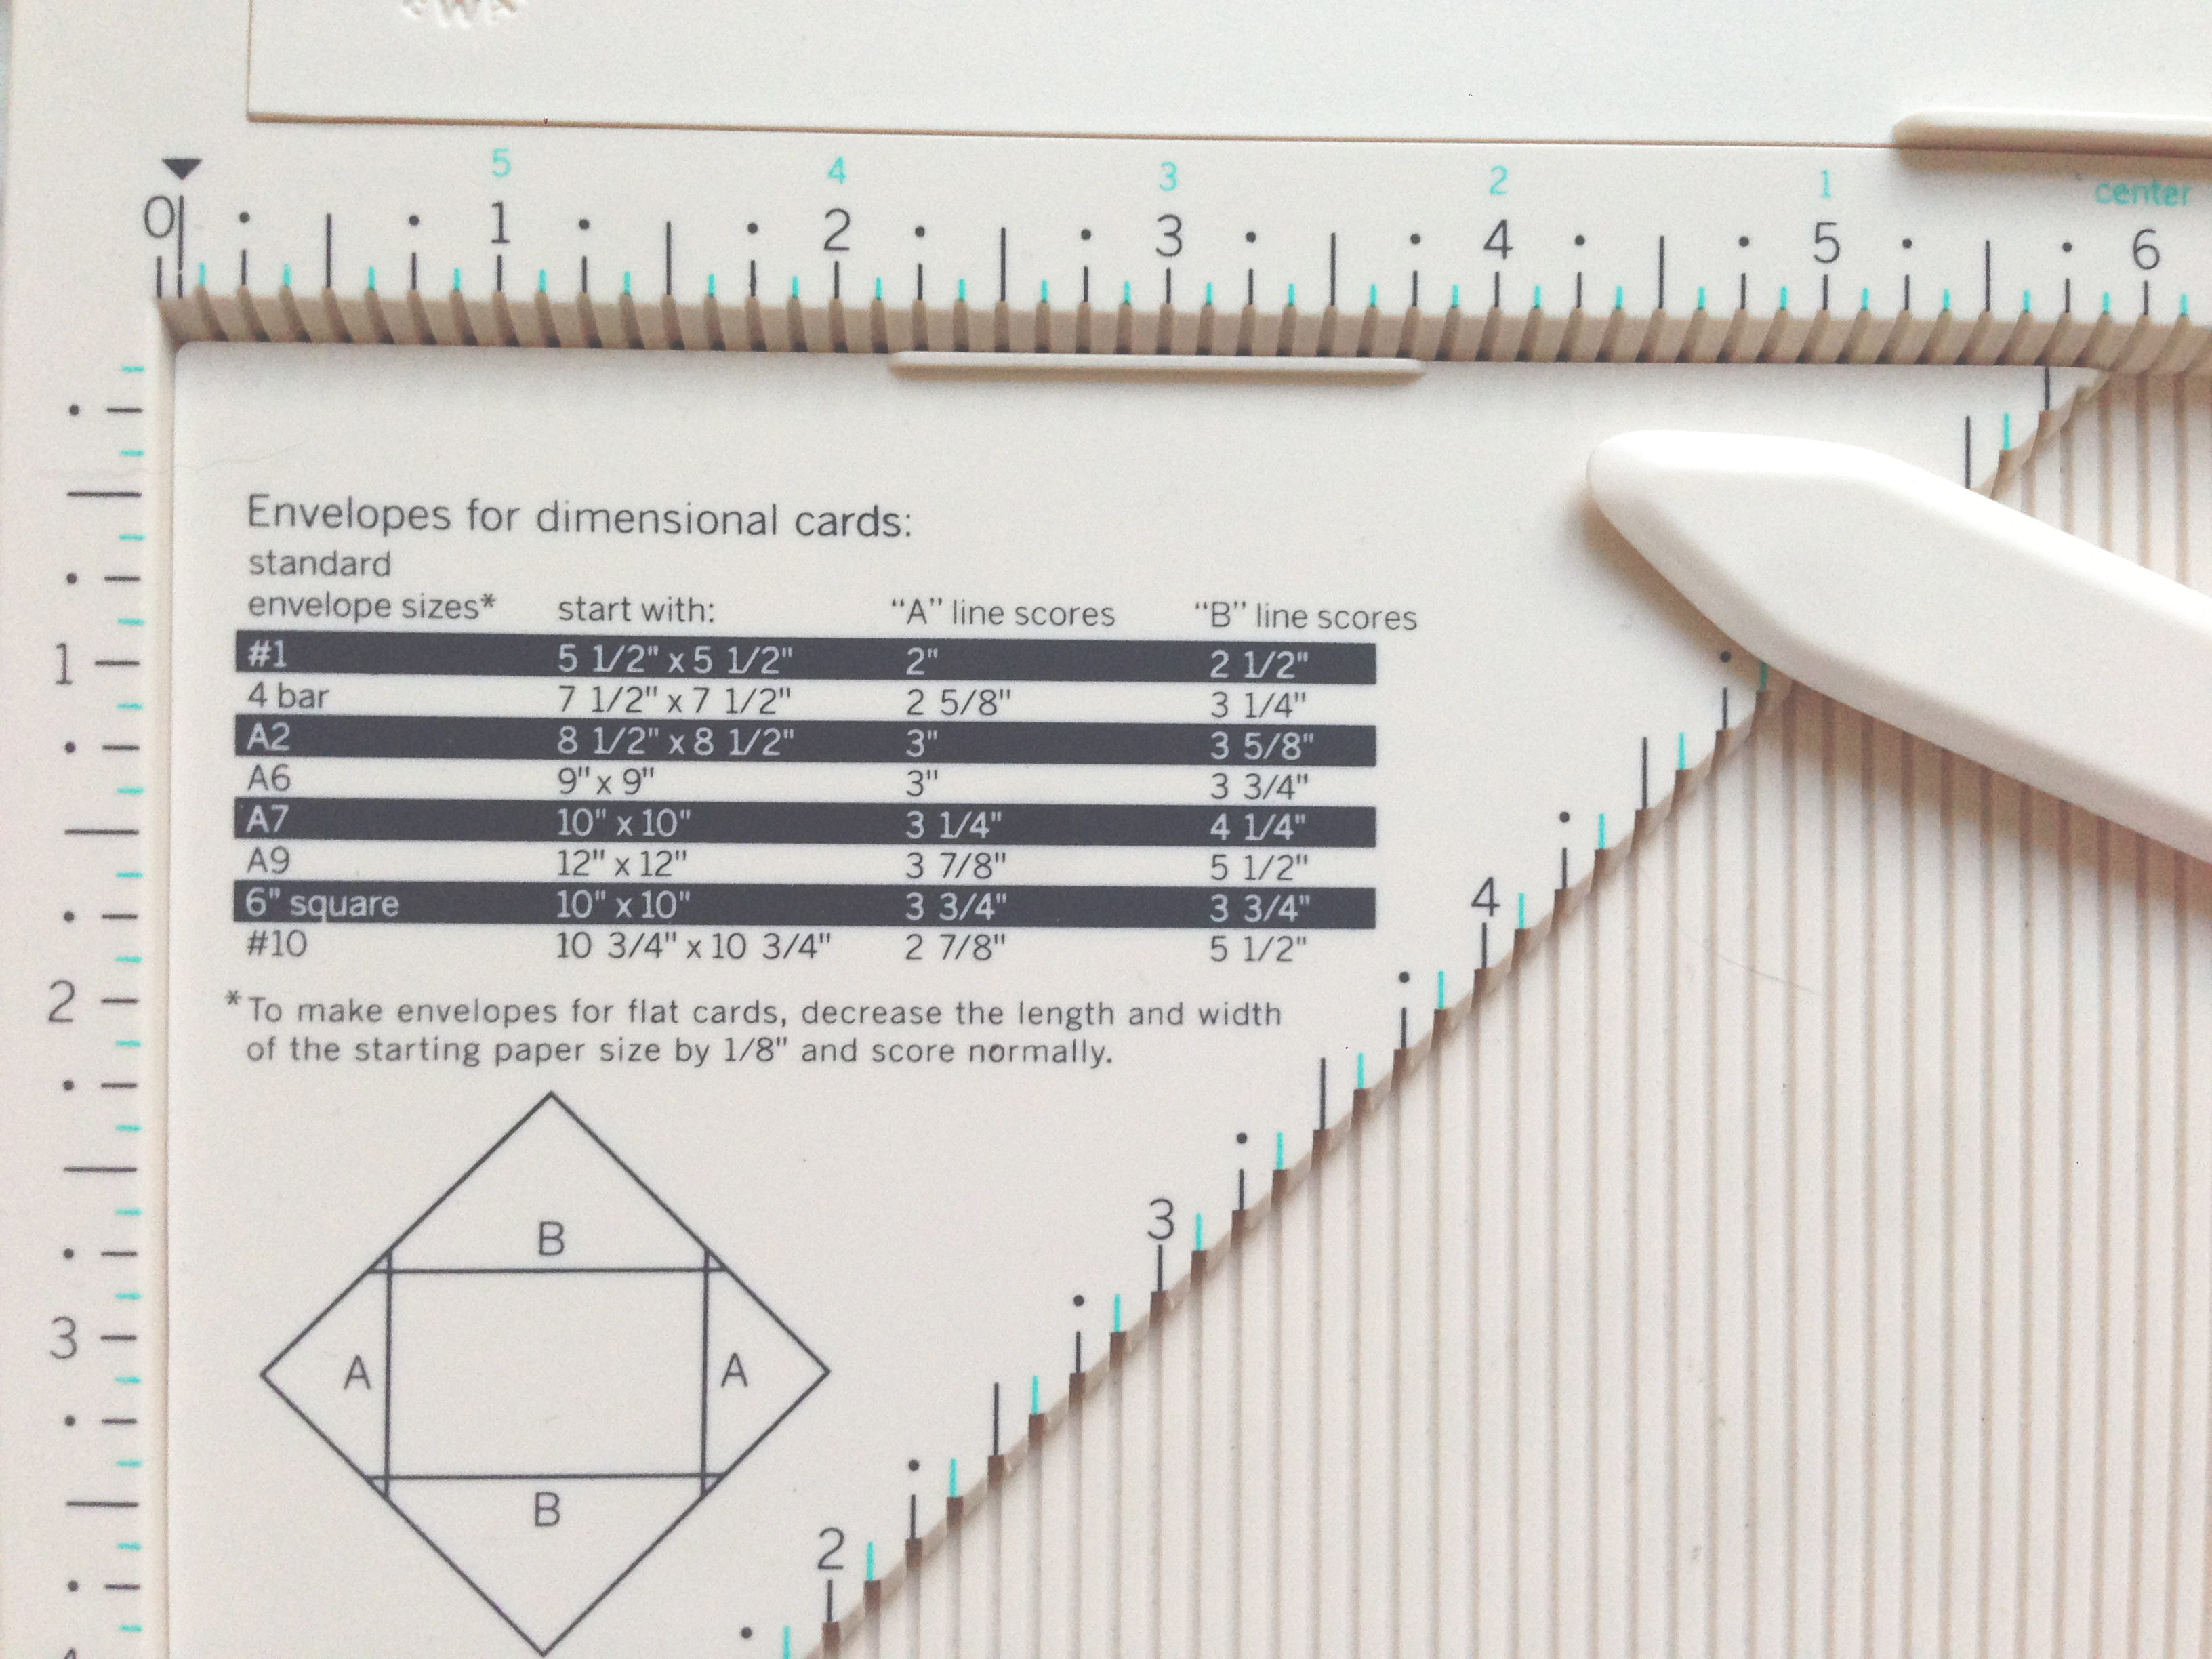
Once I got the Martha Stewart envelope board, and I was using scrapbook paper, the number at which I made envelopes must’ve tripled. Plus, most scrapbook papers are double sided, so automatic inside design! The board is very easy to use. I particularly like using it as the largest size of scrapbook paper is 12 x 12, which makes envelopes the perfect size to send zines in A5 size (8.5×11 folded in half).
Here’s how:
Choose the size of envelope you want to make on the handy little table.
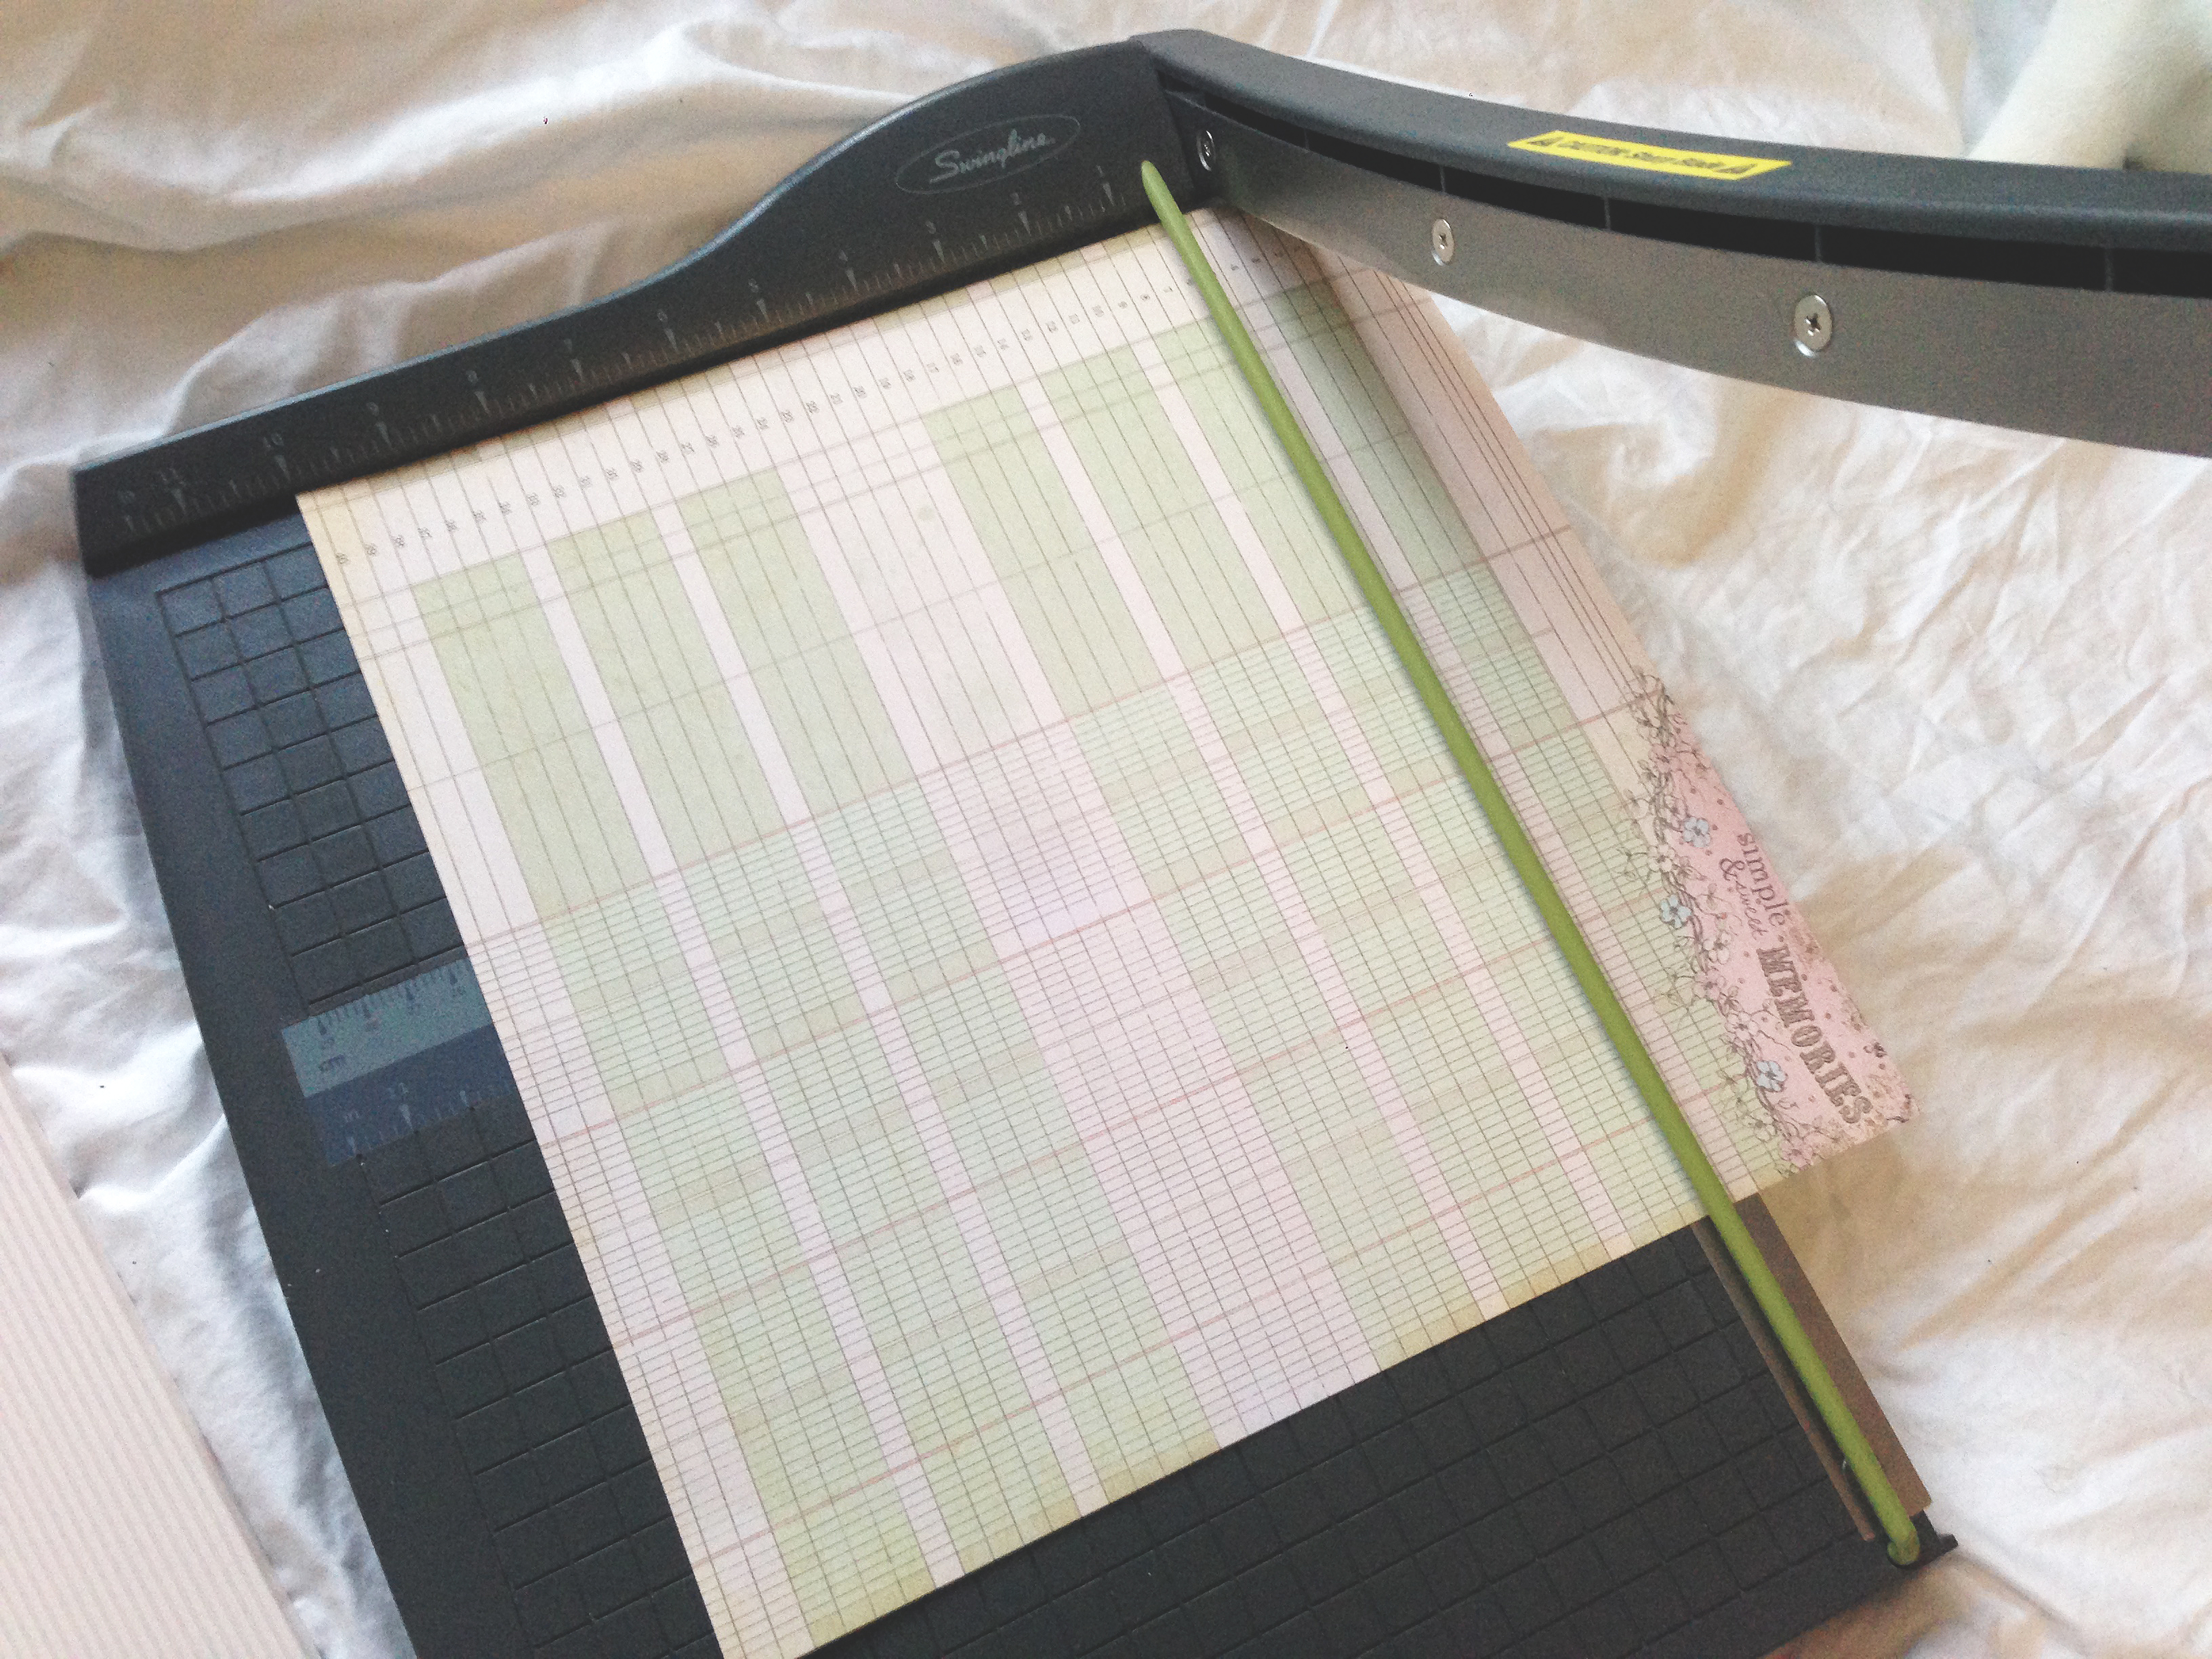
If necessary, cut the paper to the size it requires.
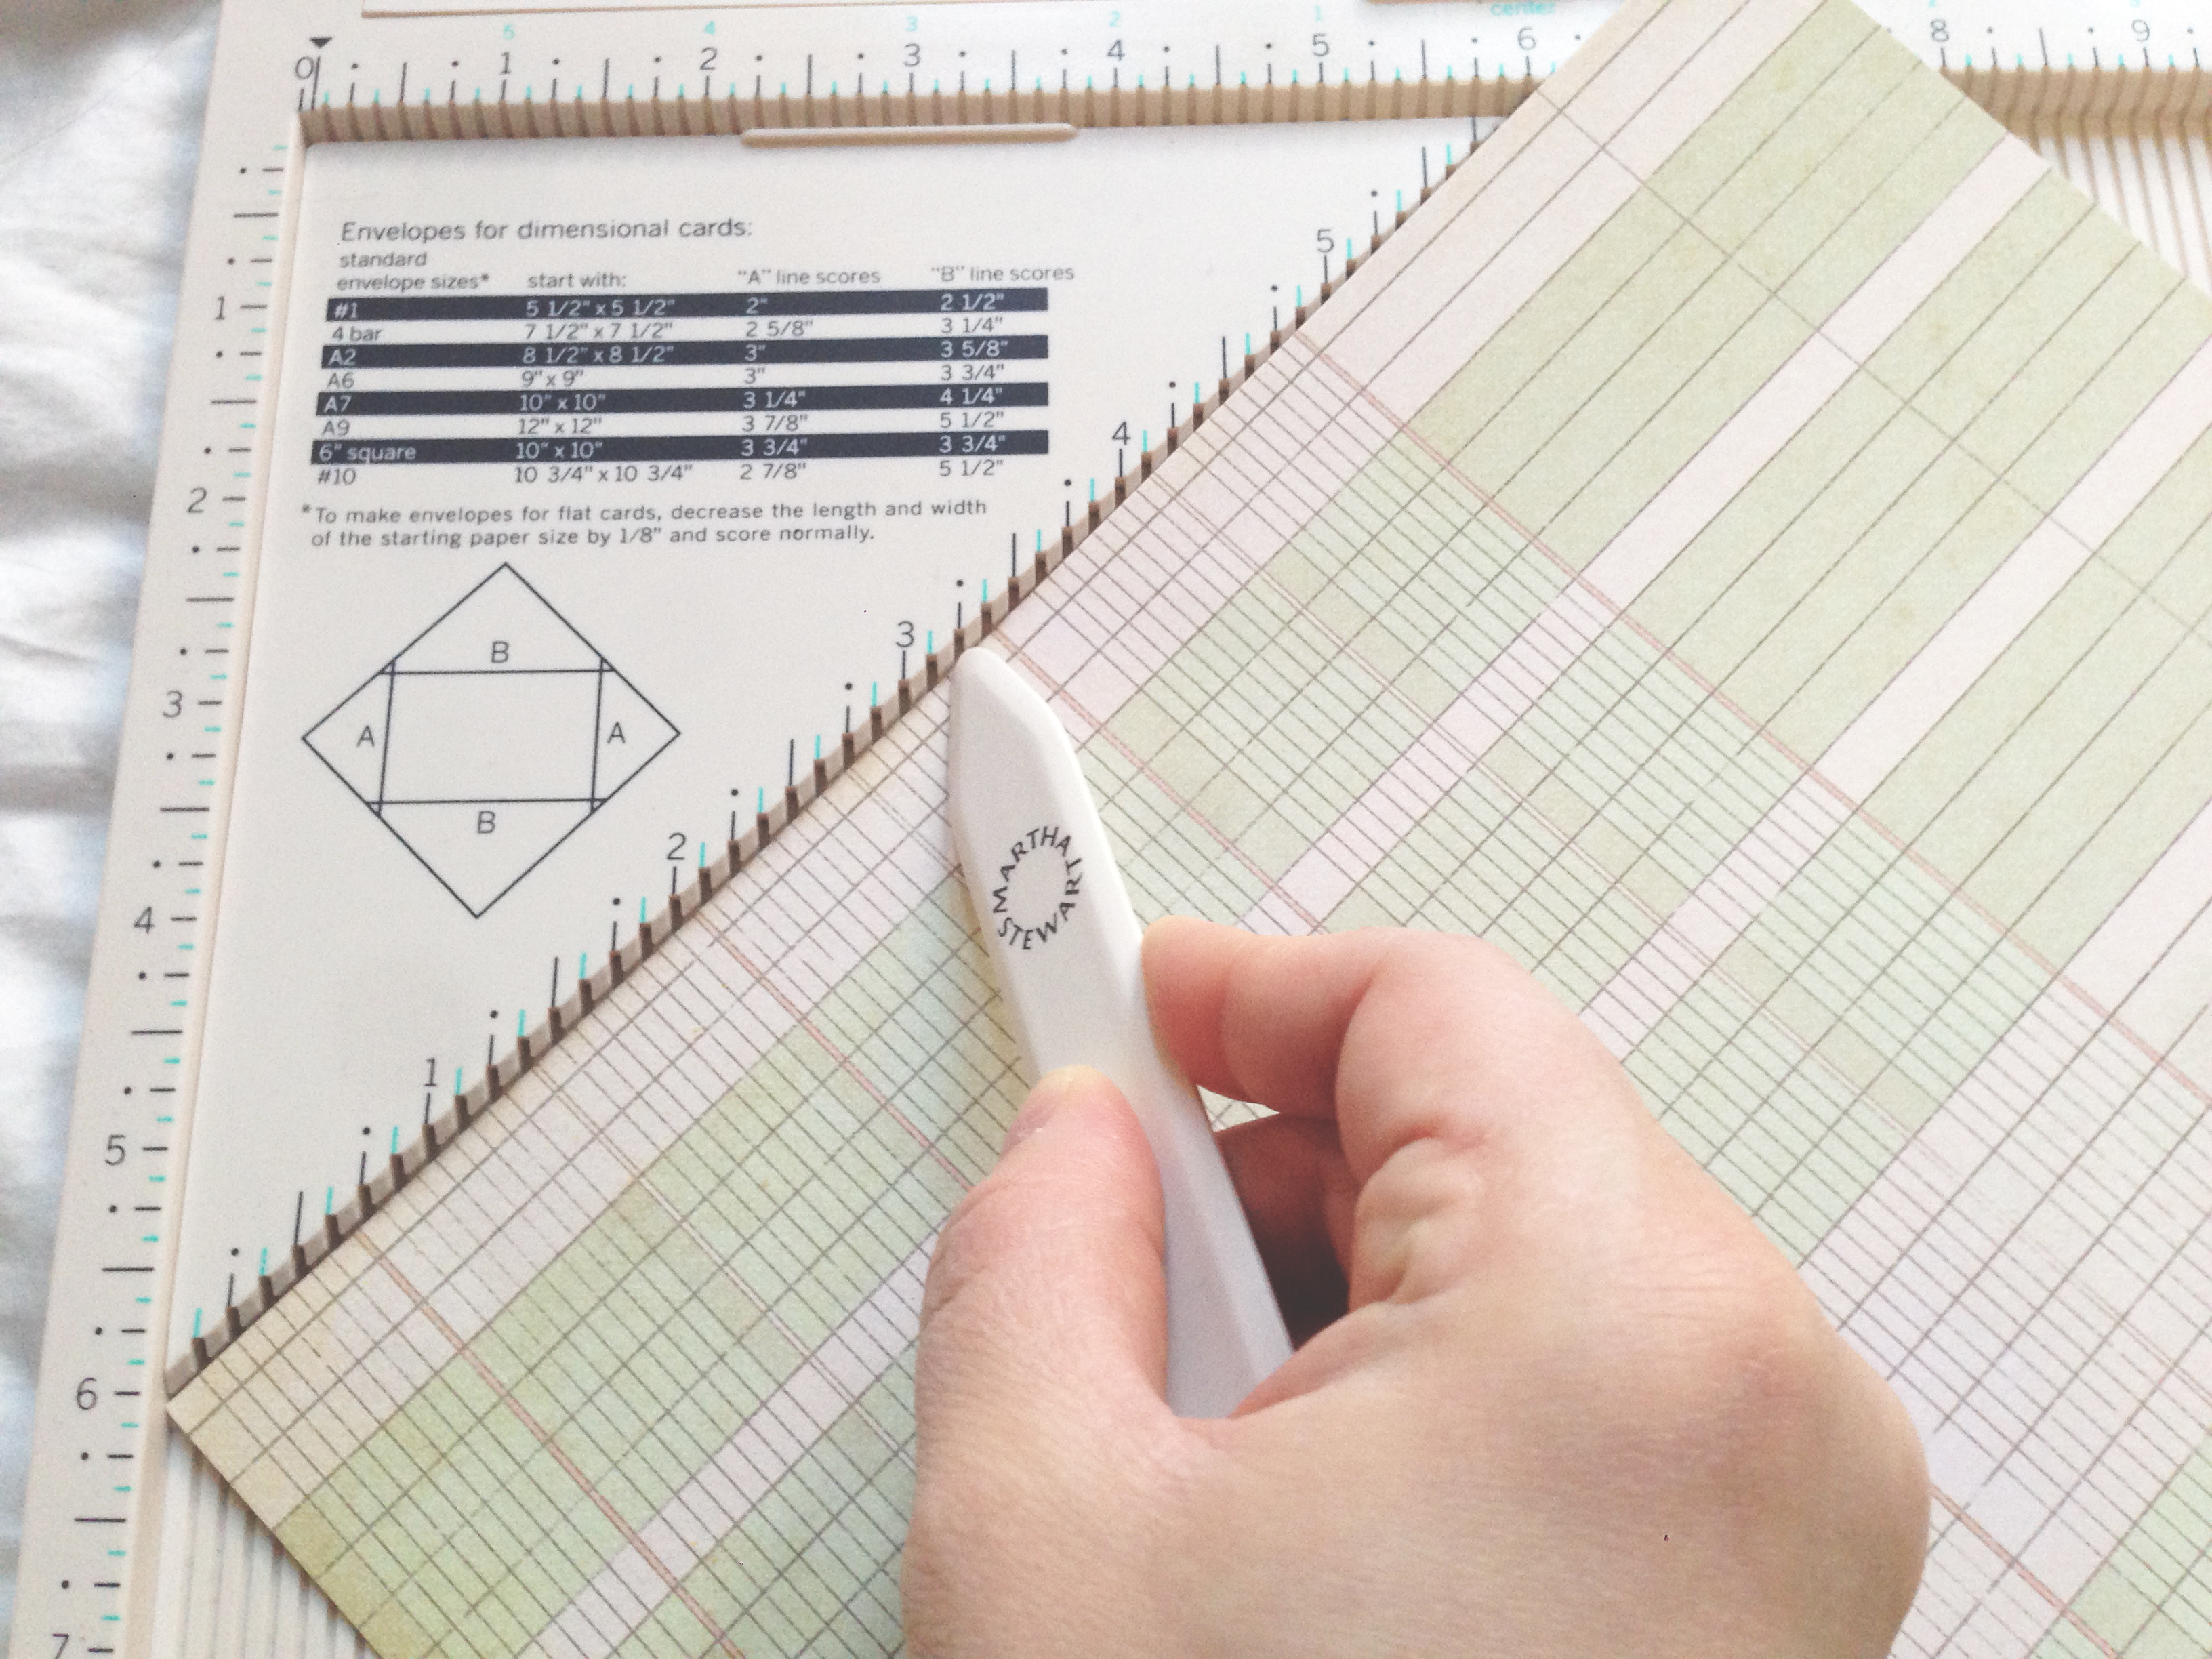
Use the bone folder to trace on the required lines on what will be the outside of the envelope.
You can cut out the corners it creates if you want, but it’s not necessary.
Paste! I love using glue tape. Seriously I can go on and on about the wonders of glue tape. They typically are pretty expensive at craft stores, but I’ve been using small rolls from Dollarama.
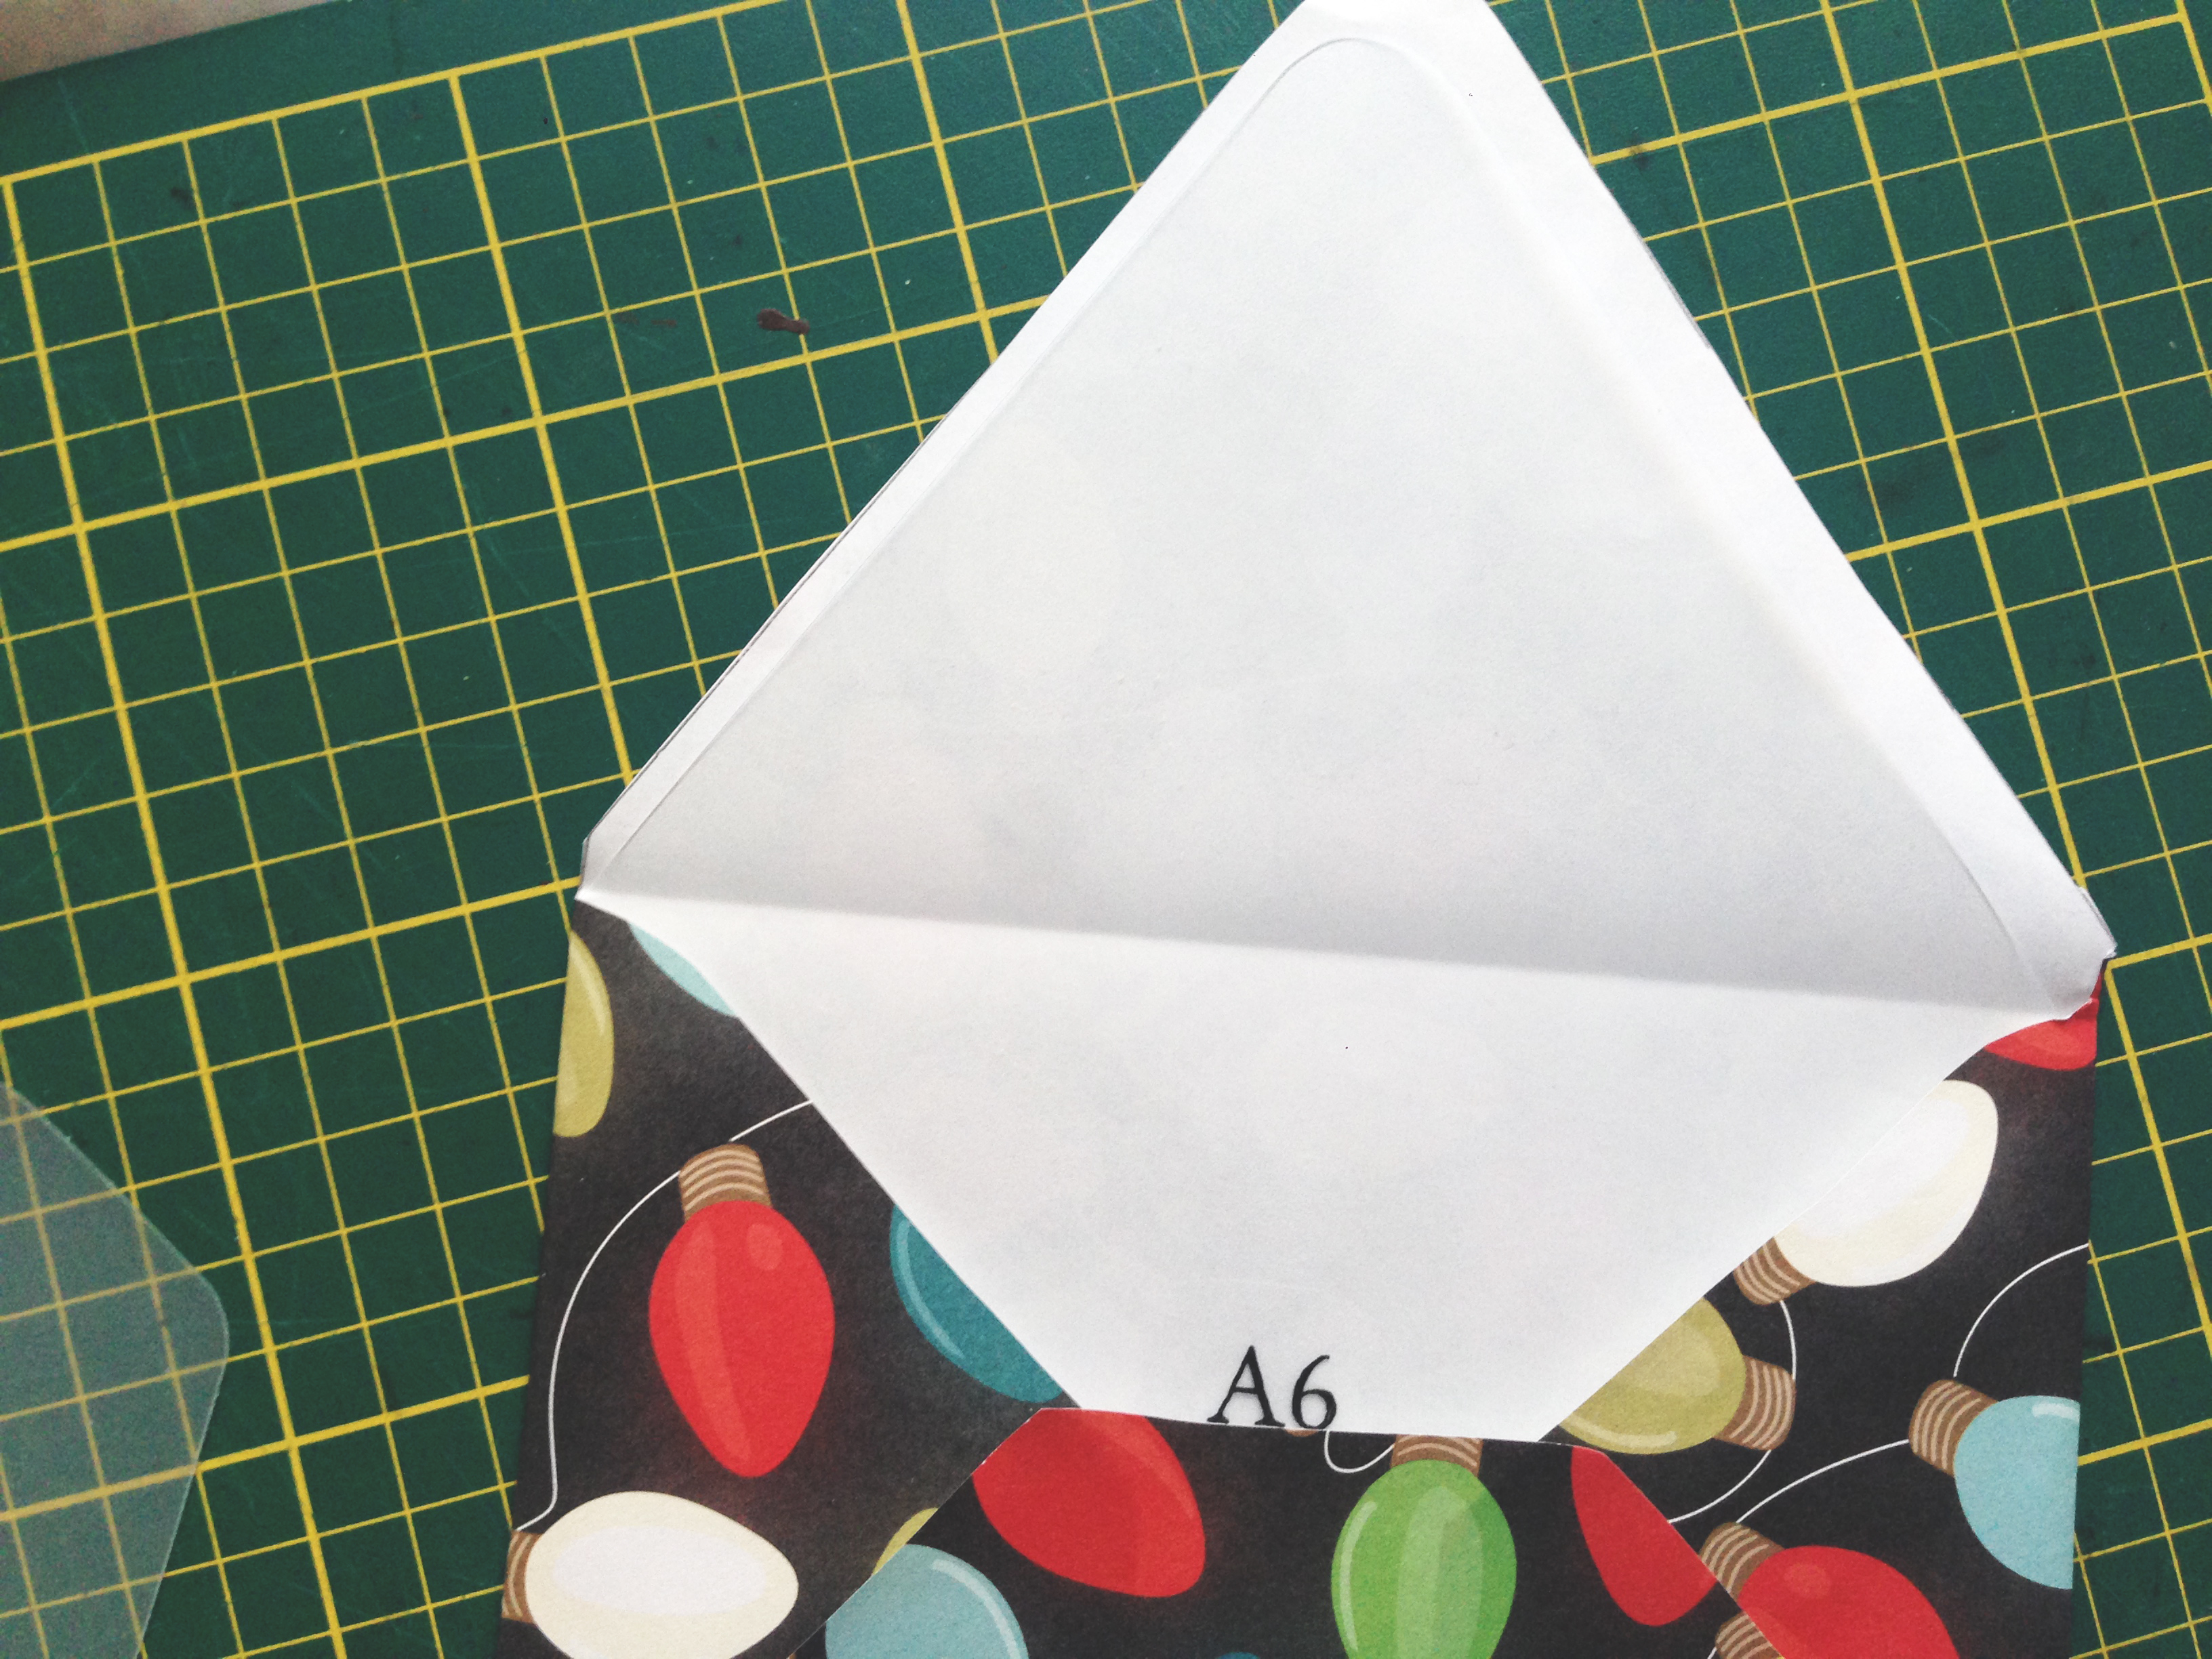
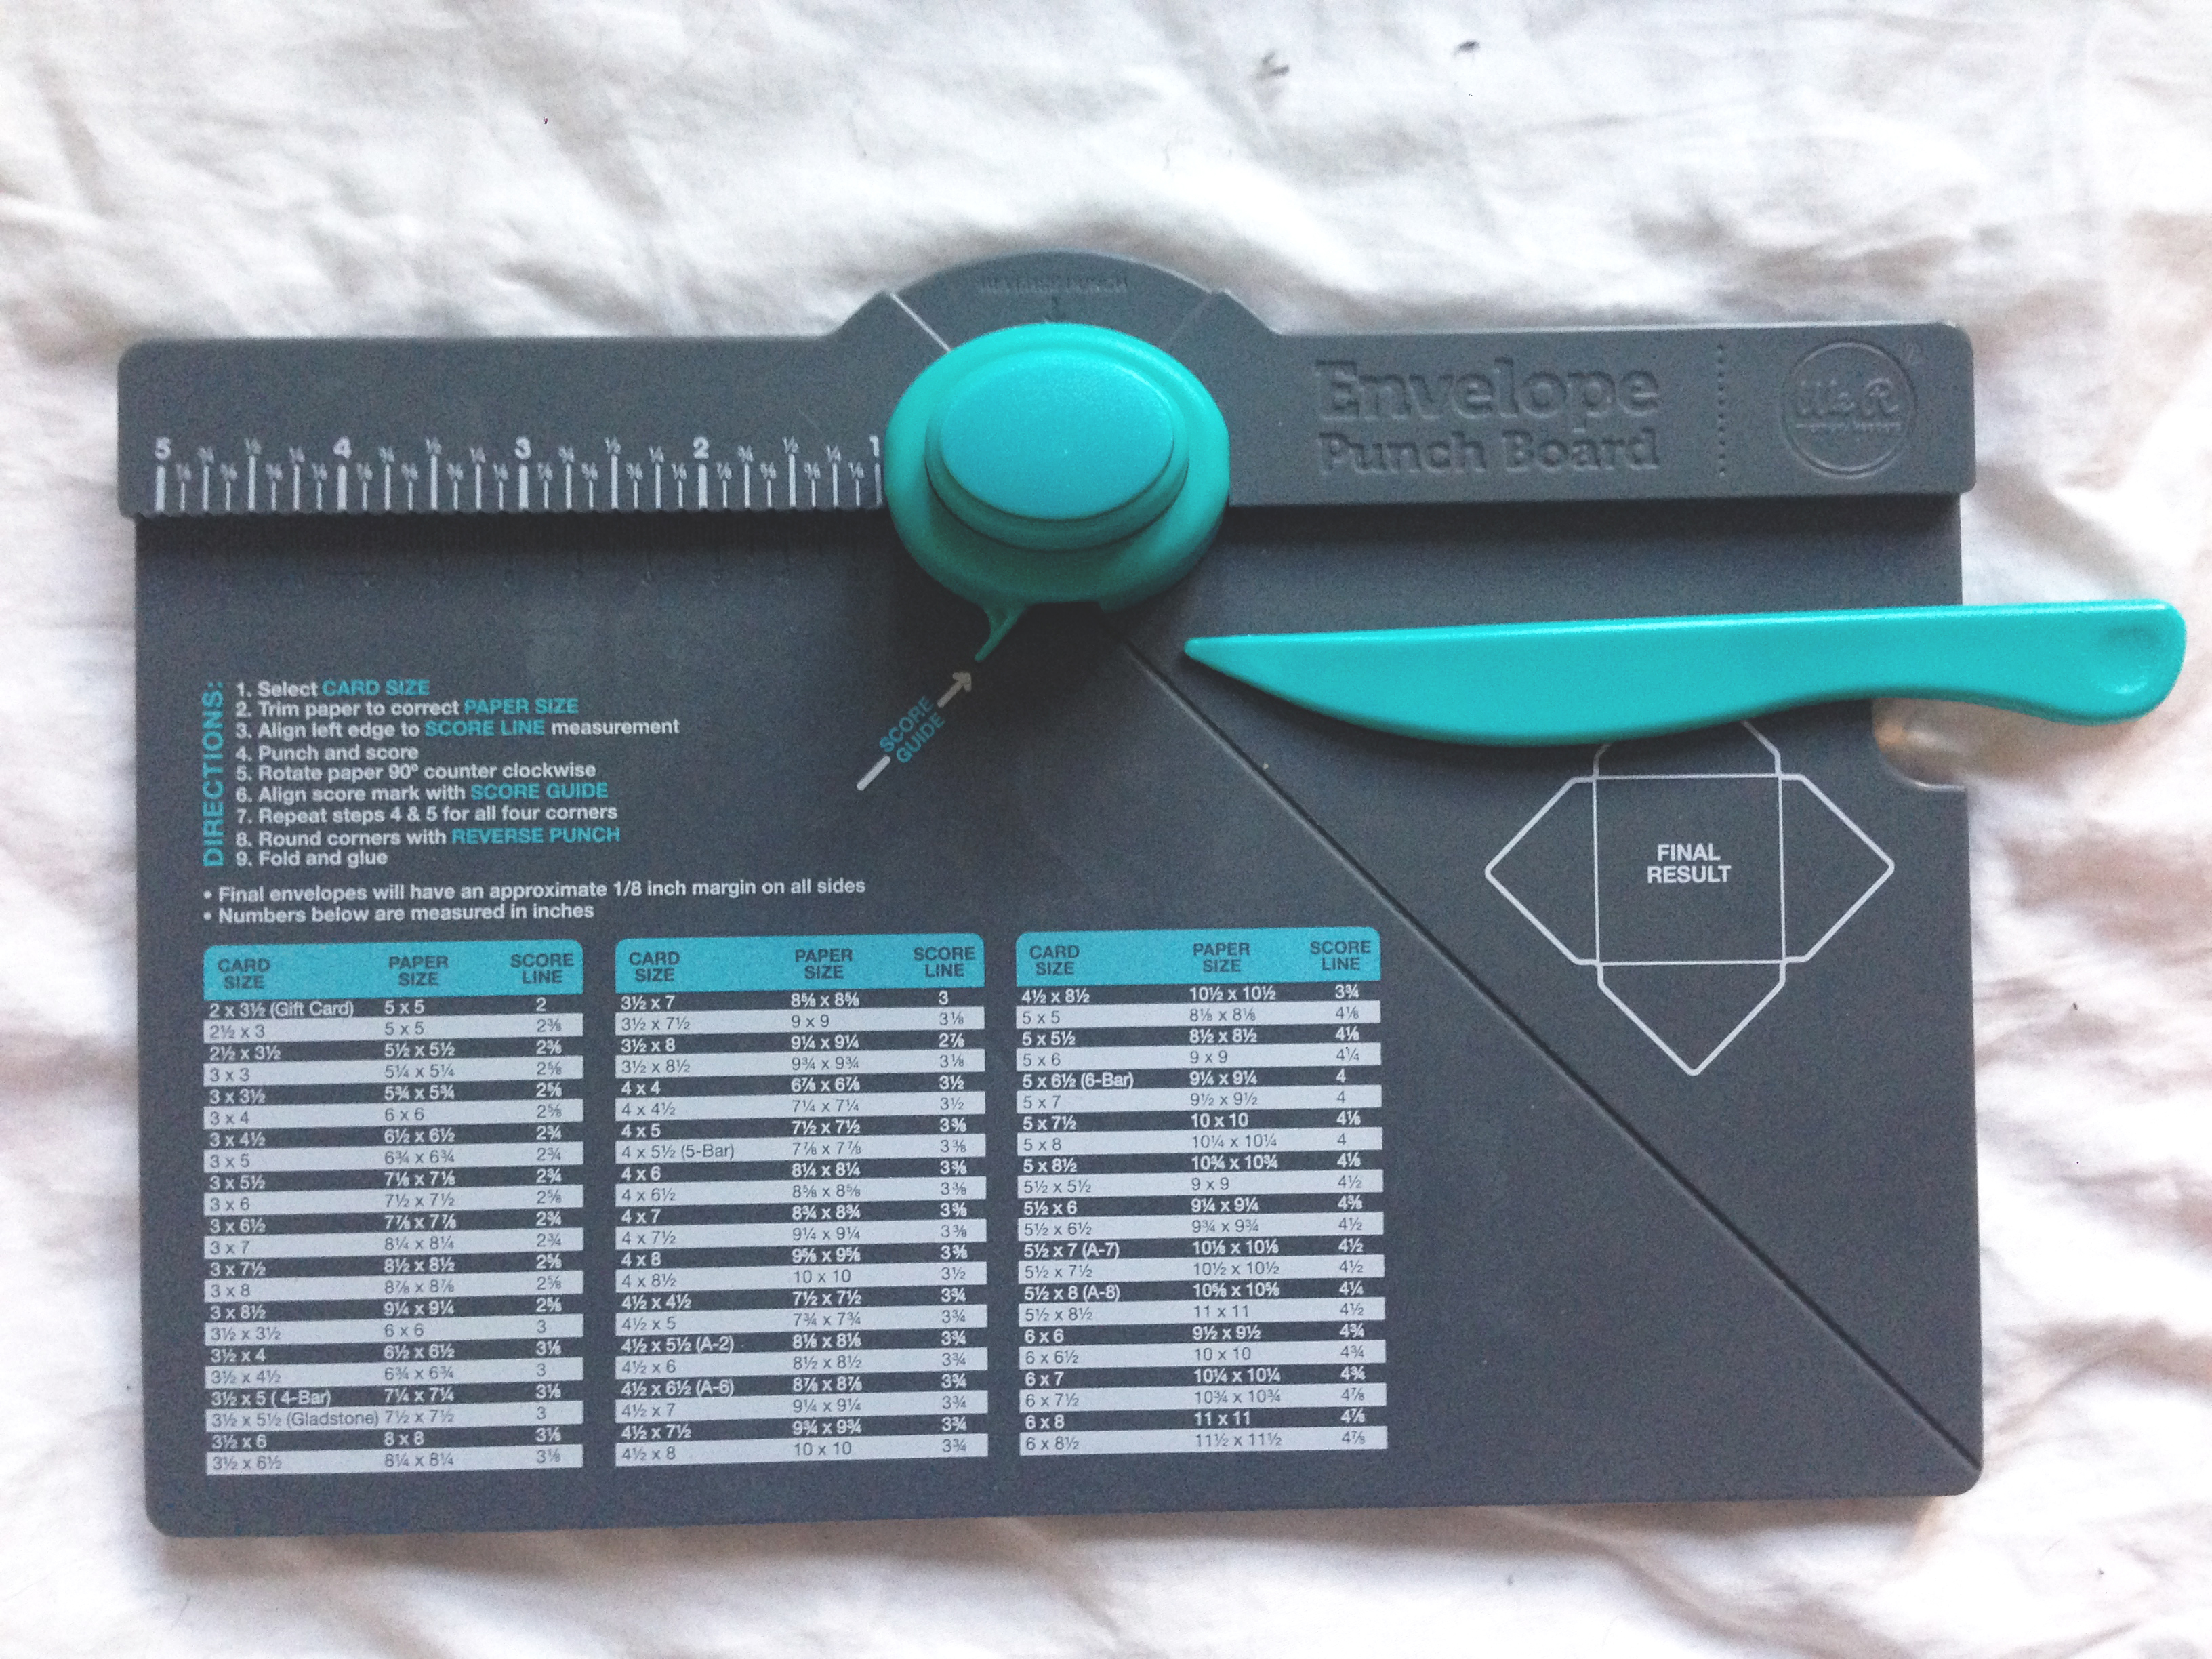
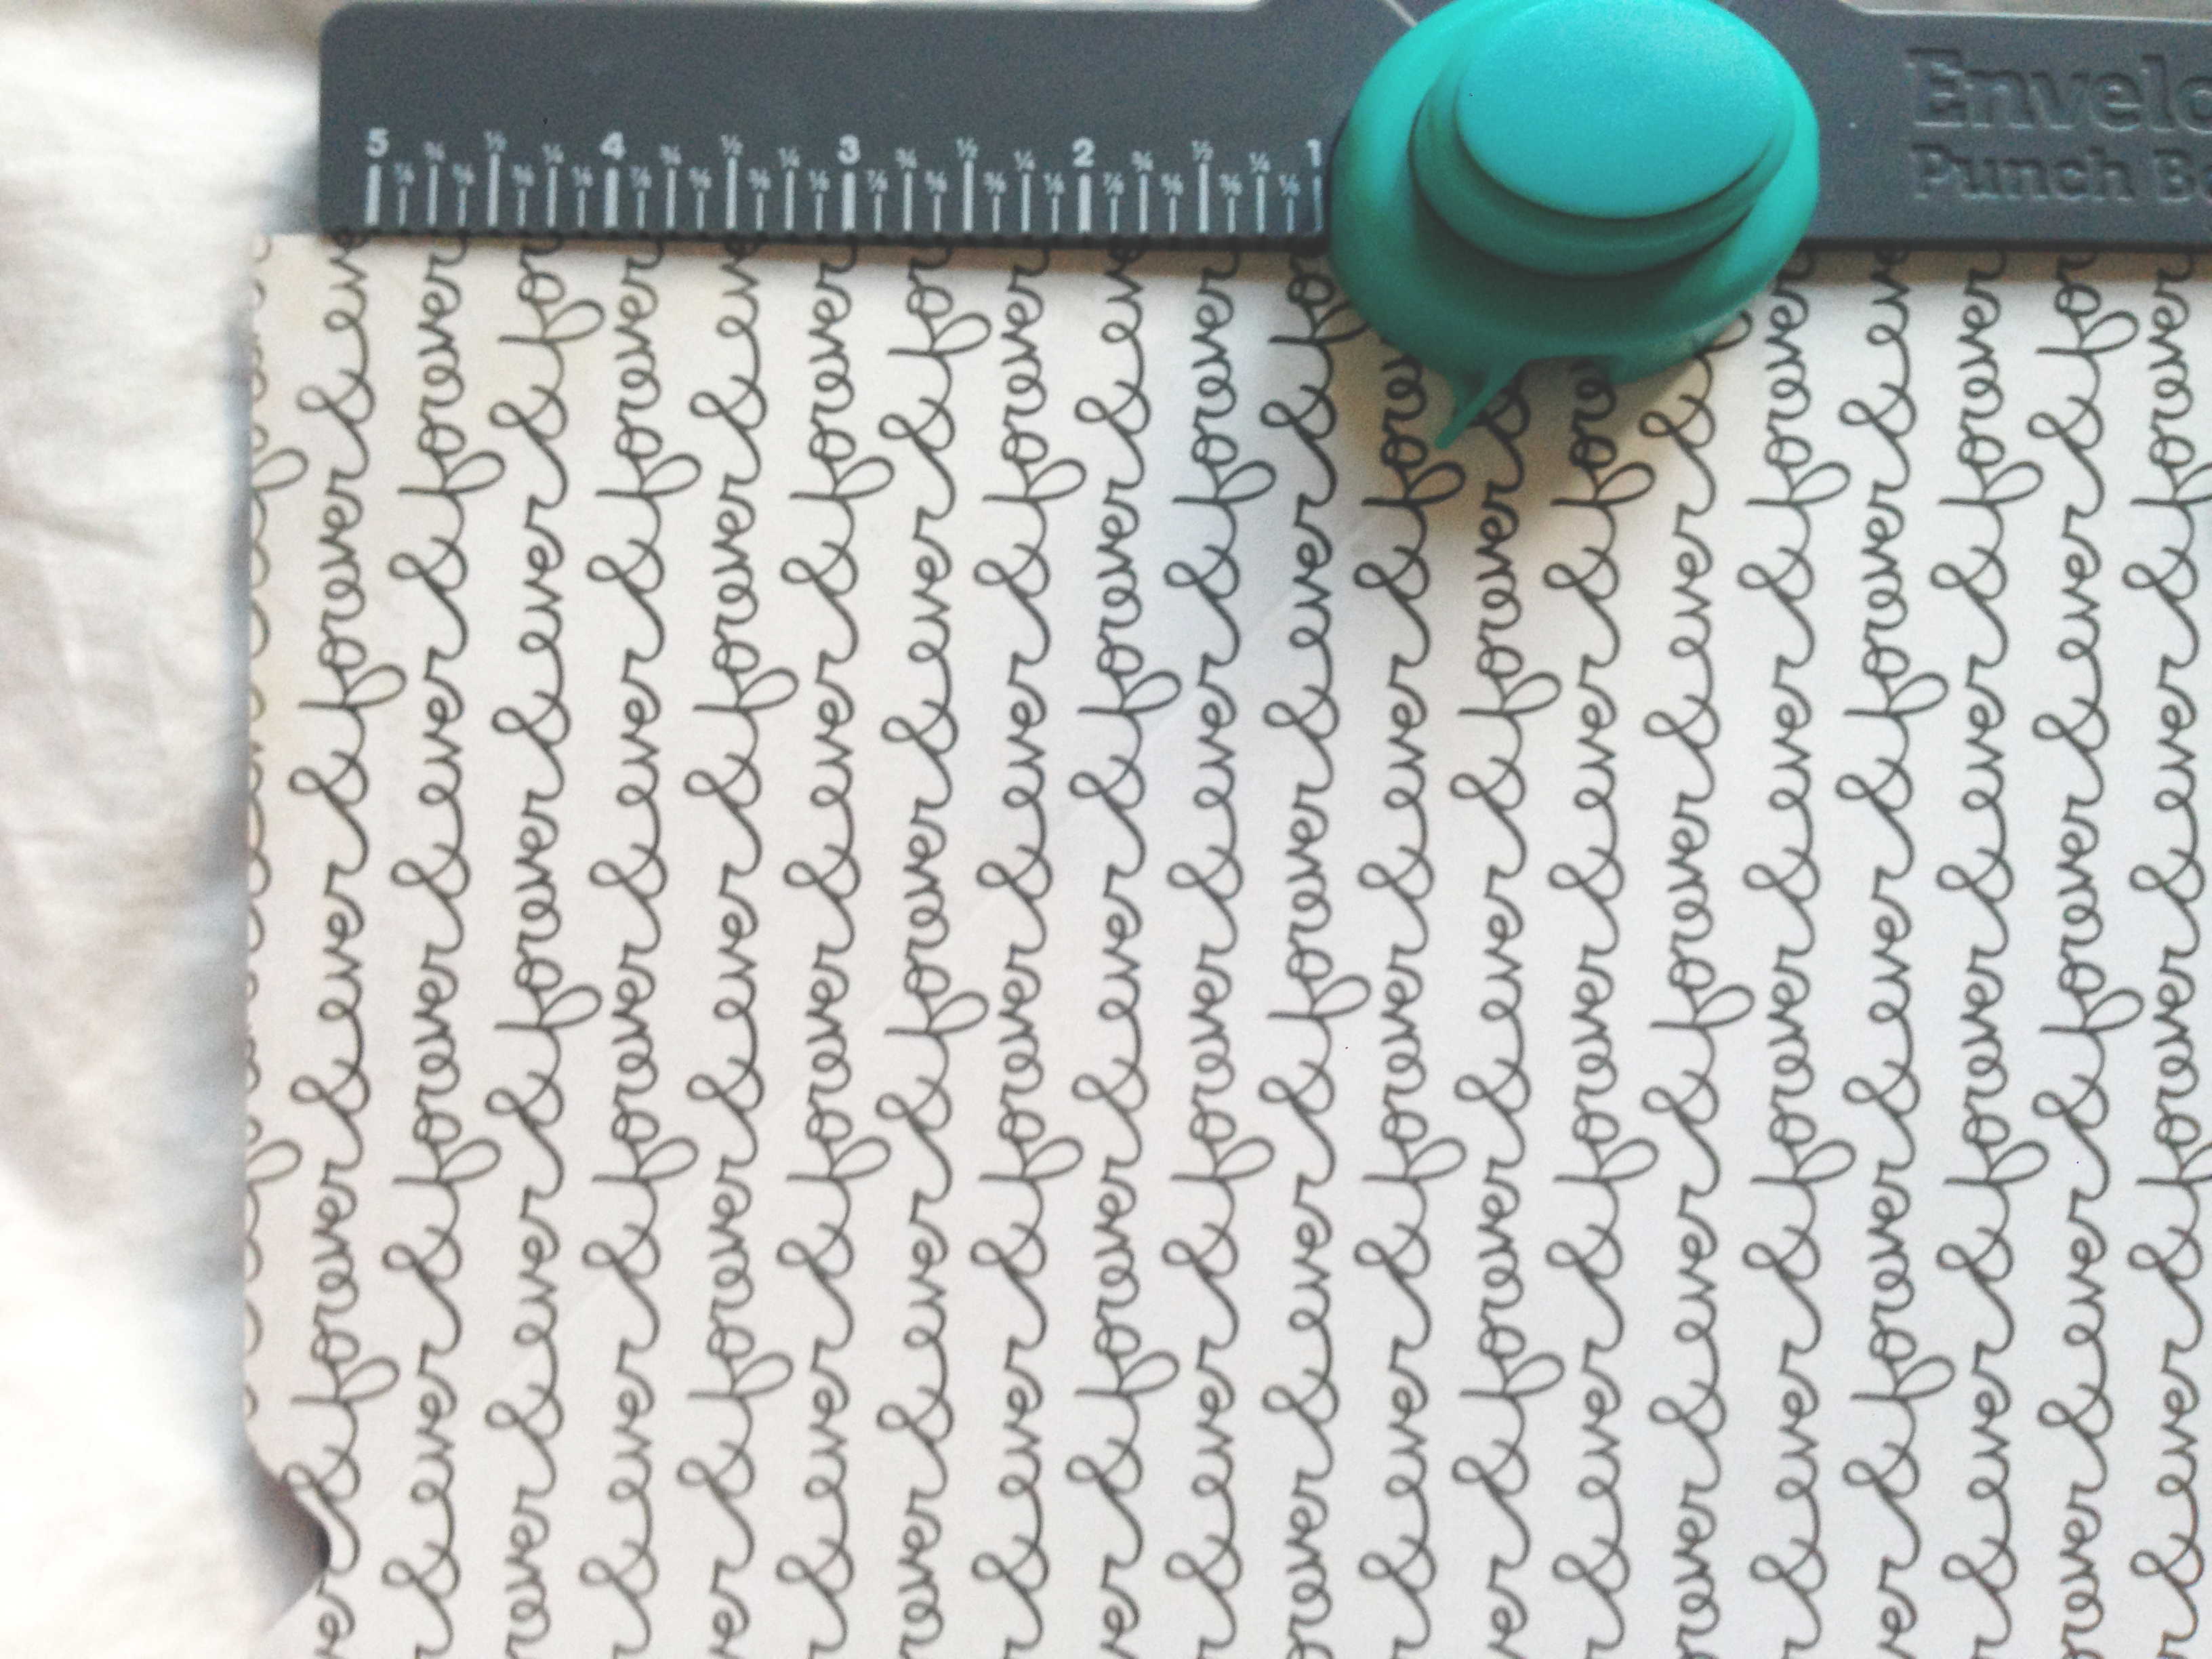
There’s also the We R Memory Keepers envelope punch board. I find it the best for smaller sized envelopes, plus it gives you a lot more size options than the Martha Stewart board. But where it lacks is that you can’t trace long enough for paper over 9×9, as it’s bigger than the board. (So obviously I mistakenly made one out of 9 1/4 x 9 1/4 for this example.) Also, if you’re just wanting to make envelopes for letters and not just for cards, this board makes you choose your size based on the card size, so you may have to do a little guessing game. Or just randomly choose sizes like I do.
Here’s how to use this board:
Choose your desired size.

Cut the paper to the size it’s required.
Line up the paper to the the designated measurement on the ruler, punch, then score. Rotate.
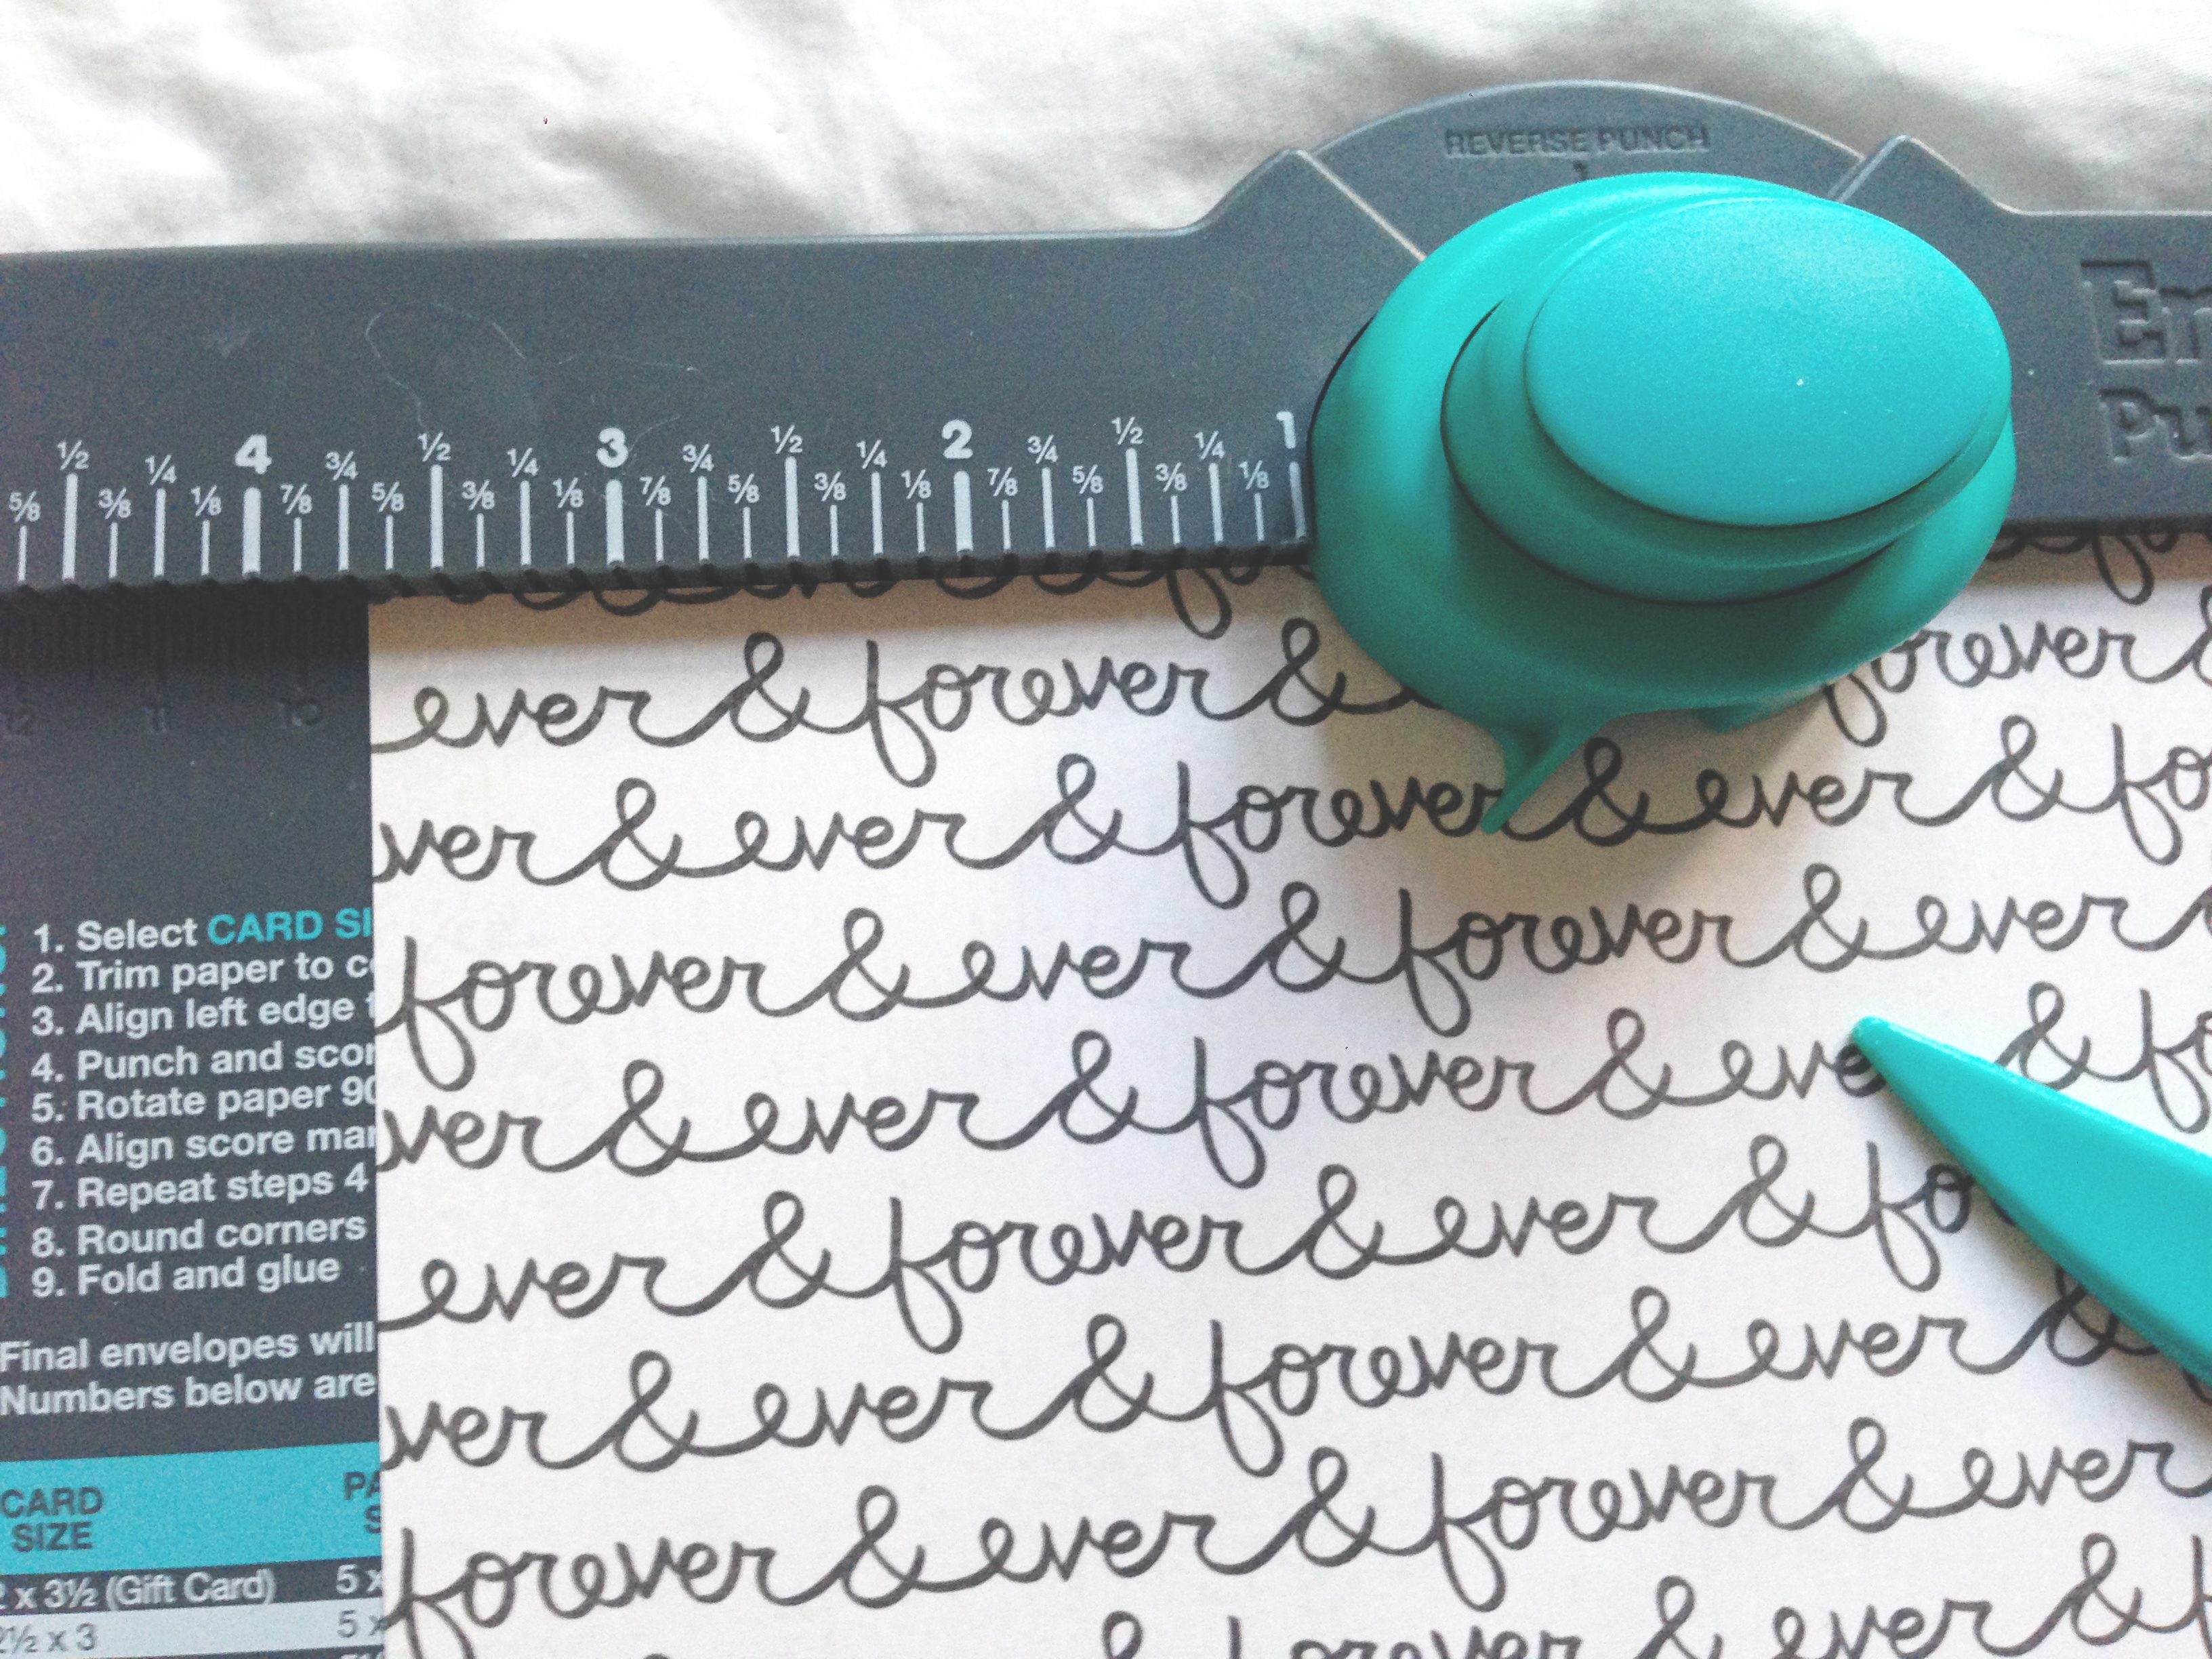
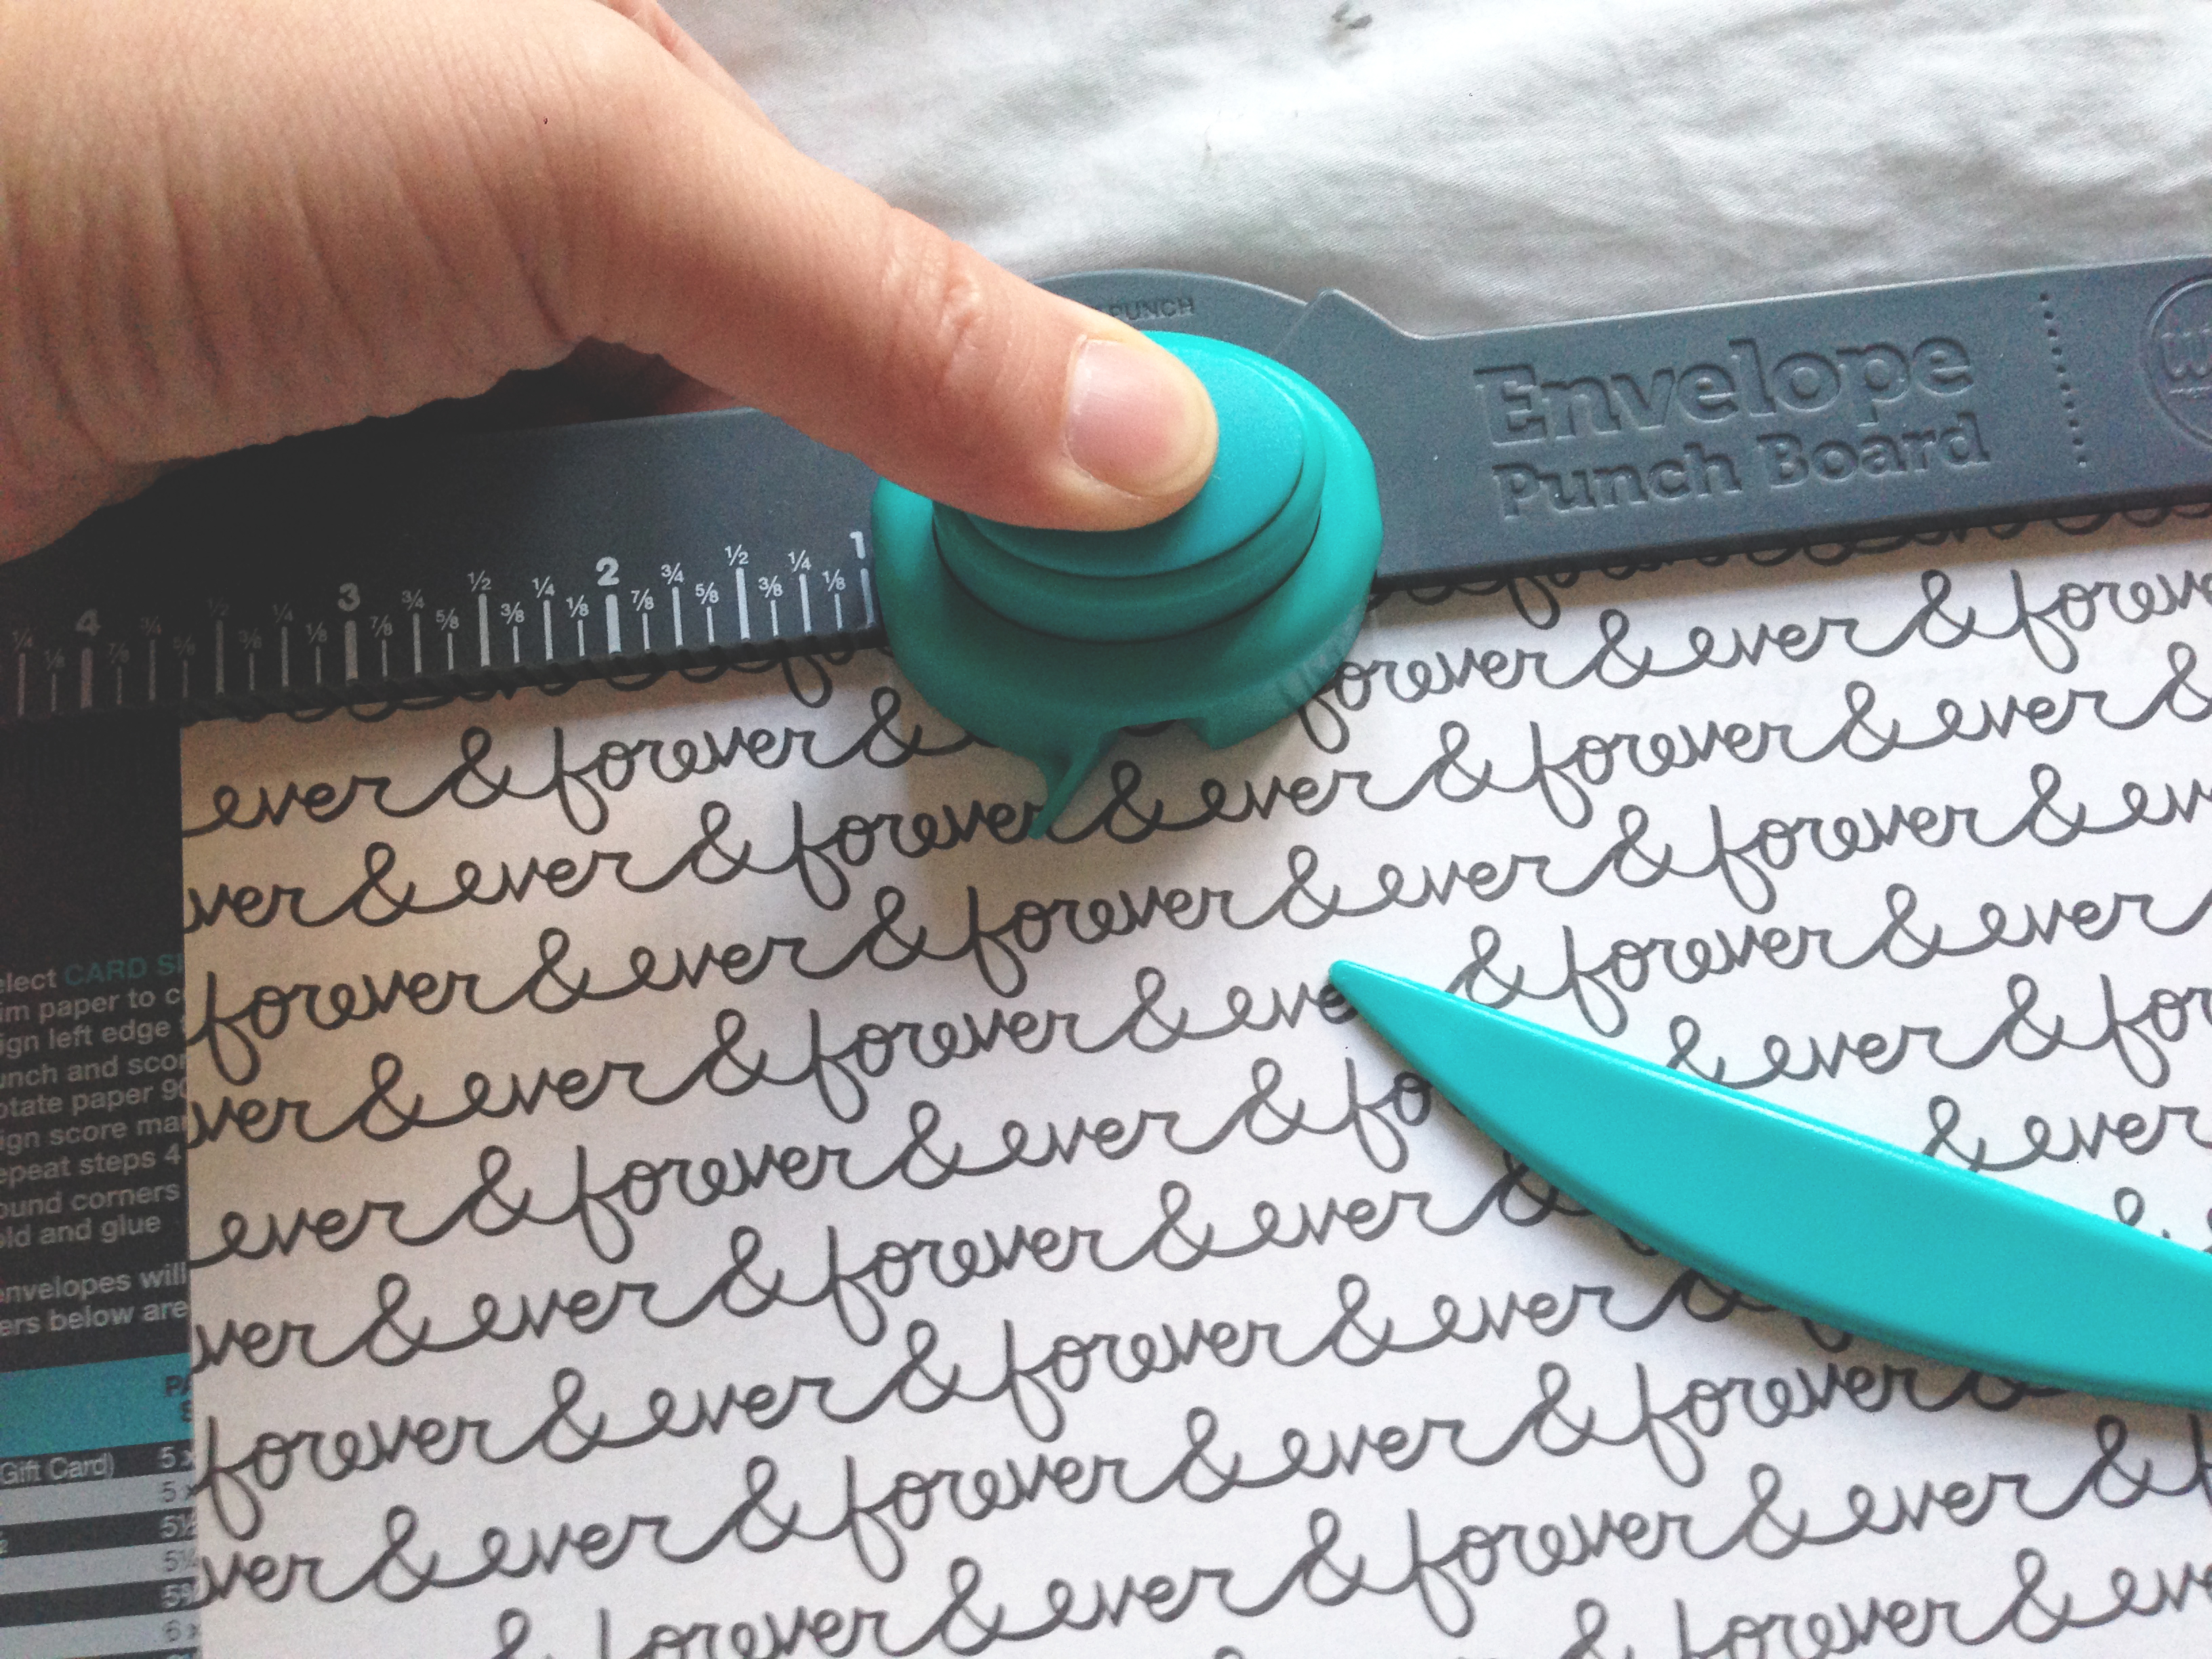
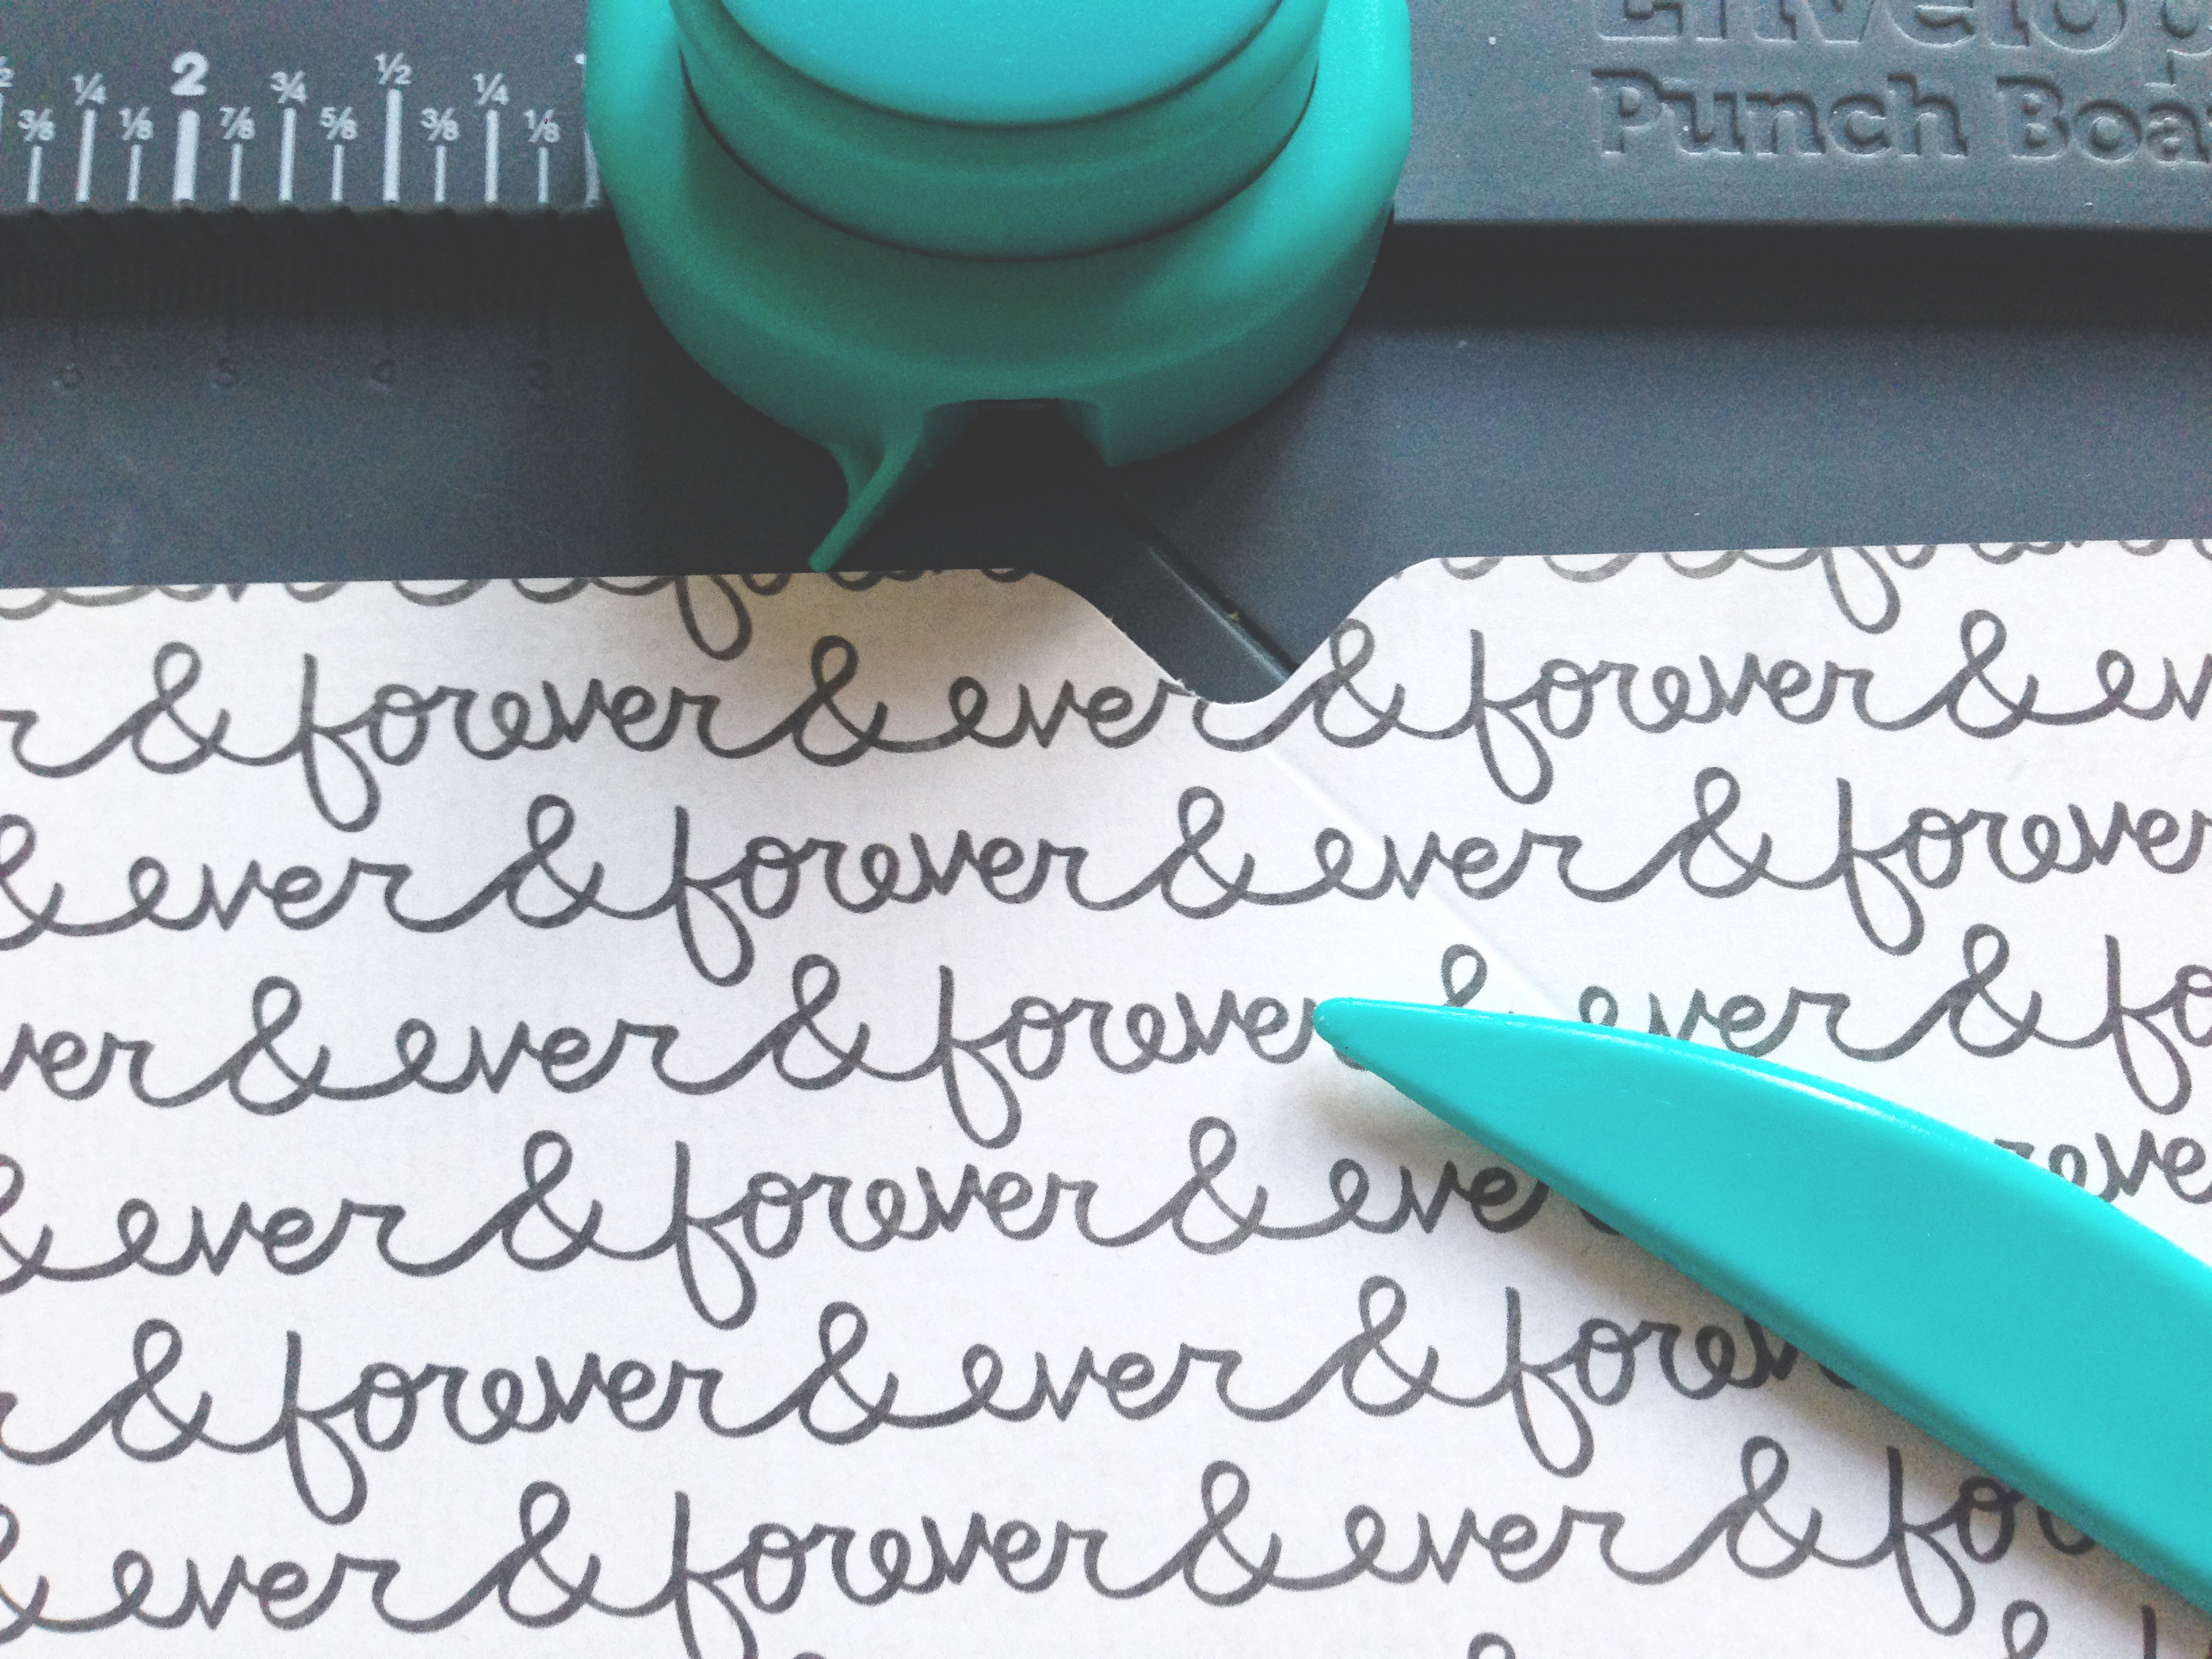
Line up the scored line with the little score guide. Punch, score, rotate, repeat.
You can then use the other side of the punch to create small curved edges, a nice plus.
And there you have it!
Lately I’m feeling a little sick of the triangle flaps and want to make short rectangular flaps. But so far I haven’t found boards that provide that, so I’ve just been improvising.
I will hopefully be working on a new Etsy shop soon with envelope packs, among other crafts, in case you don’t want to do them yourself (heh), so stay tuned!
Whenever I get a letter from you I always admire the envelope. <3
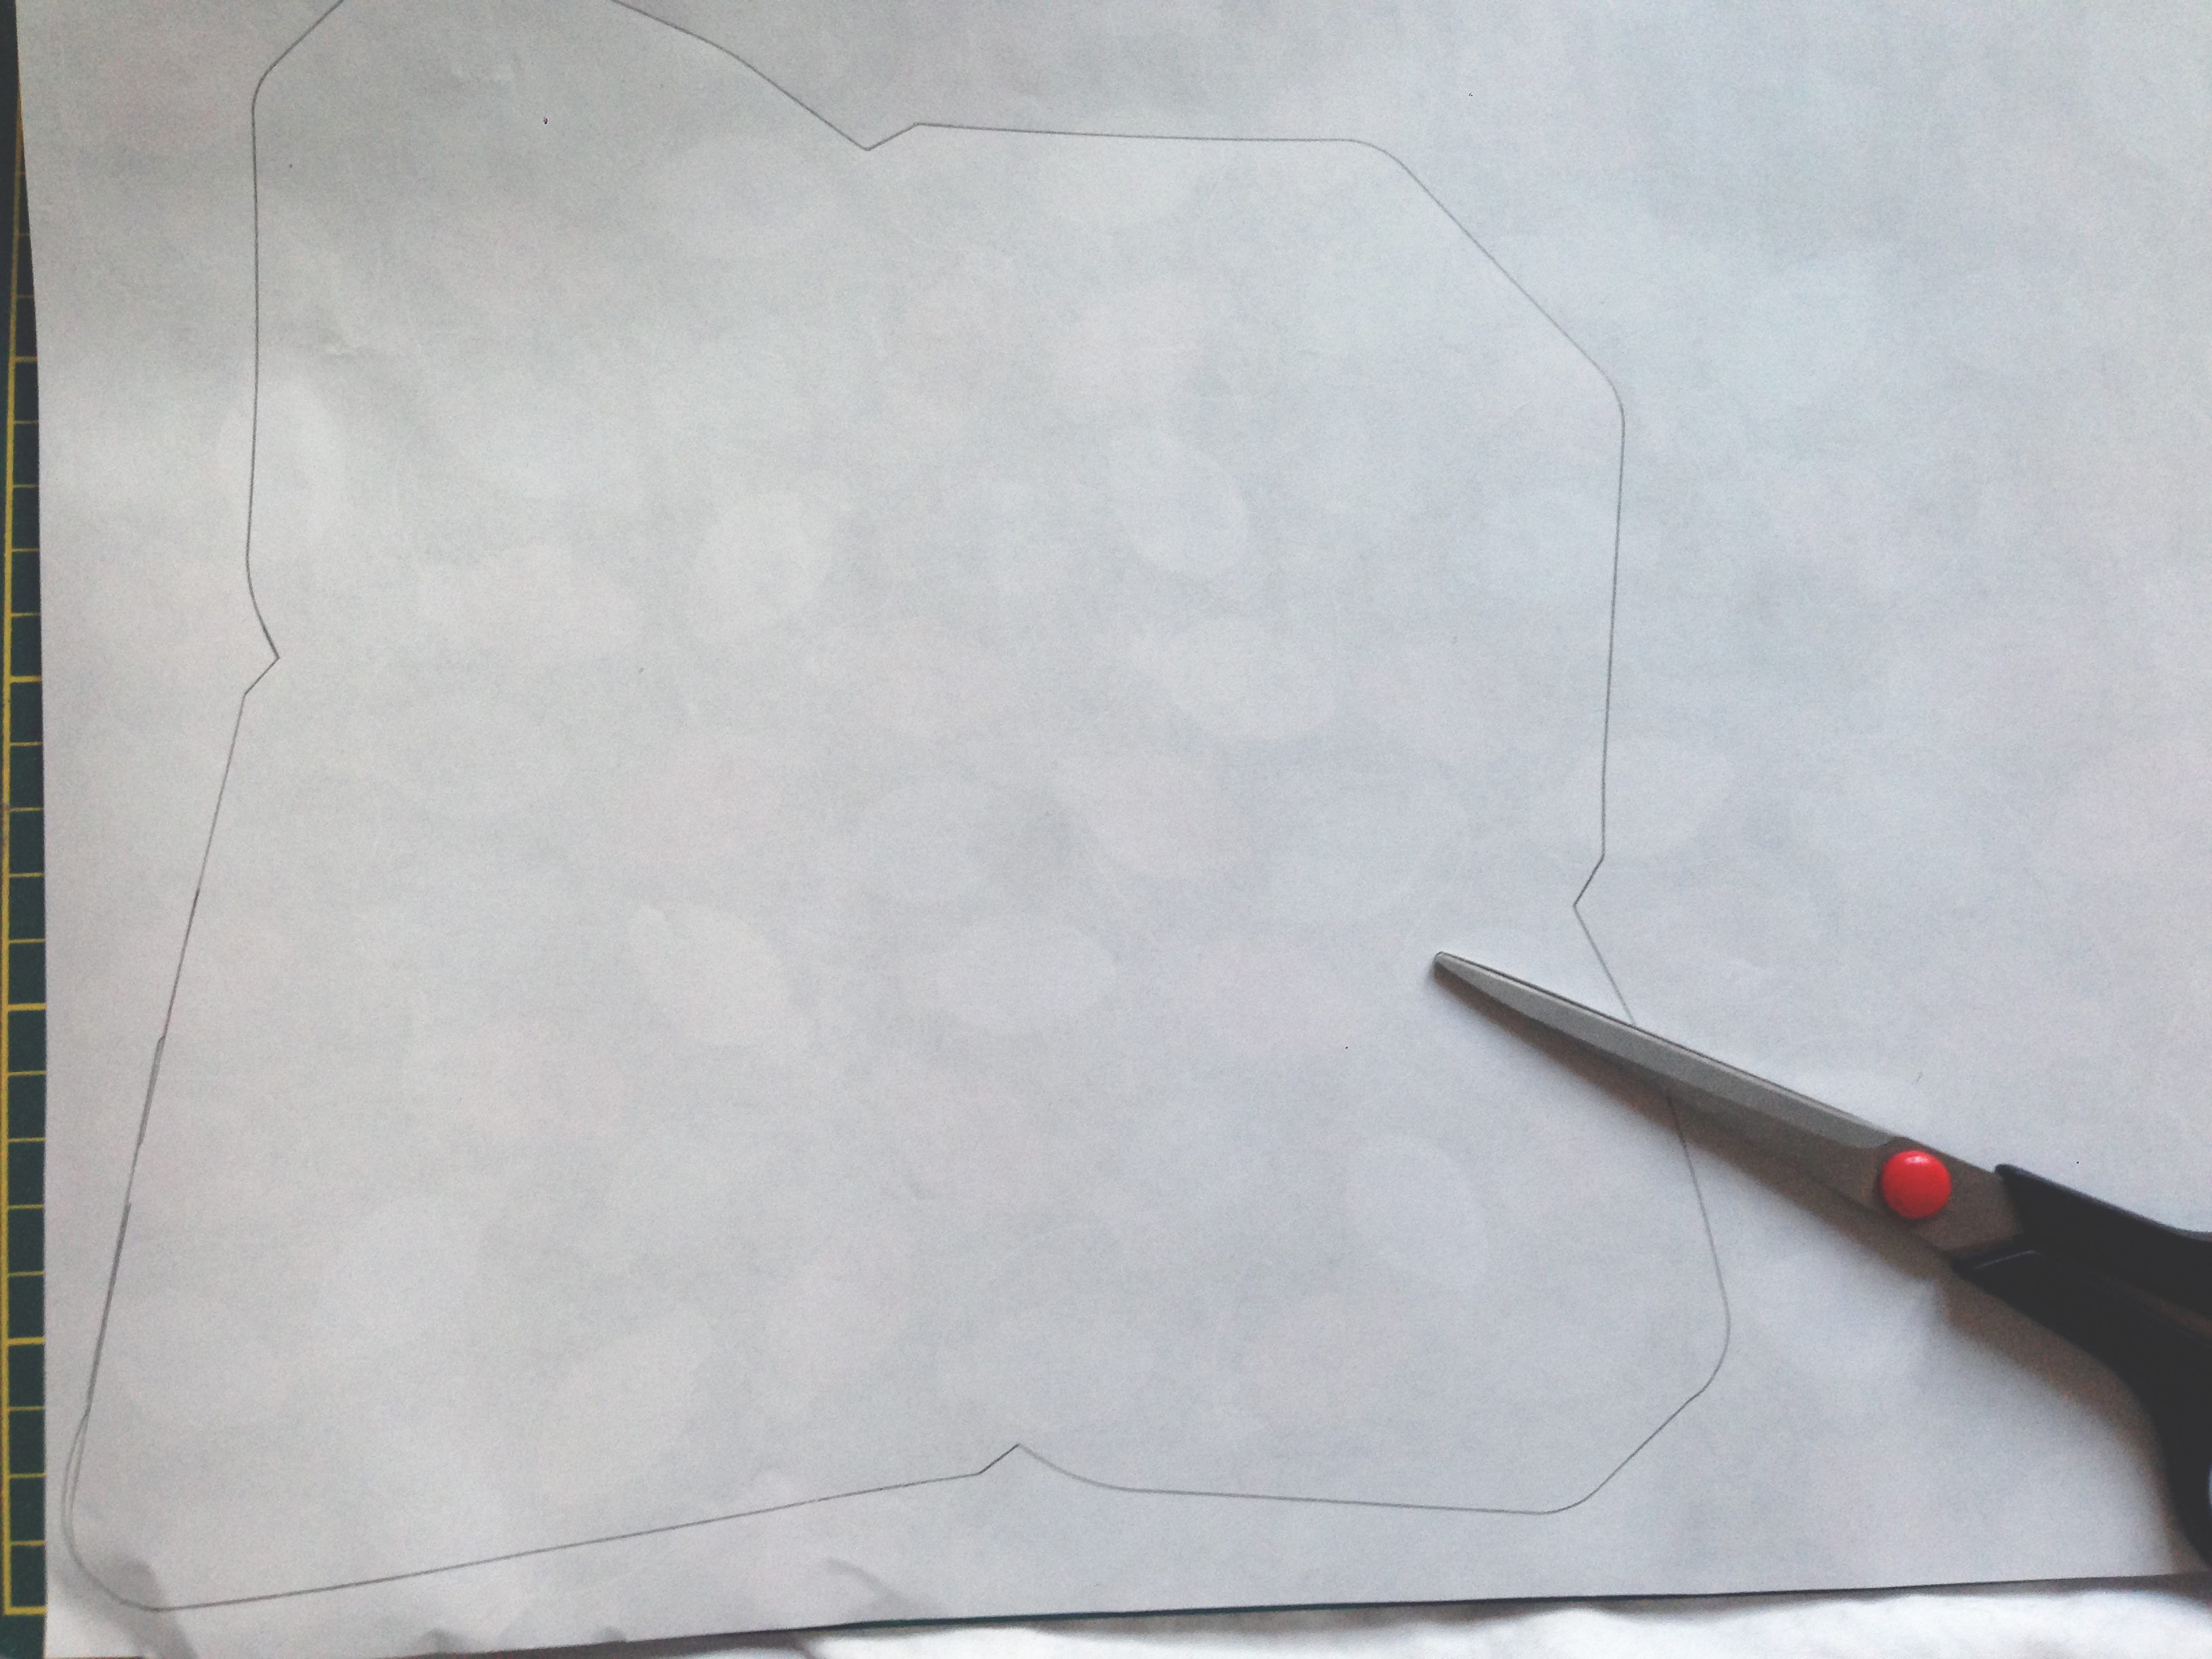
I tend to save mail that comes in oddly shaped envelopes. That is how I got a couple templates with a long, flat flap rather than pointed. Not as high tech as the other templates but you get interesting shapes that way!
<3
What kinds of odd shapes? Now I'm intrigued and want to figure out how to do them!
One time I went to the bank to cash a check, and the envelope they put the money in was narrow and long. I thought it was such a fun shape, that I used it as a template to make more!
Or sometimes people send cards in envelopes in interesting sizes with non-triangular flaps, so when I get one of those I rip it apart and use it as a template. 🙂
ohhhhh. I got the last one as a gift without any instructions, and I guess I didn’t think to look it up online. I keep wondering what to do with it, since I don’t really need a tool that is a ruler + rounds edges. NOW I understand how useful it is! Thanks!
Hahah! Glad you saw this then! It’s a great tool. You can also use it to make card boxes: https://www.youtube.com/watch?v=v_zNrmckDDI
This is amazing. Think of all the stuff I could put in boxes!
Envelope queen. I’ve got nothing else to say. <3