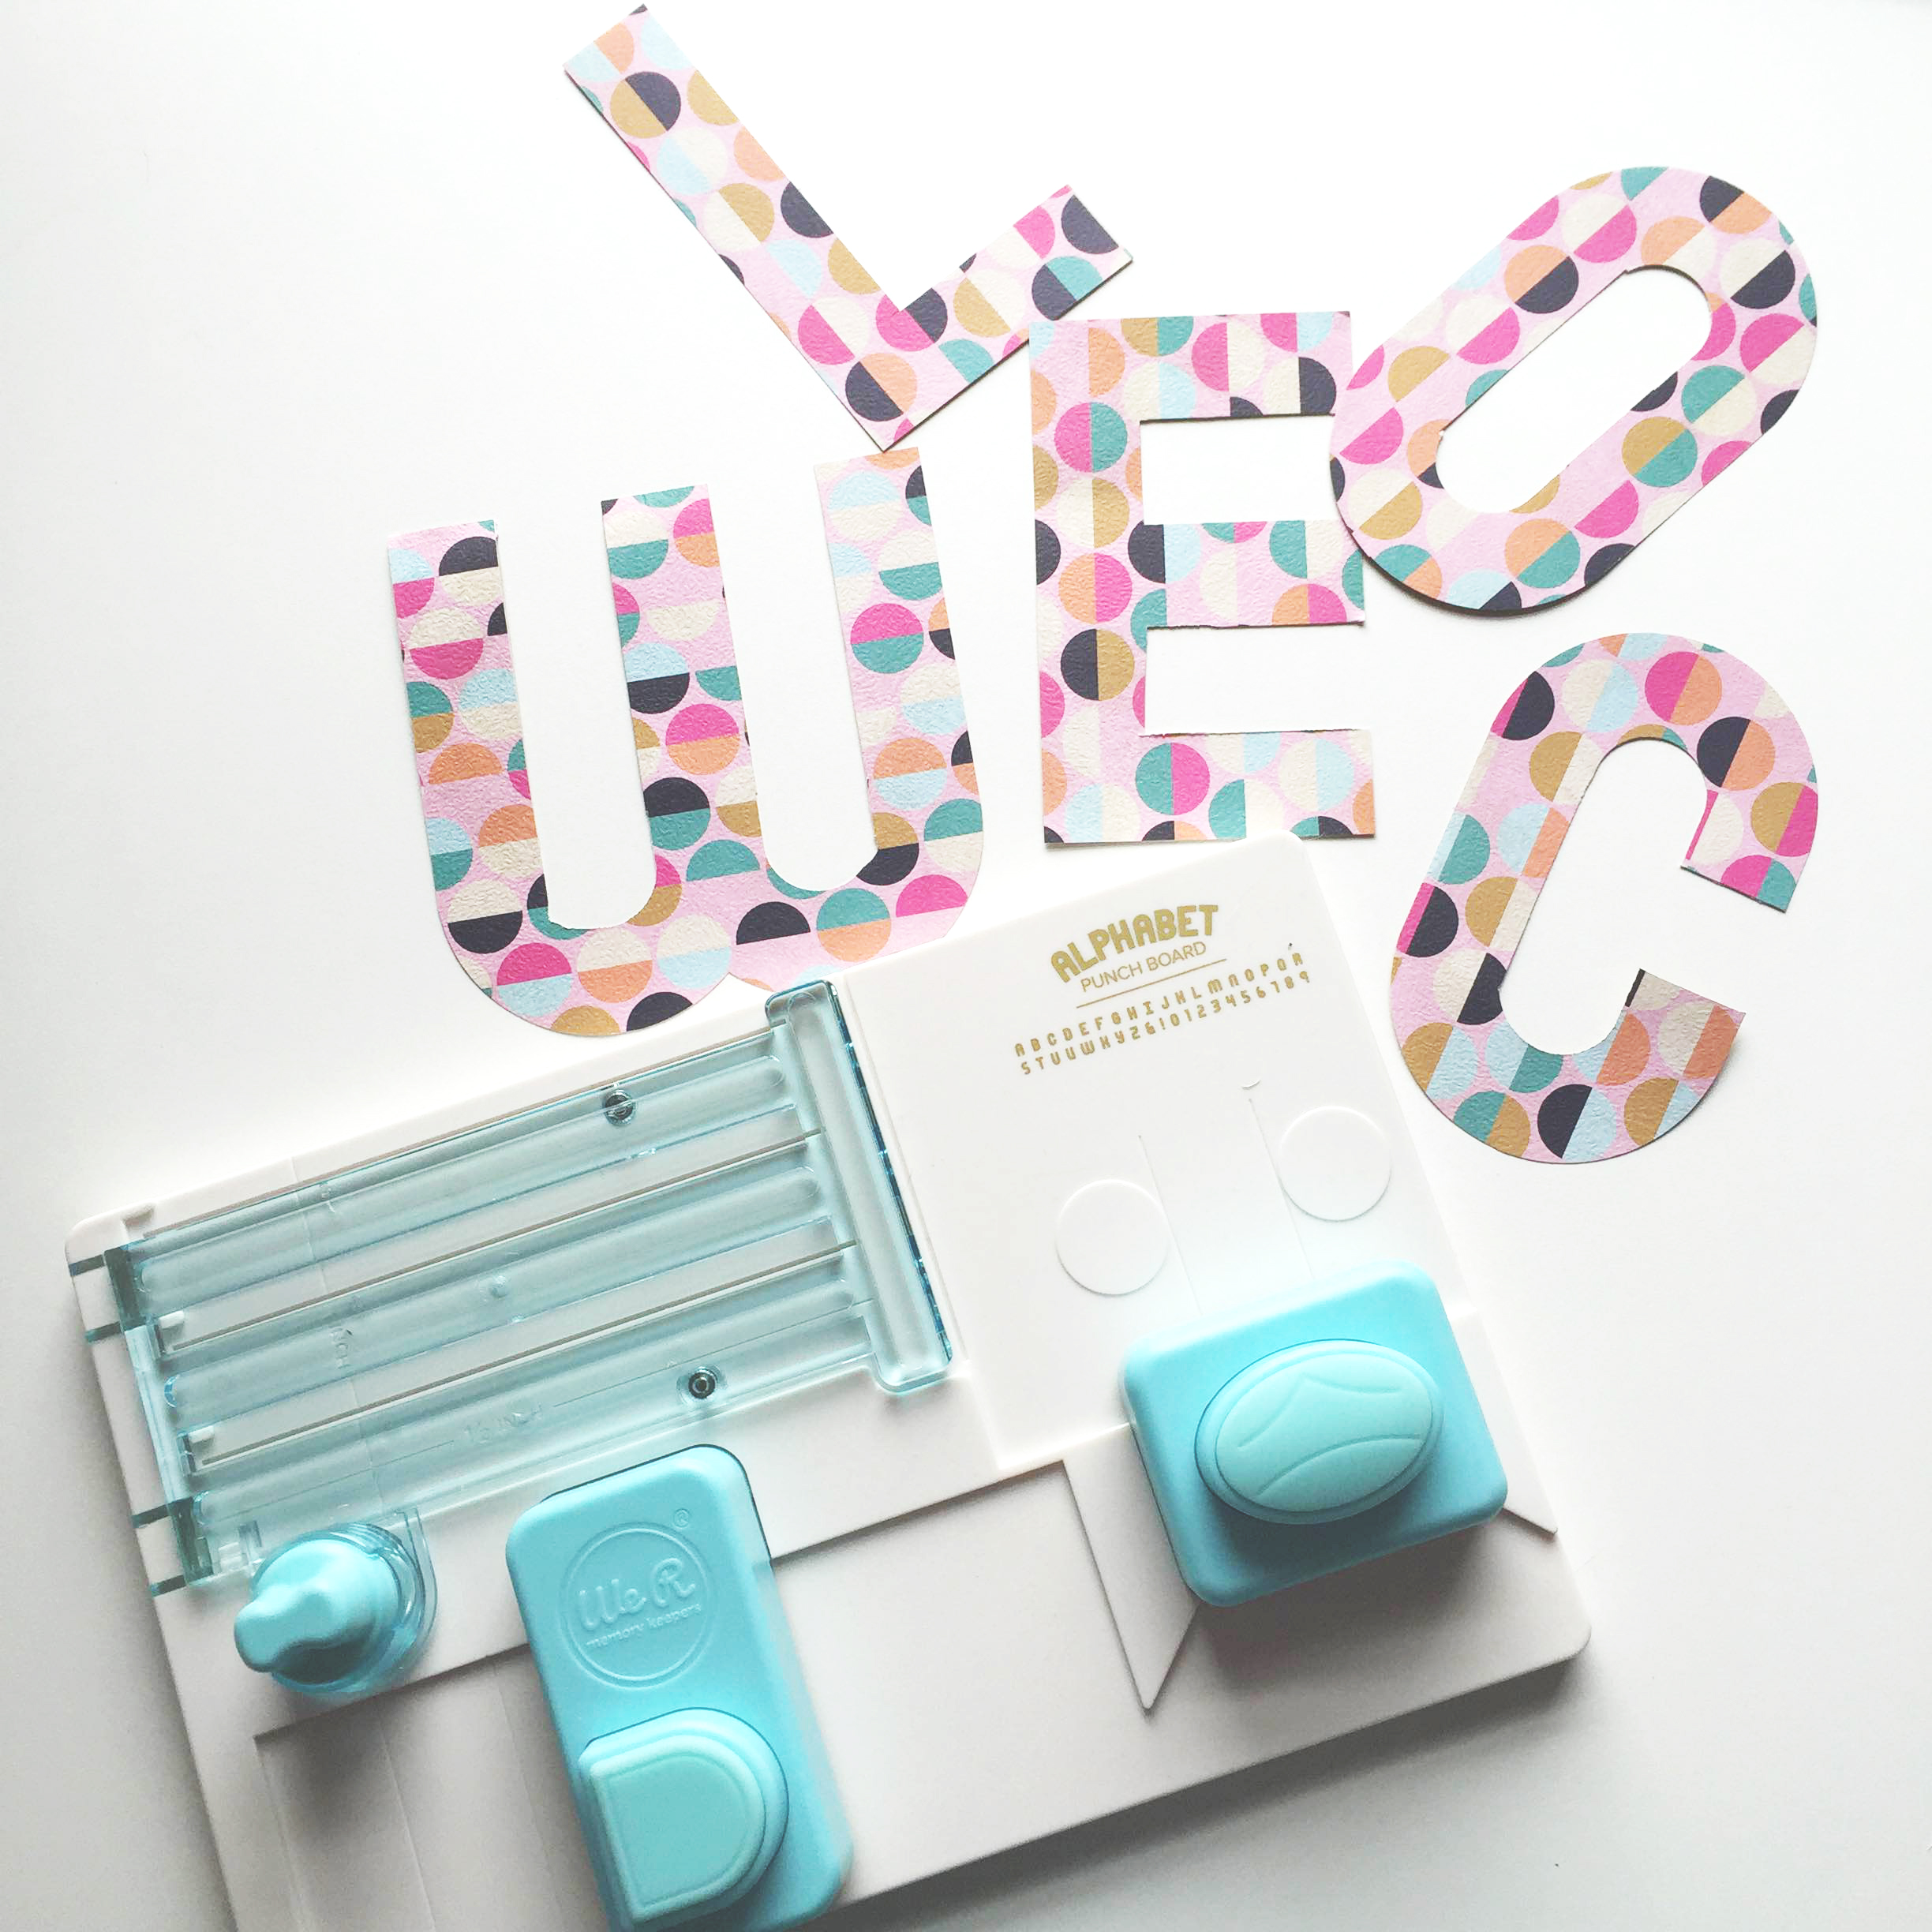

We R Memory Keepers are game-changers in the paper craft world. They are behind the incredible ‘punch boards’ for making envelopes, gift boxes, flowers, bunting and now letters and numbers. When I heard about this, just like when I heard about the bunting board, I squealed with glee. These boards are so fun and enable me to make cool things pretty quickly!
So how does one small board make a whole alphabet, set of numbers and characters? Here’s a little intro to how to use it. You’re going to want one after you see how easy it is!

One thing that is a catch to the board is that everything is only one size. You can’t make adjustments to the size of the letters. Not the end of the world though! First you need to cut your paper into 3×5″ rectangles. If you need to make a W or M, then it’s easiest if you cut them into 5×5″ (you can still do 3×5″ but you’d need two rectangles for both sides of the letter).
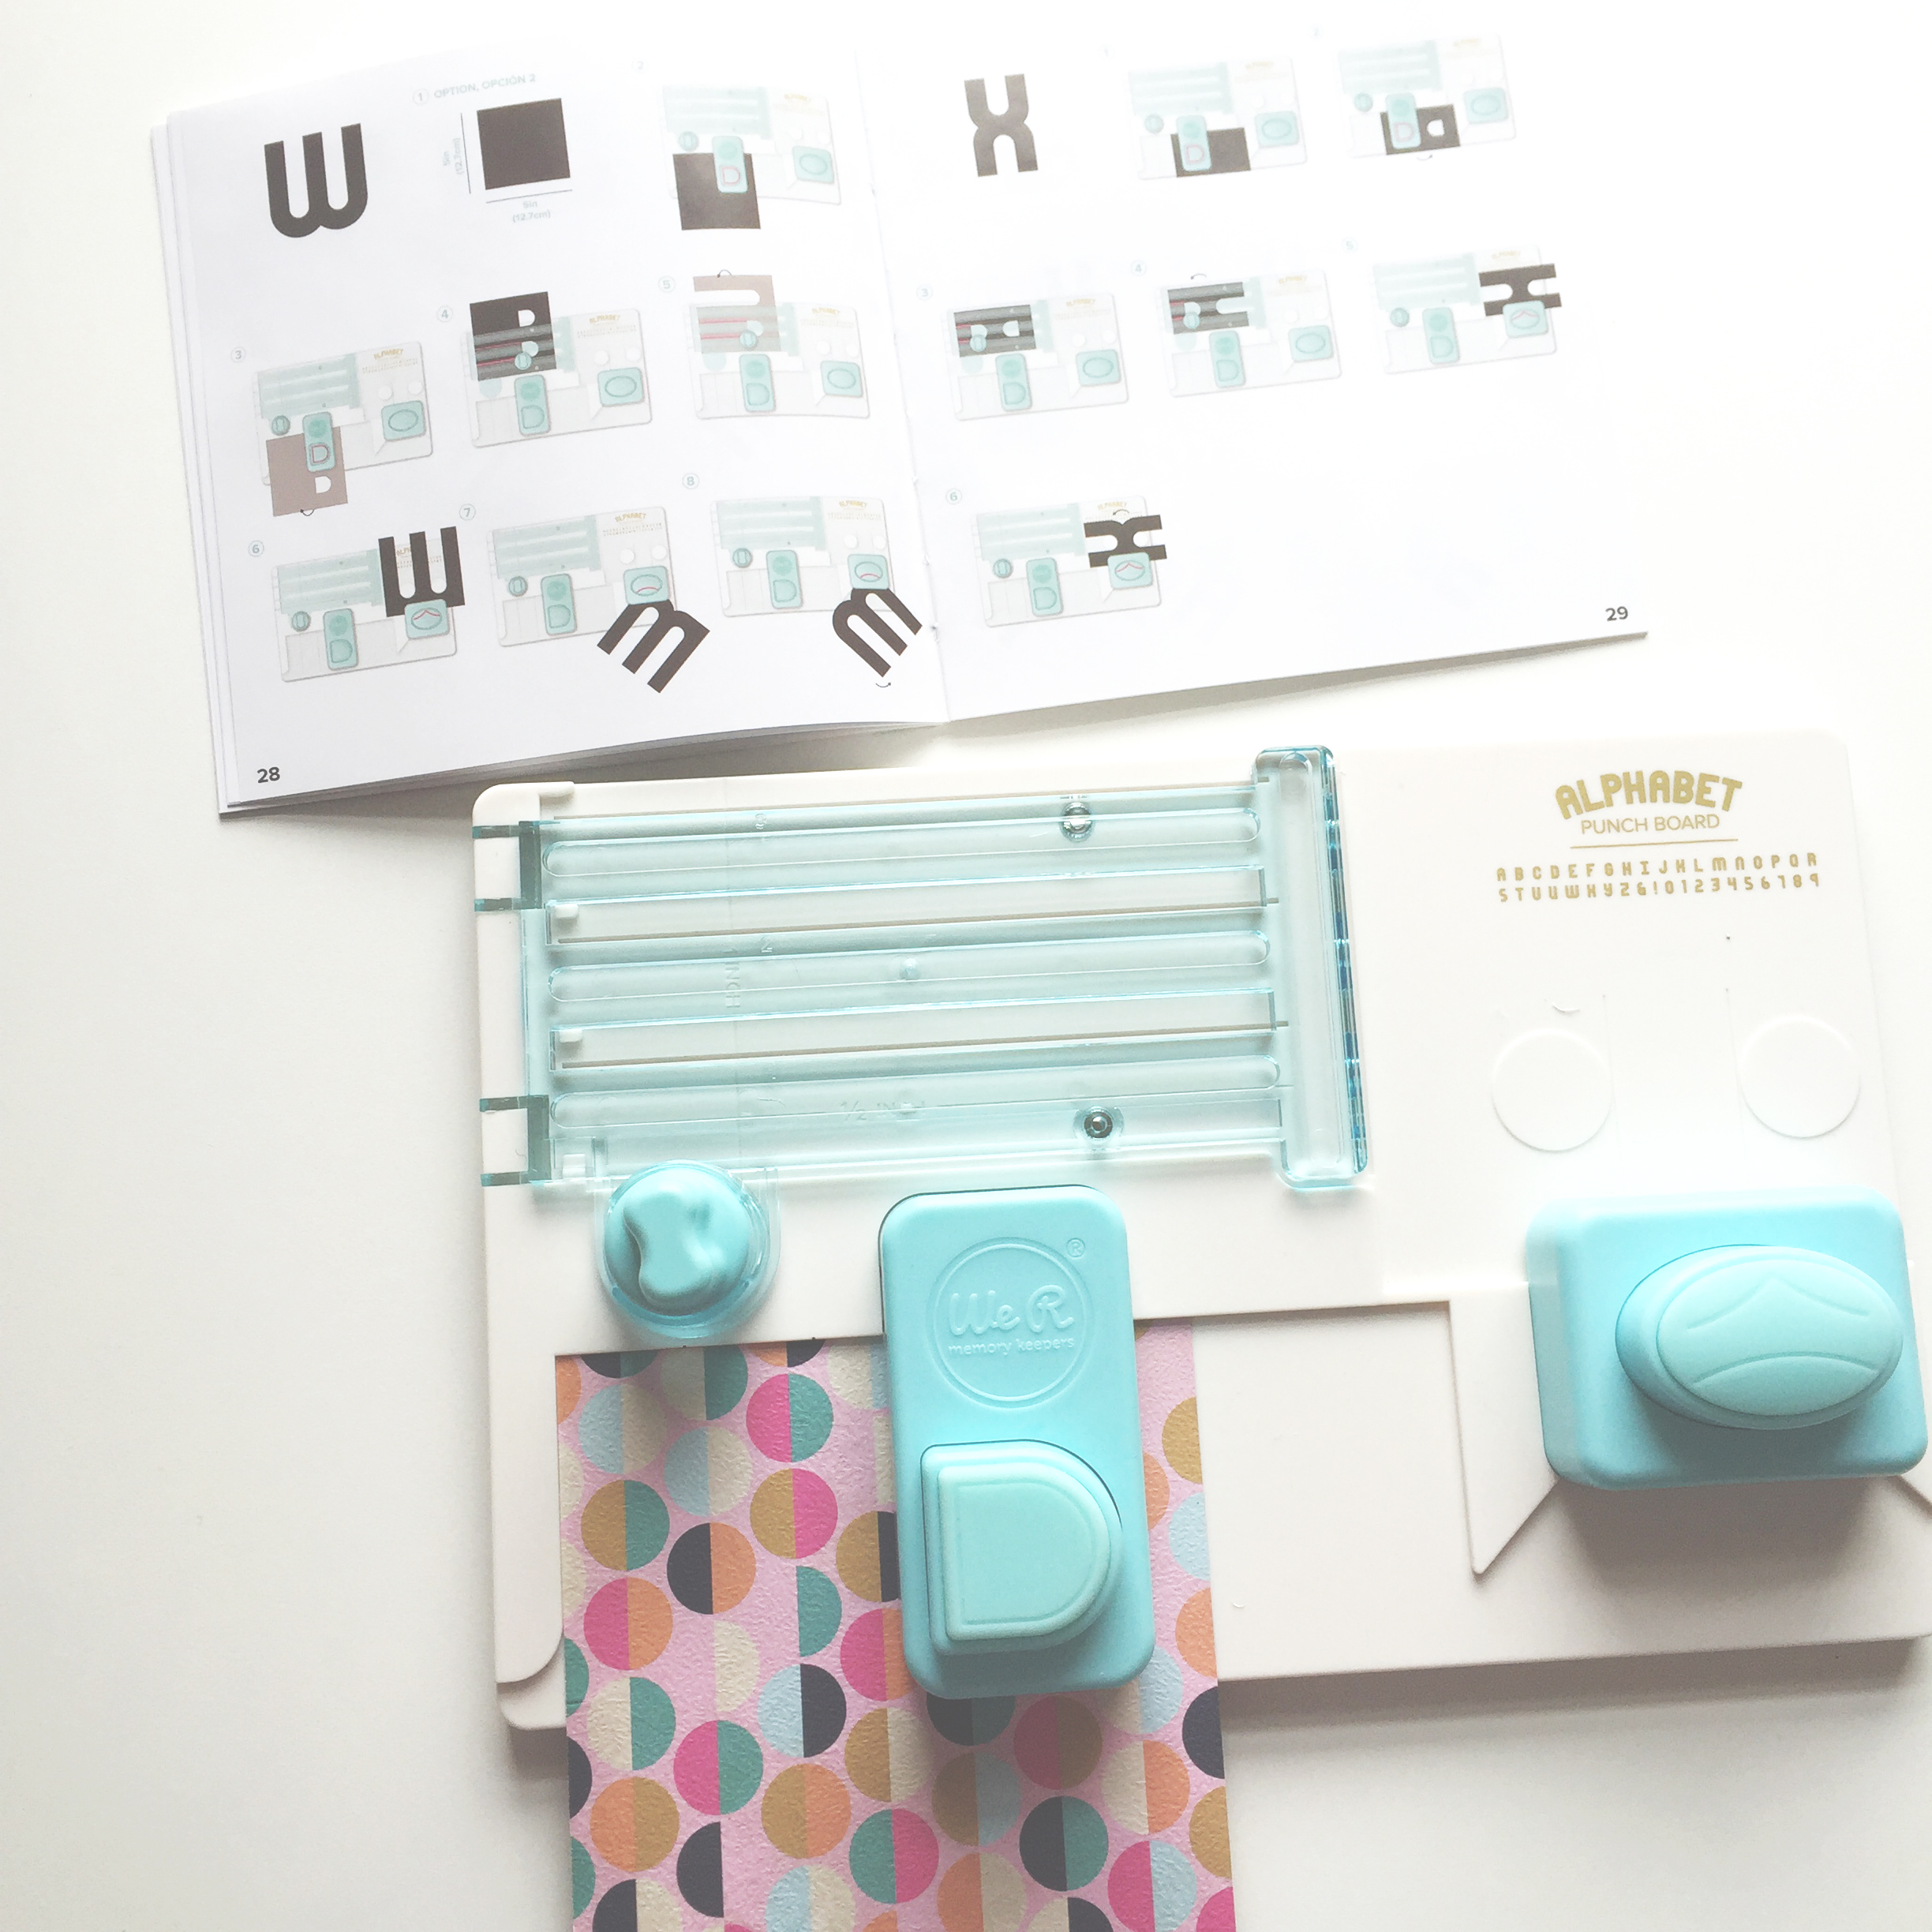
The board comes with a handy instruction booklet. I honestly don’t know if I can ever get to a point when I memorize how to do every letter, so I’ll be taking good care of that baby. The instructions are simple and you’ll start to predict what you need to do next once you get in the swing of things.
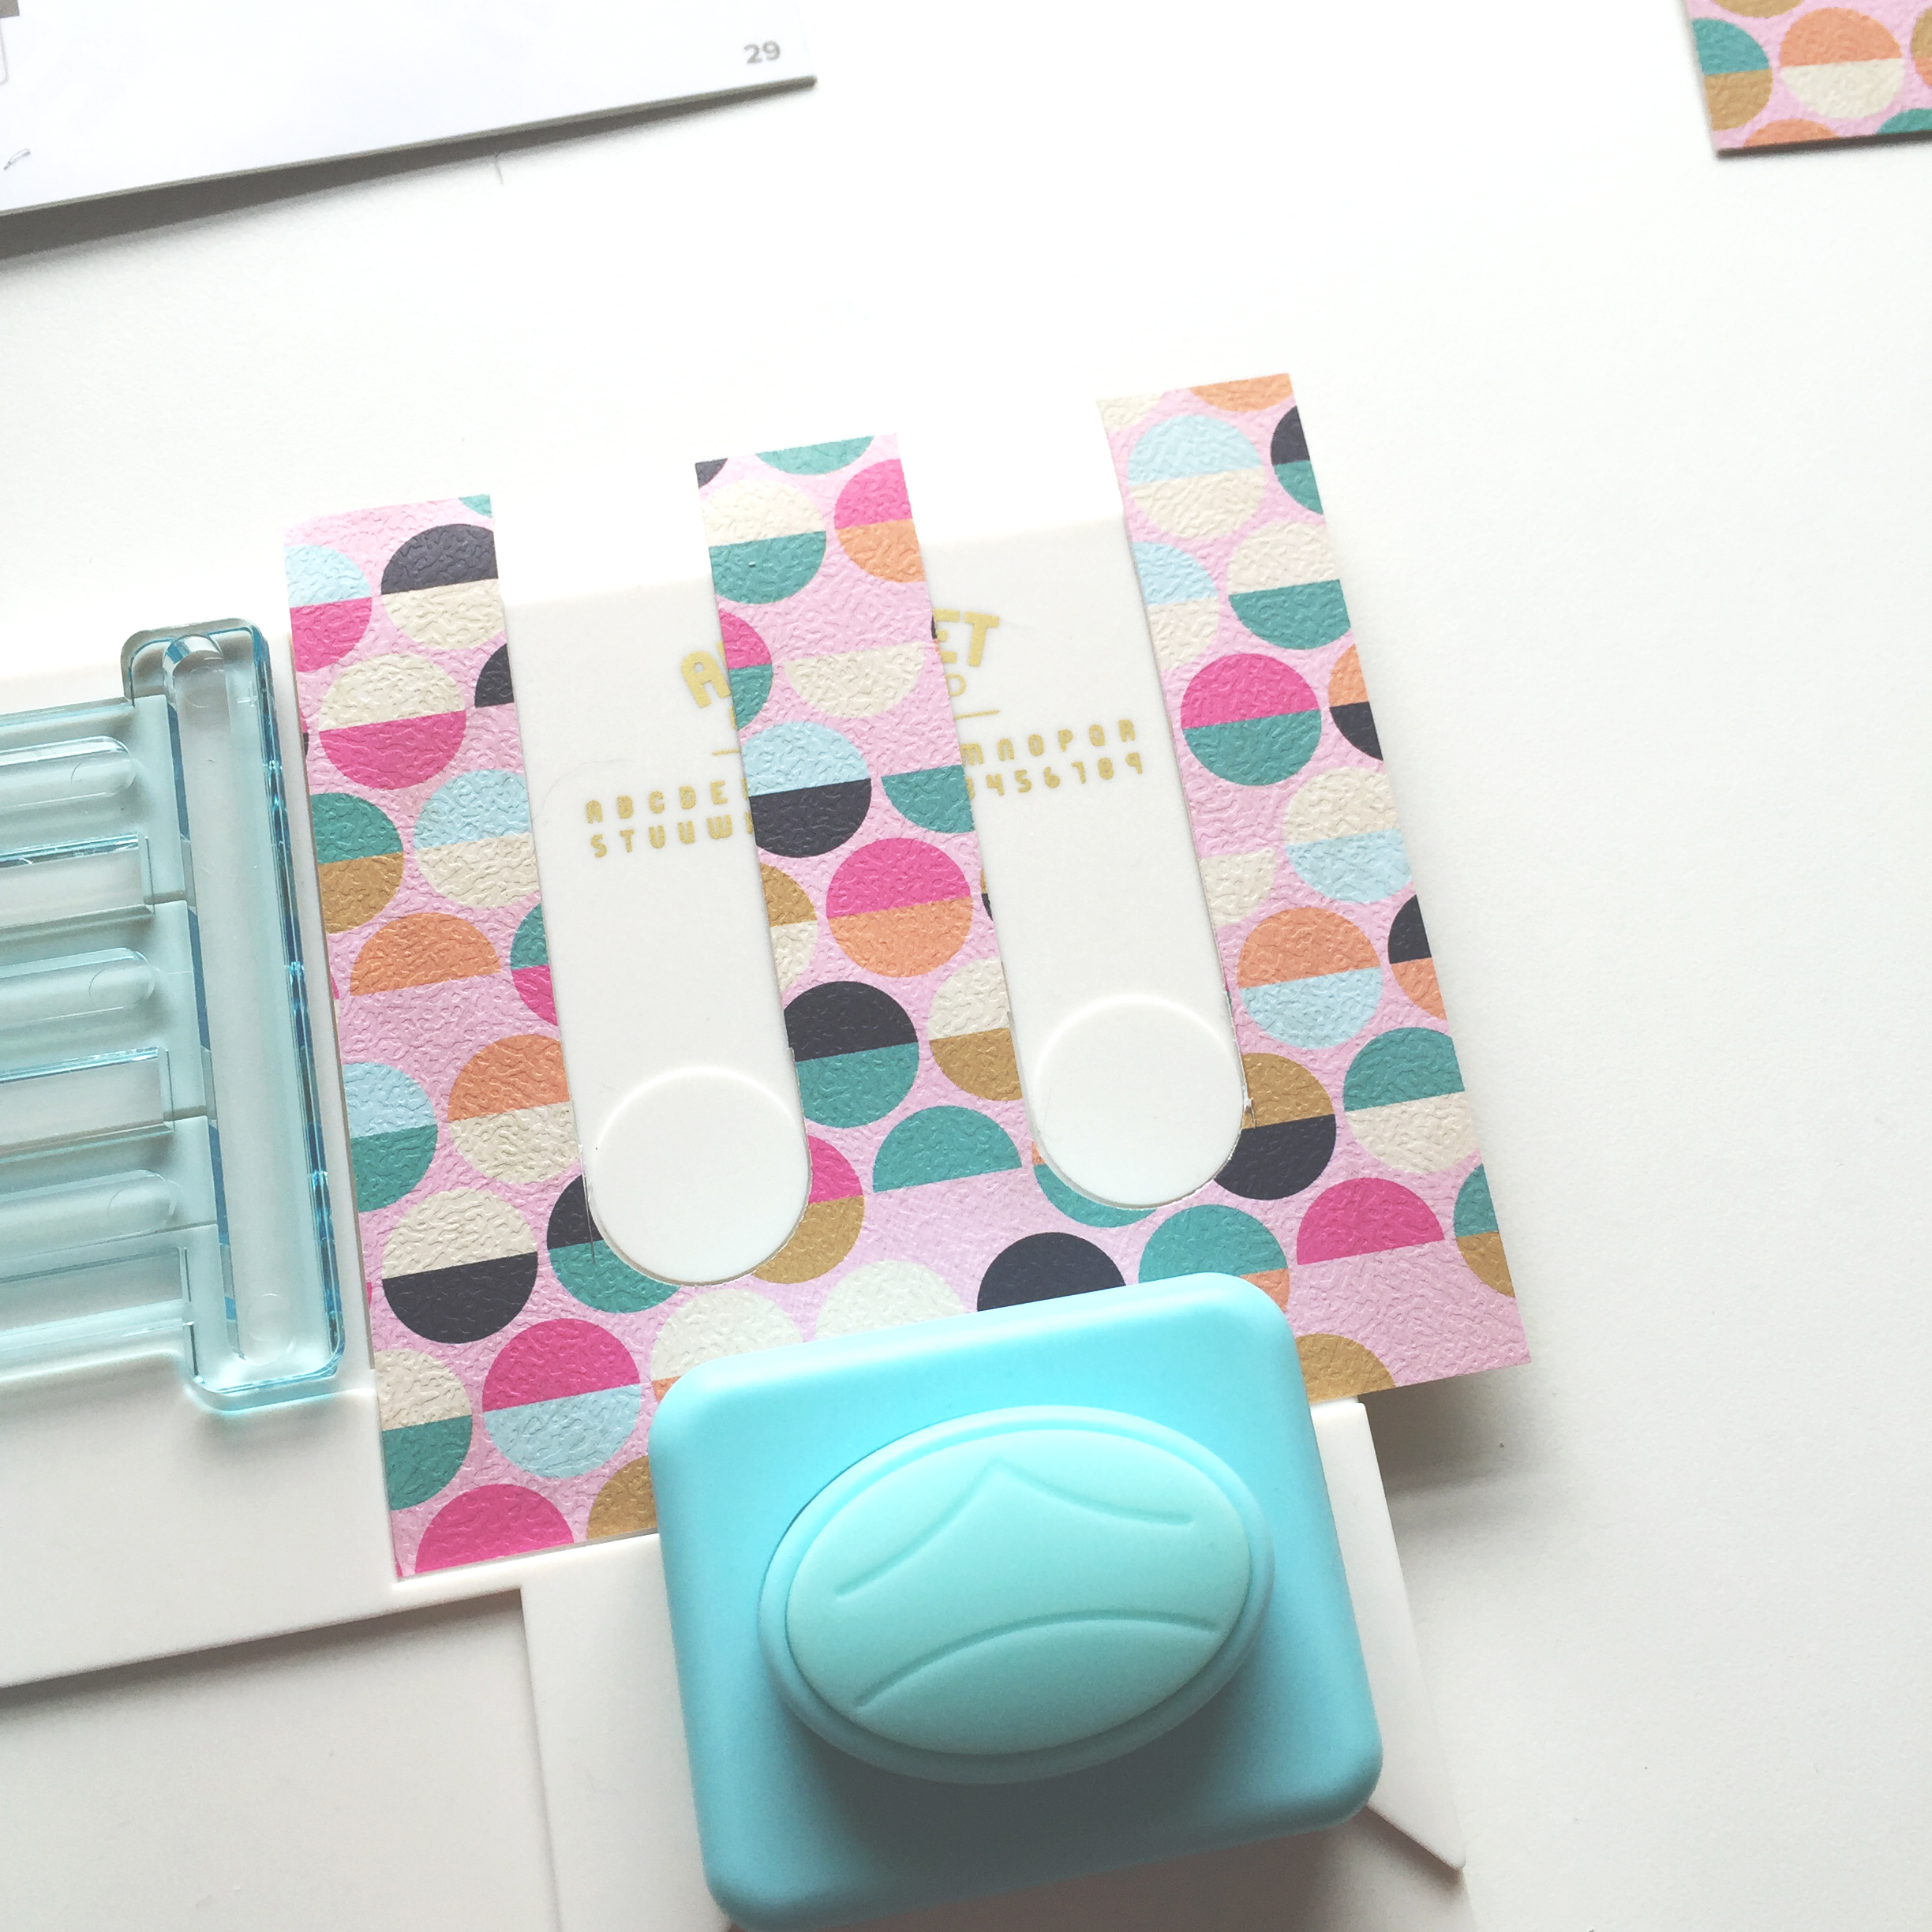
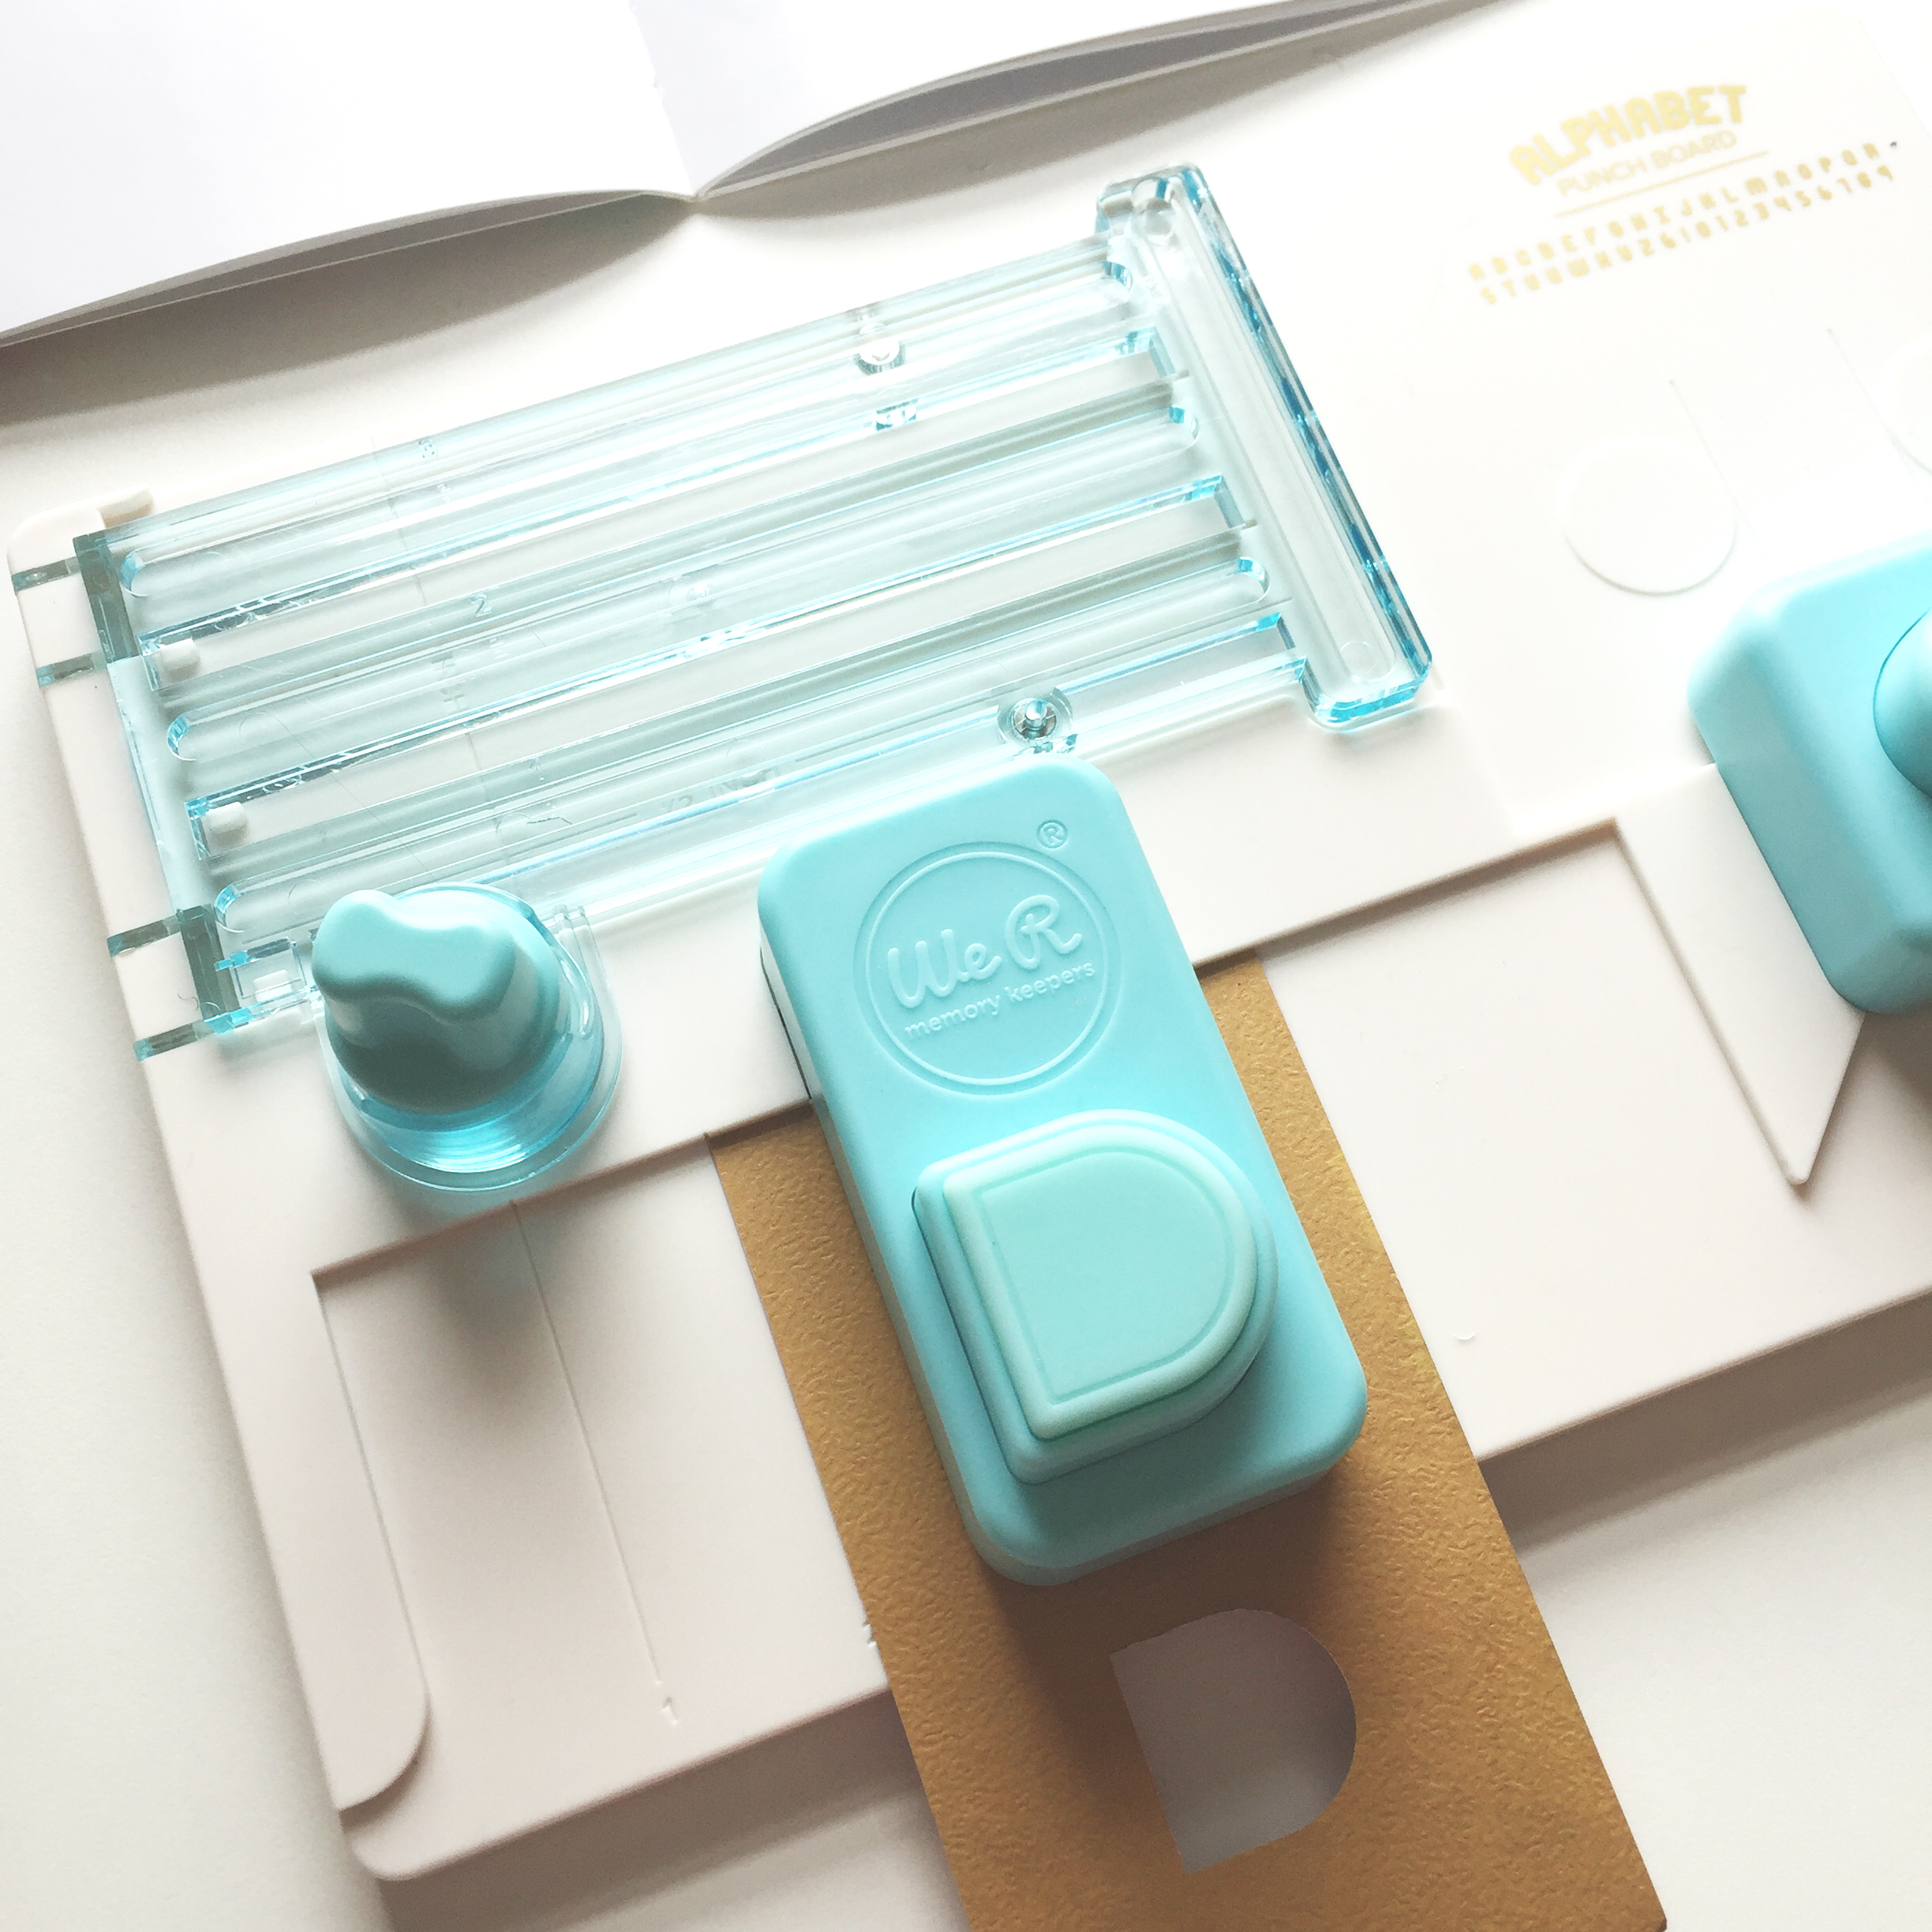
I wanted to make the word ‘welcome,’ so we’re starting with the W. The board includes two punches (one with double use, there on the right), and one cutting board. So for the W, first you need to punch what will end up being the bottom curves of the letter.
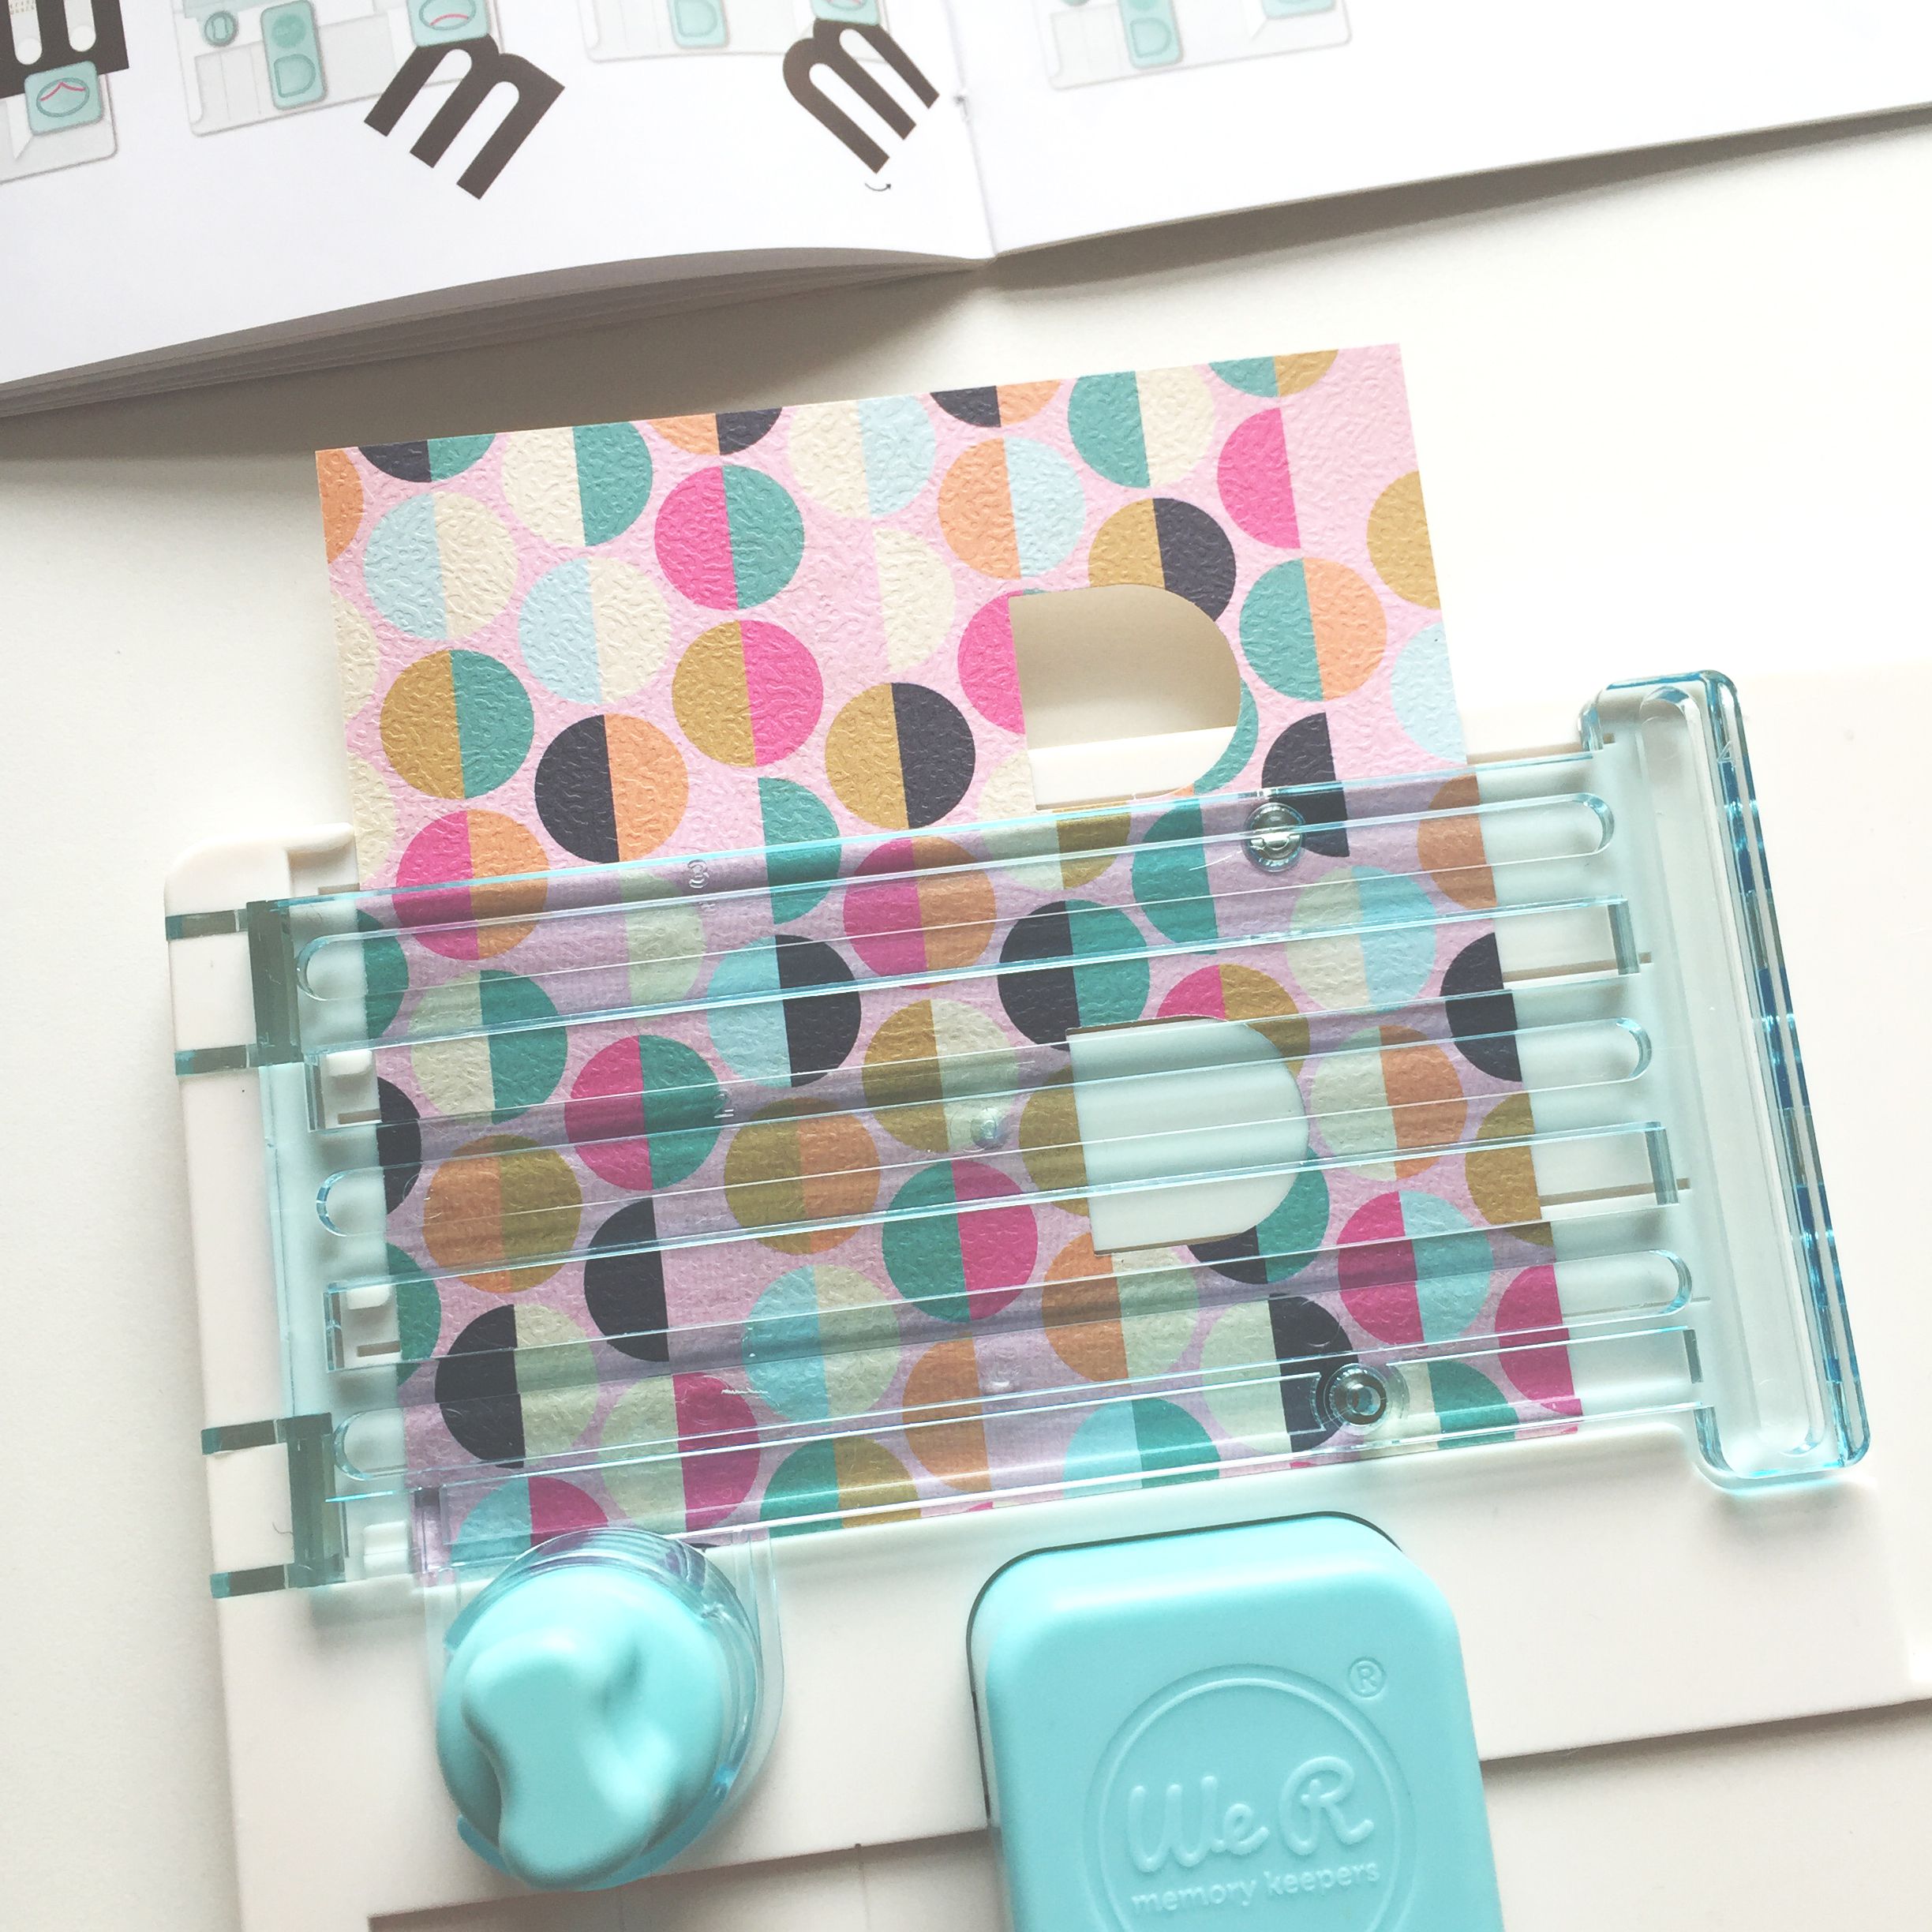
Then you bring it up to the cutting board, where the instructions tell you to use that knob thing (which is actually a knife) along the tops of the three sections. Though the frame has magnets, press down to make sure it keeps everything in place, as I found if I didn’t, then my paper shifted.
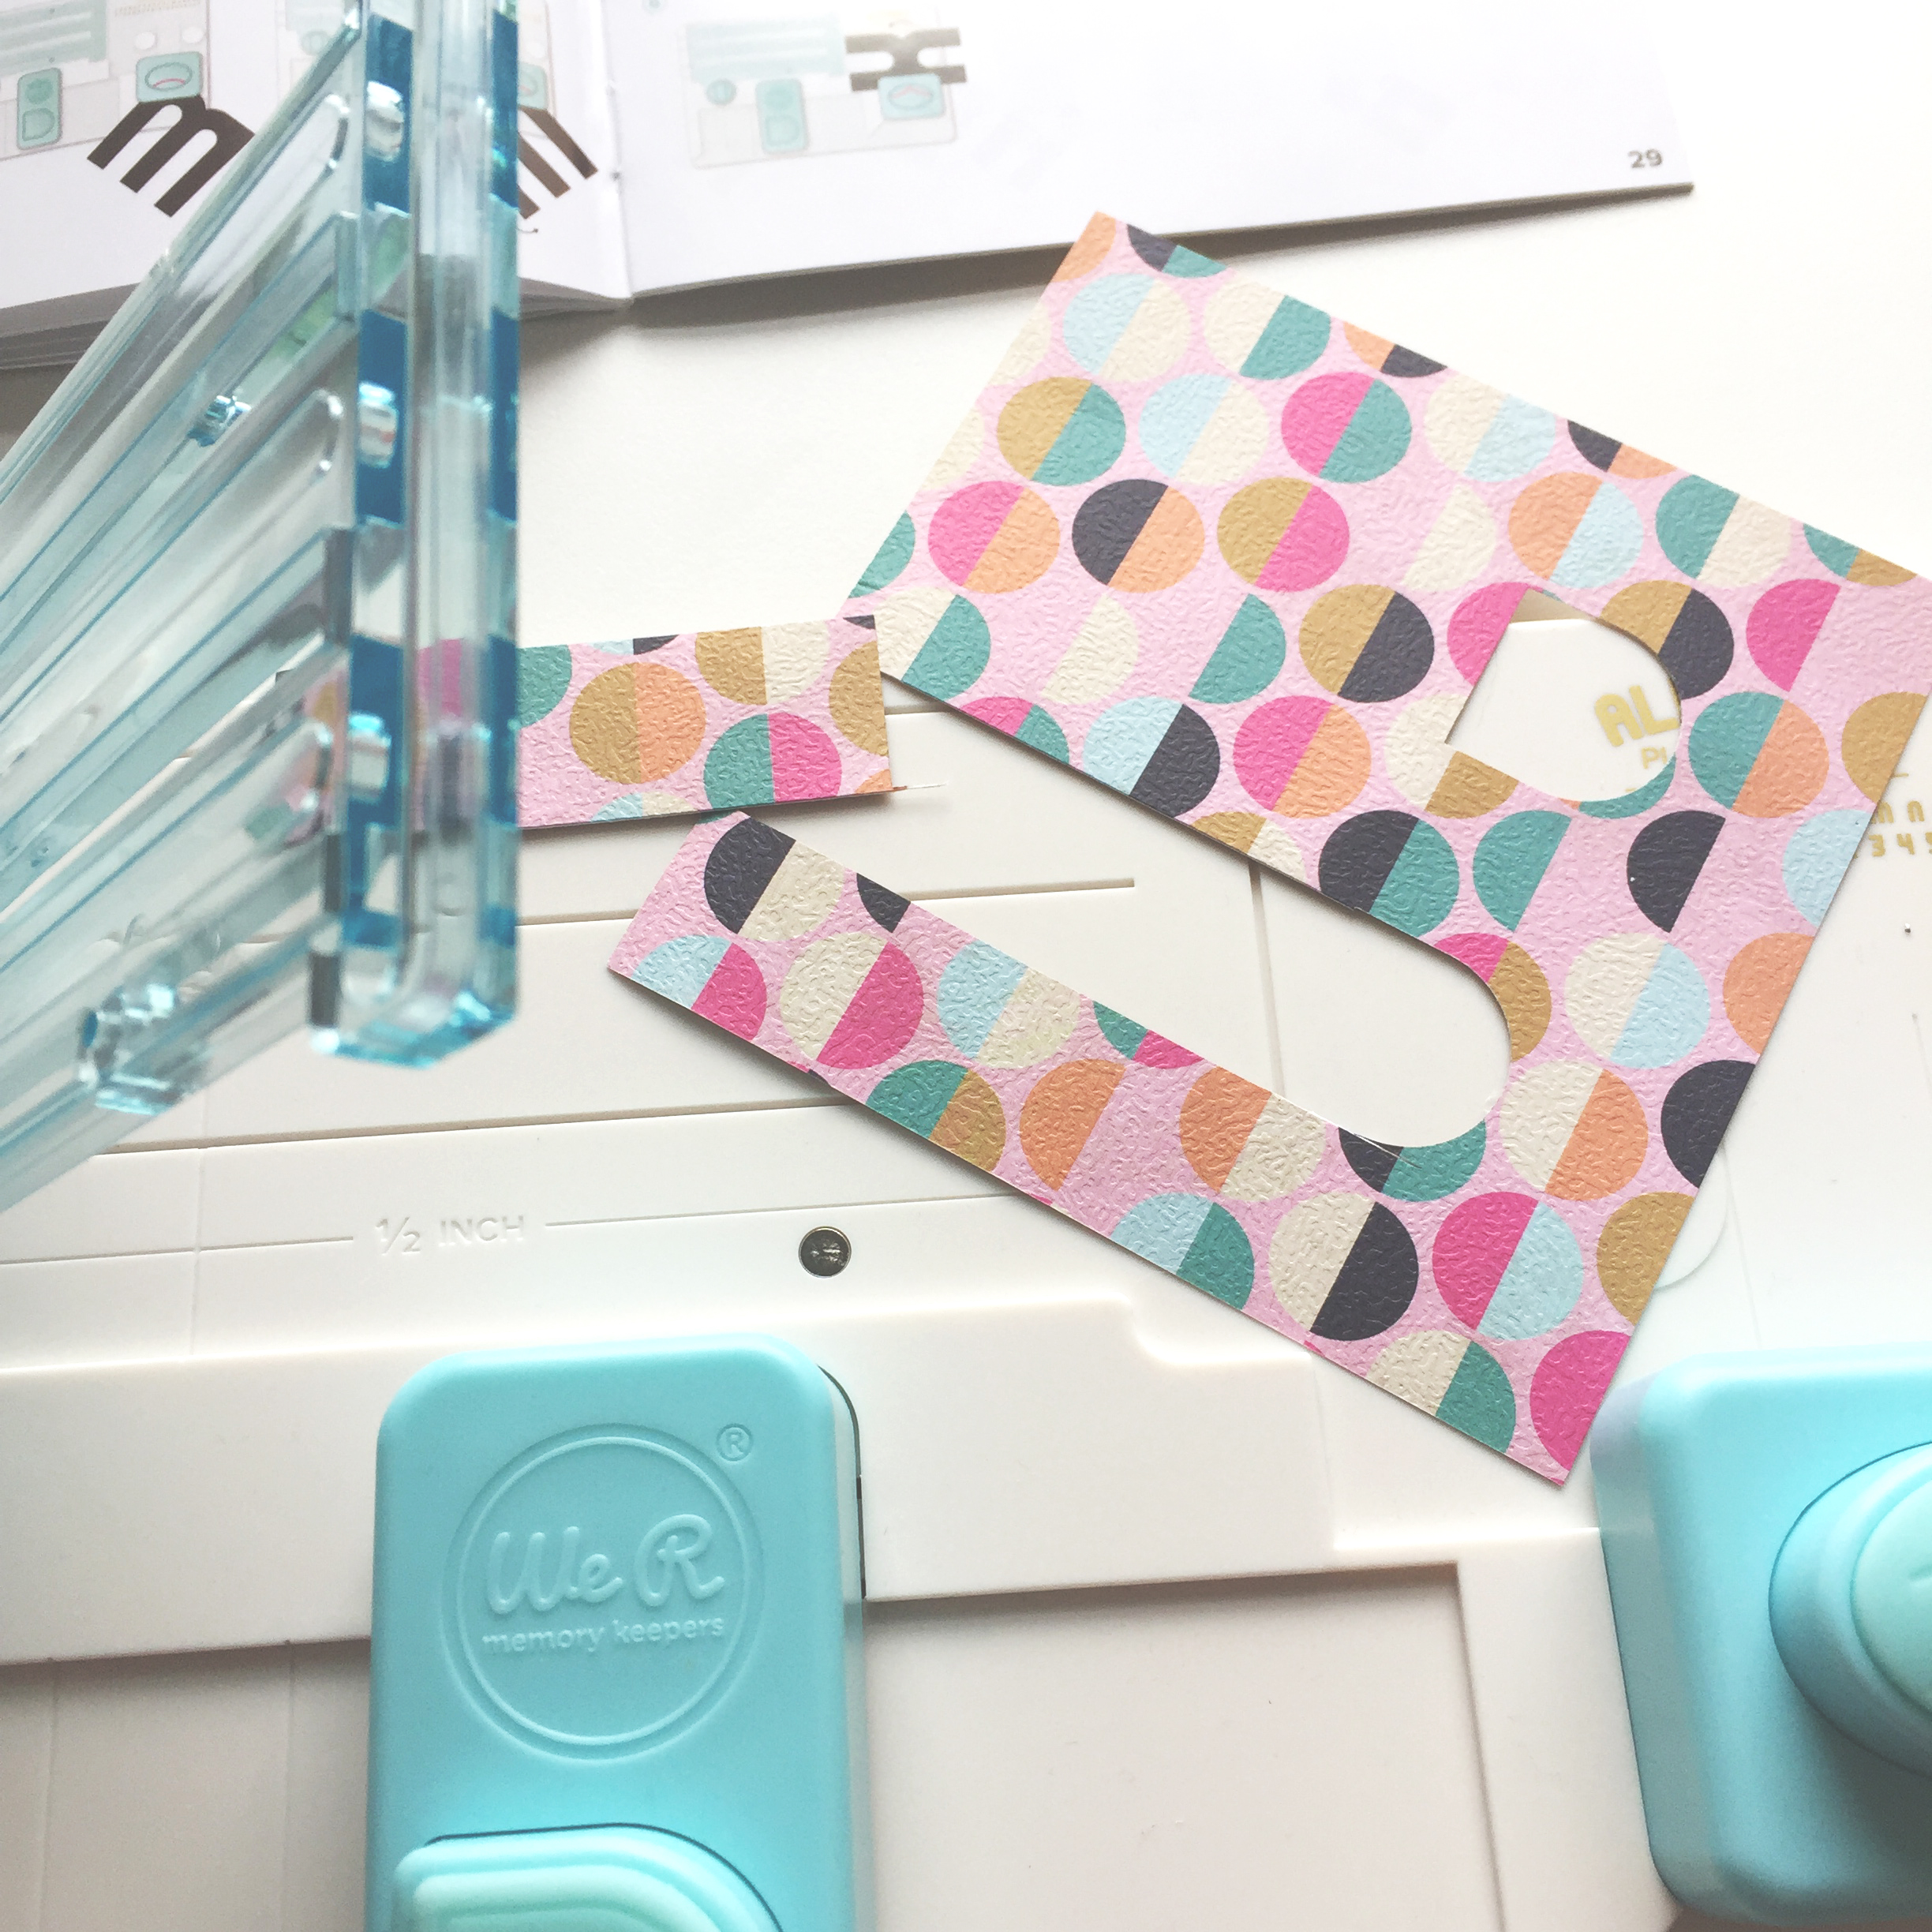
Then you’ll be able to take off the parts of the letter you don’t need!
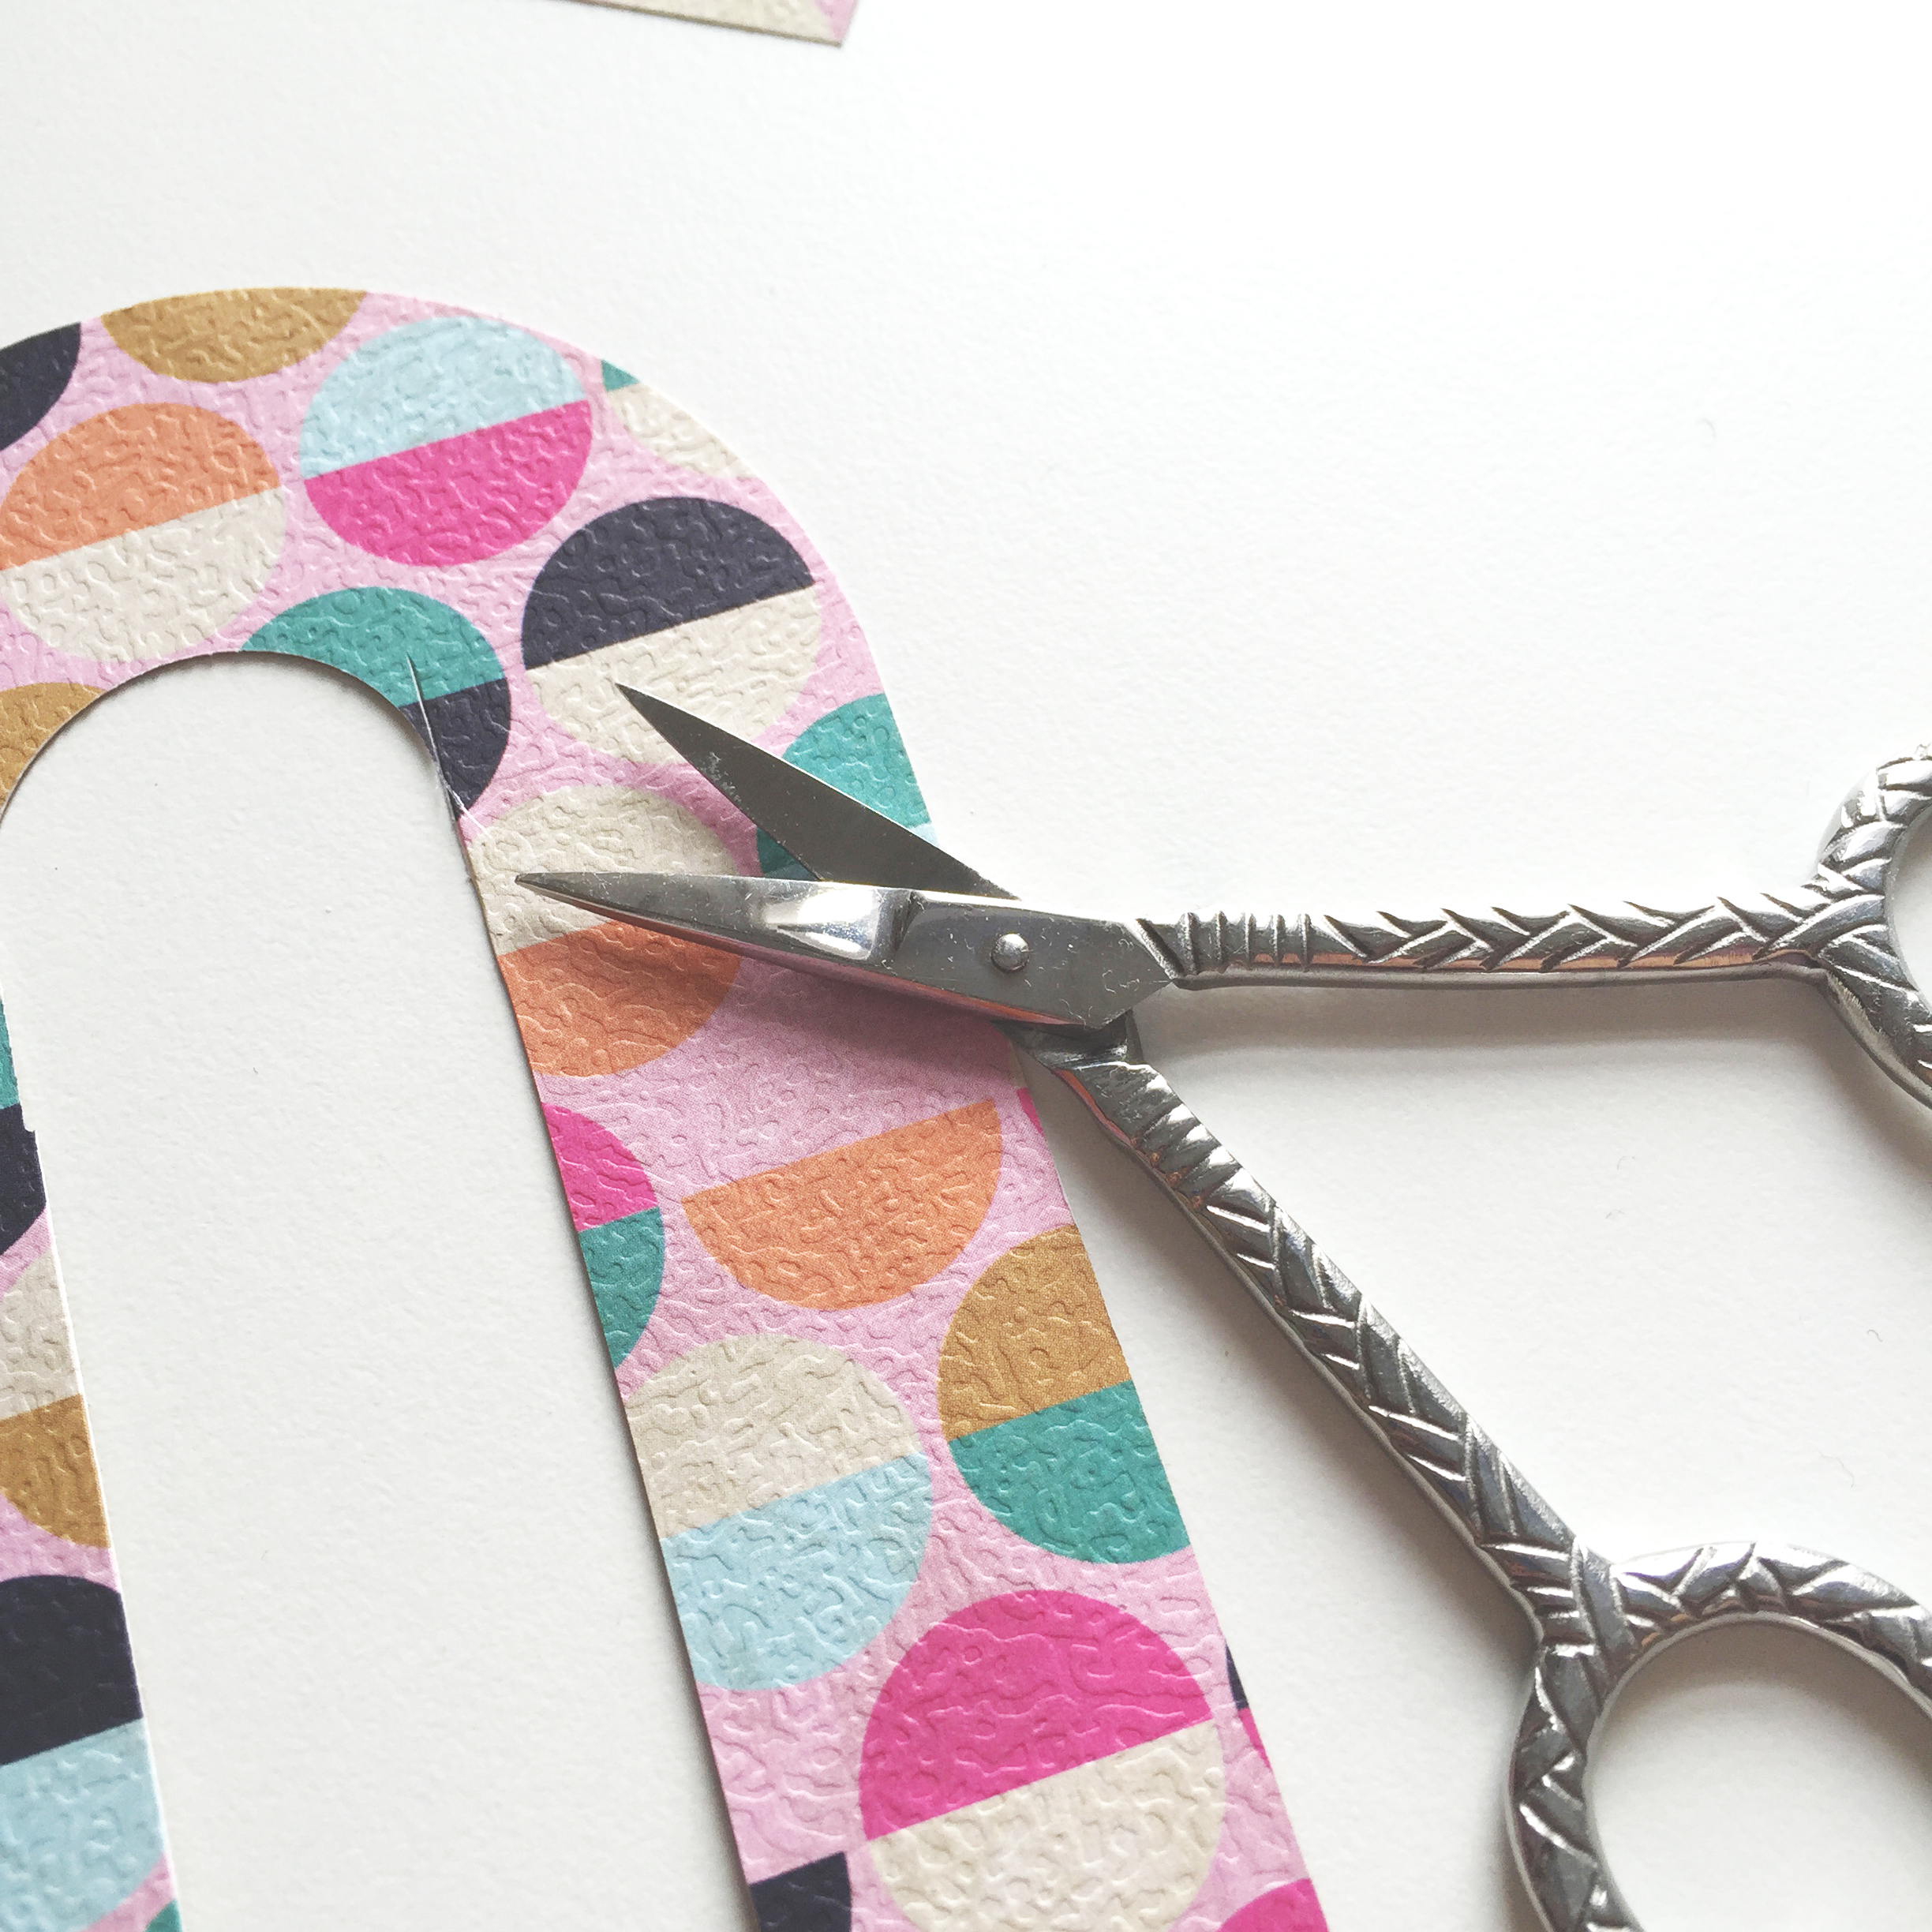
There is some margin for error, though. Maybe my larger cutting board is a bit faulty (good chance), but I found I could rarely get my lines to match up for a clean cut when using this board, so you might have to do some clean up with scissors. Also make sure your blade is sharp enough.
The top part of the right side punch will give you the bottom of the W (or top of the M).
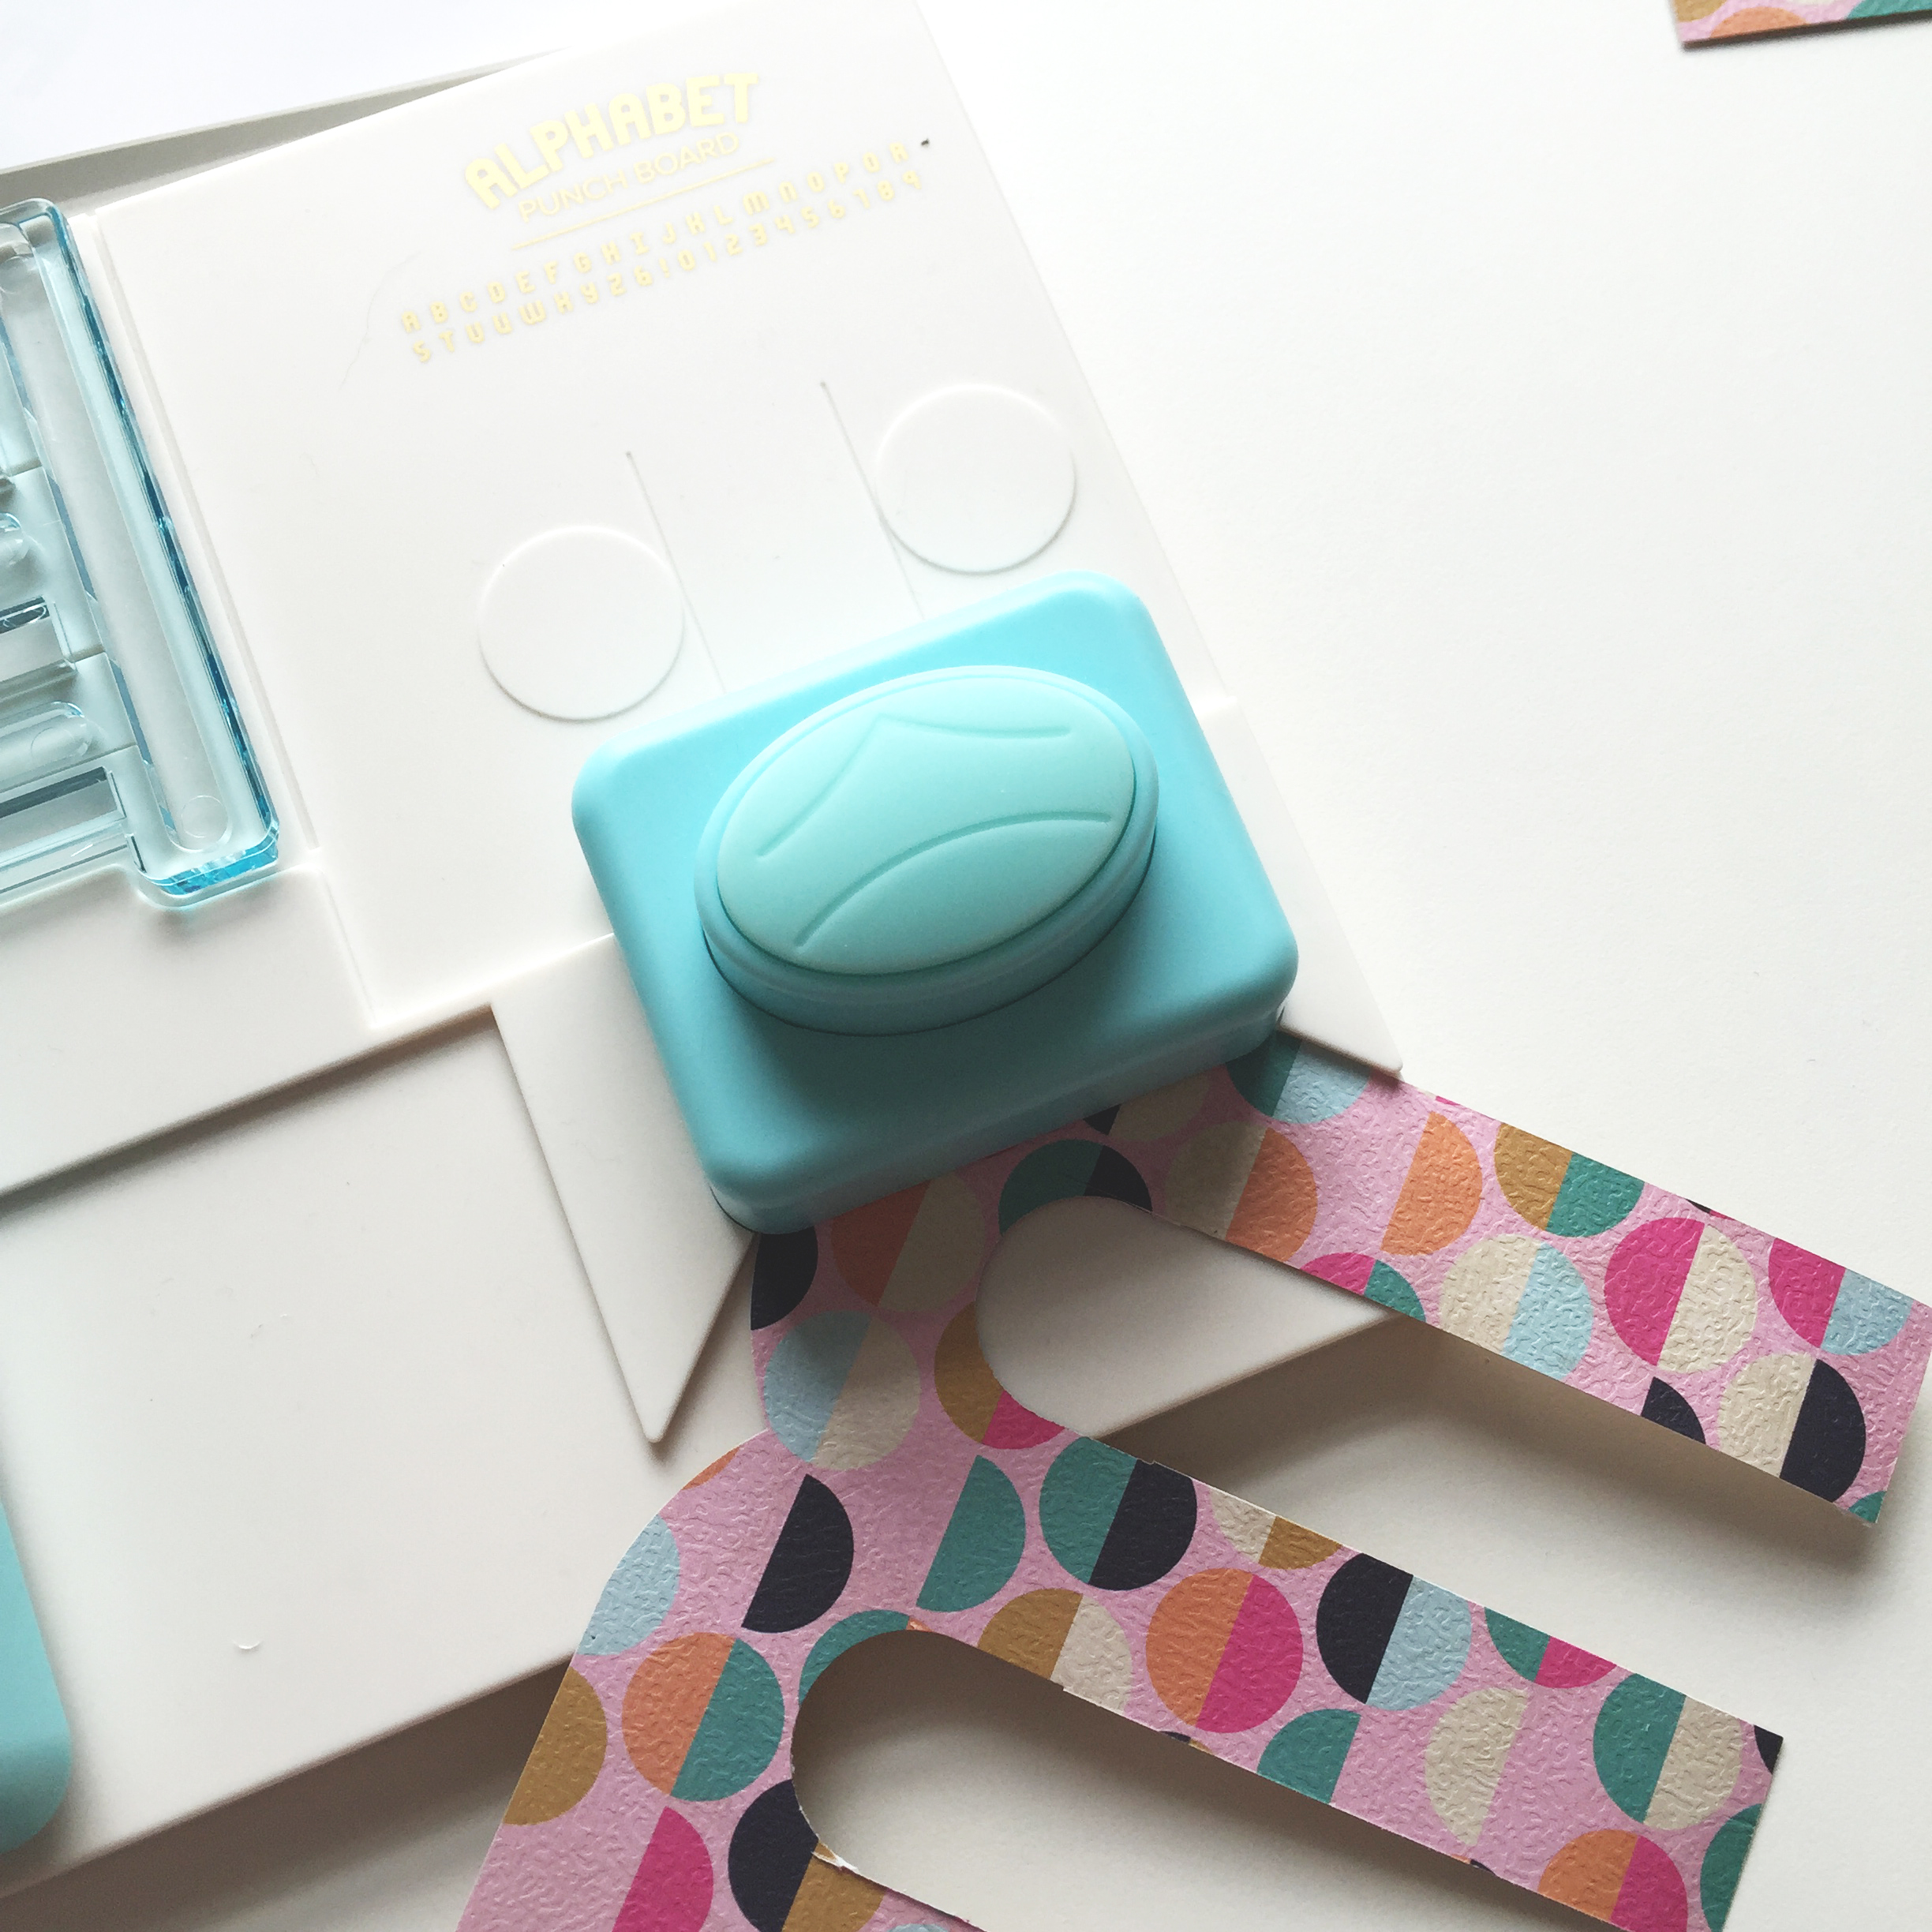
Then you use the bottom part of the punch to round the edges. It’s a similar process for most letters!
For some reason, when making an L, make sure you have the side you don’t want showing to be face up. This isn’t clear in the instructions, I found out the hard way.

So here’s my unwanted L and the new one in process.

Here’s my project in full! I wanted to make a nice sign for the entrance of my new apartment. That’s just thrown quickly up on the wall, but you get the gist. 🙂
It was a very quick craft and didn’t require much effort, which is always nice. Plan out what you want to write ahead of time and make sure you have enough paper. I had to find a pattern that I had two sheets of 12×12″ scrapbook paper just to do this word. You don’t want to get halfway and then run out! Good thing about 12×12″ paper is you can get 8 characters out of it (just not the W/M).
So now I want to make banners and projects out of everyone’s name and every word I can think of, so I’ll be busy for a while and you all know what you’re getting for Christmas!
I found mine at my local Michael’s and snagged it with a 50% off coupon, so keep that in mind if you want to go get one (there is a 50% off coupon in Michael’s enewsletters at least once a week)!
Here’s a video demo of how to use the board:
What a great video you shared, including not only the alphabet demo but also new items like the staple board and the laser guide! And THANK YOU for mentioning that the M and W takes a larger piece of paper. I’ve been researching reviews for this punch board (as well as the mini), and nowhere have I found any mention of the M and W taking a larger piece of paper, when in the sample they obviously are wider than the rest of the letters. Not even on WMRK site or HSN. It kind of makes me feel deceived. Thank you for sharing! 🙂